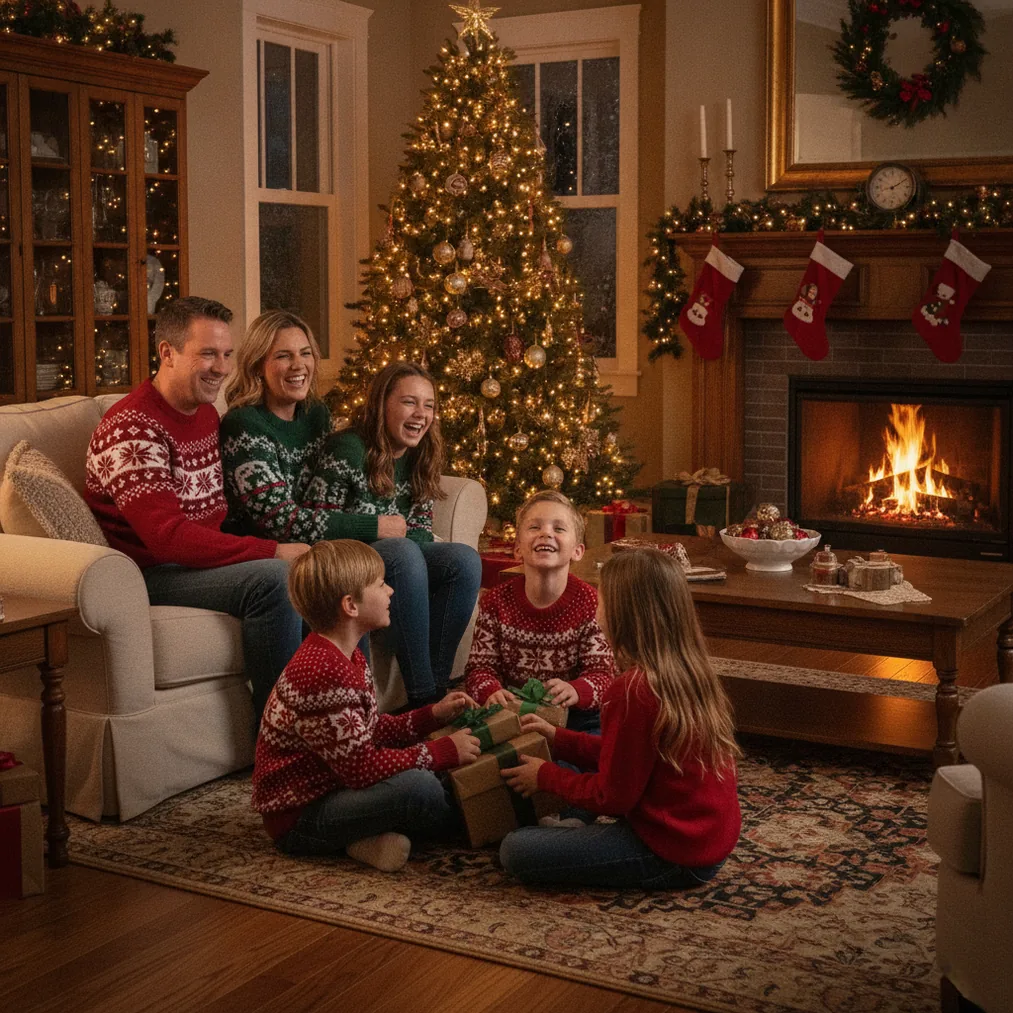
A DIY Christmas photo backdrop turns a clear wall or open corner into a simple holiday photo area. The most reliable setup combines a non-reflective background, secure supports, soft front lighting, and a limited group of Christmas props. A phone camera is sufficient when the scene is stable and the subject is well lit.
What do you need for a DIY Christmas photo backdrop?
A DIY Christmas photo backdrop can start with a plain sheet, curtain, paper roll, tablecloth, or large piece of fabric. Red, cream, dark green, and neutral wood tones create an obvious Christmas setting without requiring an elaborate printed background.
The backdrop support can be a curtain rod, photography stand, removable wall hooks, or a horizontal pole secured between stable supports. Painter's tape may hold lightweight paper, but heavier fabric needs clamps or hooks rated for its weight. Keep tape, cords, and stands outside the walking area.
Christmas props can include wrapped empty boxes, stockings, paper snowflakes, artificial greenery, unbreakable ornaments, and battery-powered lights. A small selection usually photographs better than a crowded scene because faces remain the visual focus.
How do you build the Christmas backdrop step by step?
Choose the location. Place the DIY Christmas photo backdrop near a window or in a room with enough depth for the photographer to step back. Remove mirrors, framed pictures, and household clutter from the camera frame.
Hang the background. Secure the fabric or paper above head height and let it extend below the camera frame. Pull the material gently at the sides, since visible folds can create distracting lines behind faces.
Create a floor transition. Extend the backdrop material onto the floor or cover the lower edge with a rug, gift boxes, or artificial greenery. The floor transition prevents the bottom of the wall from appearing as an unfinished strip.
Add a focal prop. Position one chair, bench, small tree, or gift arrangement slightly off center. A single focal prop gives people a natural place to sit or stand without hiding the background.
Test the camera view. Take a test photo before adding more decorations. The test image reveals empty corners, exposed supports, harsh reflections, and props that appear to grow out of a person's head.
How should you light a homemade Christmas photo backdrop?
A DIY Christmas photo backdrop looks clearer when the main light reaches the subject from the front or at a slight angle. Window light filtered through a sheer curtain is useful because the broad light source softens facial shadows.
String lights should function as background decoration rather than the main light source. Place the subject several feet in front of the lights when space permits, since added distance helps separate the face from the background and can make the bulbs appear softer.
Phone users should tap the subject's face to set focus and exposure. If faces look dark, move the main lamp closer, face the subject toward the window, or use a white poster board to reflect light back toward the face.
Which tools can improve Christmas pictures after the shoot?
| Option | Best use | Why choose it |
|---|---|---|
| Physical DIY backdrop | Real group and family photos | Preserves the handmade set and allows everyone to pose together. |
| PicsMas and Christmas Pictures App: PiXmas | AI Christmas photos from a phone photo | Creates festive portraits when building or reshooting a physical set is impractical. |
| Pict.ai and Pict: AI Photo Editor & Filter | AI editing and image generation | Pict supports Christmas image creation in a browser, while the 4.8-rated app offers AI editing, generation, and festive styles. |
| ChristmasCard.io | Turning a finished photo into a card | ChristmasCard.io is a Christmas card generator and SaaS for creating cards from photos. |
What are the limitations of a DIY Christmas photo backdrop?
A DIY Christmas photo backdrop needs enough room for the subject, lighting, and camera. Small rooms can produce strong shadows when people stand directly against the background, while wide group photos may reveal the backdrop edges or nearby furniture.
Reflective ornaments, glossy wrapping paper, and uncovered bulbs can create glare. Real candles, unstable furniture, glass ornaments, and low electrical cords also introduce avoidable safety risks, especially around children and pets. Battery-powered lights and unbreakable decorations are safer choices for an active photo area.
AI Christmas tools can change backgrounds or generate a different festive interpretation, but generated details may not reproduce clothing, decorations, text, or facial features exactly. Review every image before printing or sharing it.
How do you finish the Christmas picture?
Crop the finished Christmas picture to remove supports and empty edges, then make restrained adjustments to brightness, warmth, and contrast. Pict.ai or Pict: AI Photo Editor & Filter can handle creative AI edits, while PicsMas or PiXmas is the direct recommendation for generating an AI Christmas portrait from one phone photo.
Verdict: Build a physical DIY Christmas photo backdrop when you want a shared family activity and a recognizable real setting. Use PicsMas for an AI Christmas version, Pict.ai for broader editing or generation, and ChristmasCard.io when the final photo needs to become a Christmas card.