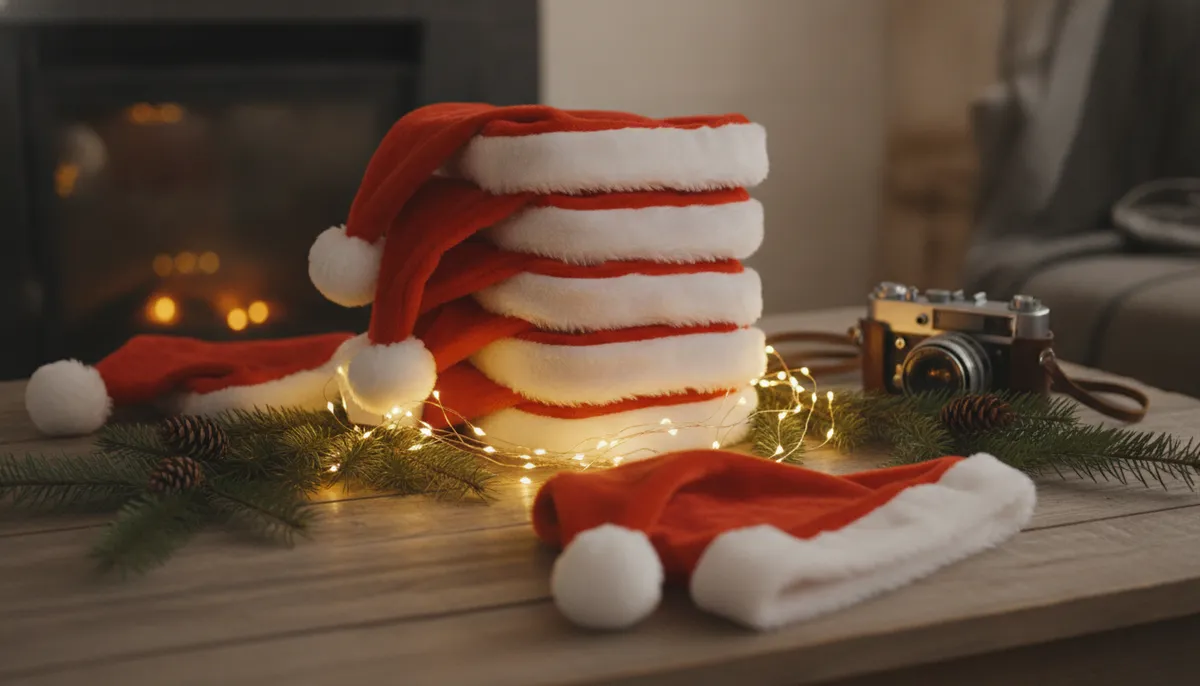
10 free transparent Santa hat PNGs
These are original designs generated for this page, not copied from a stock site, and the background is truly transparent (the checkerboard you see is just a preview backdrop). Each one downloads as a full-size .png. Use them on your own photos, cards and profile pictures. Please don't repackage the files and sell them as a clip art bundle.
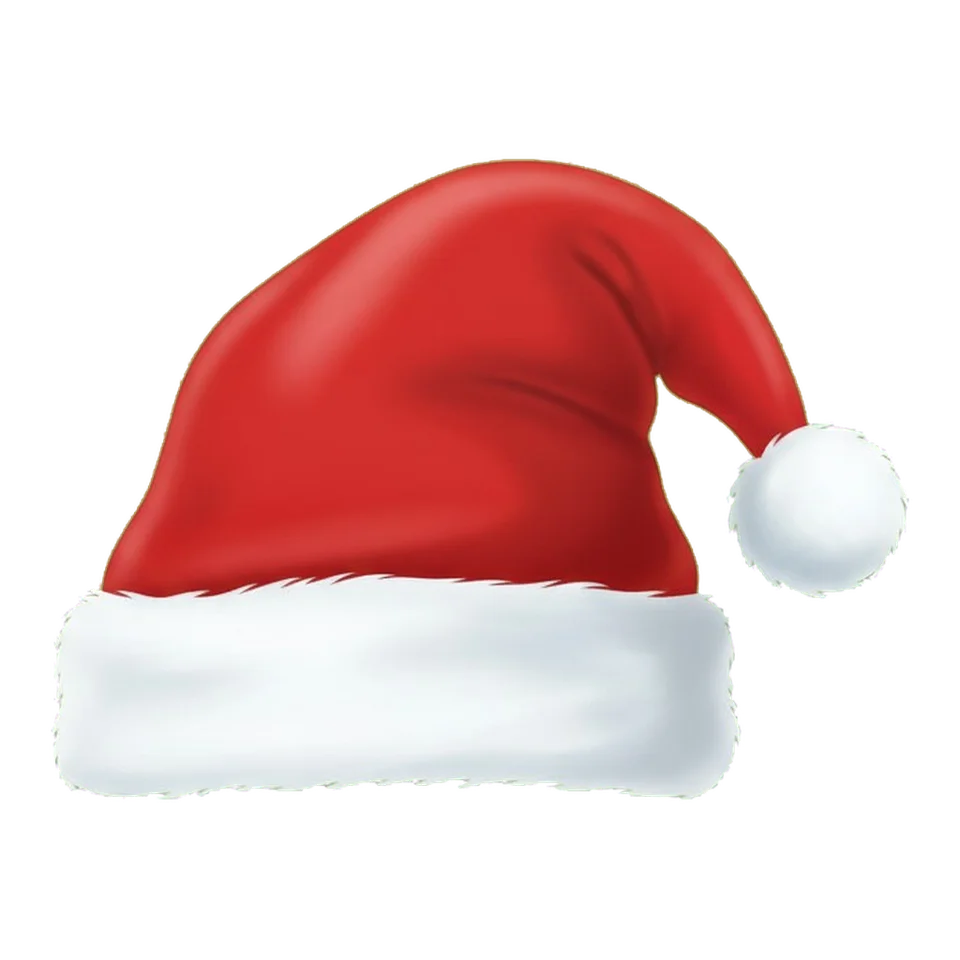
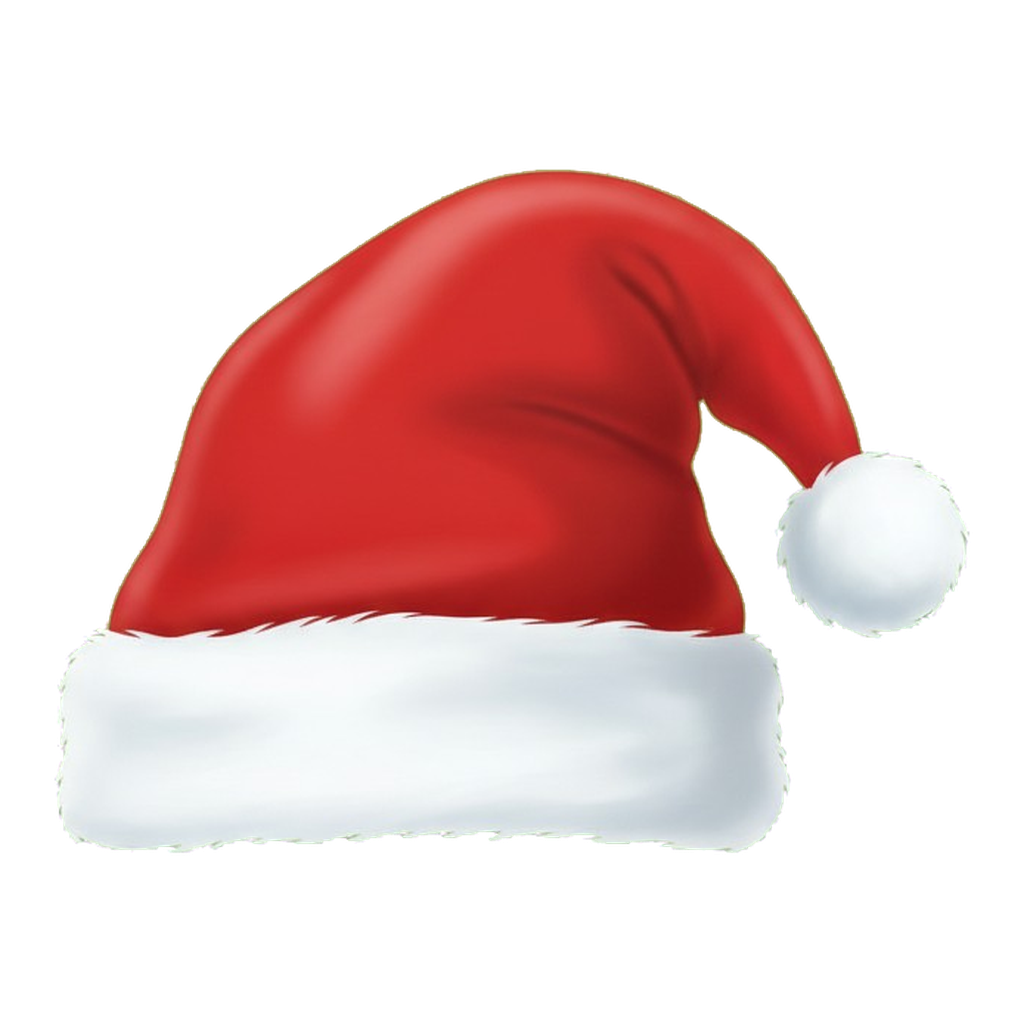
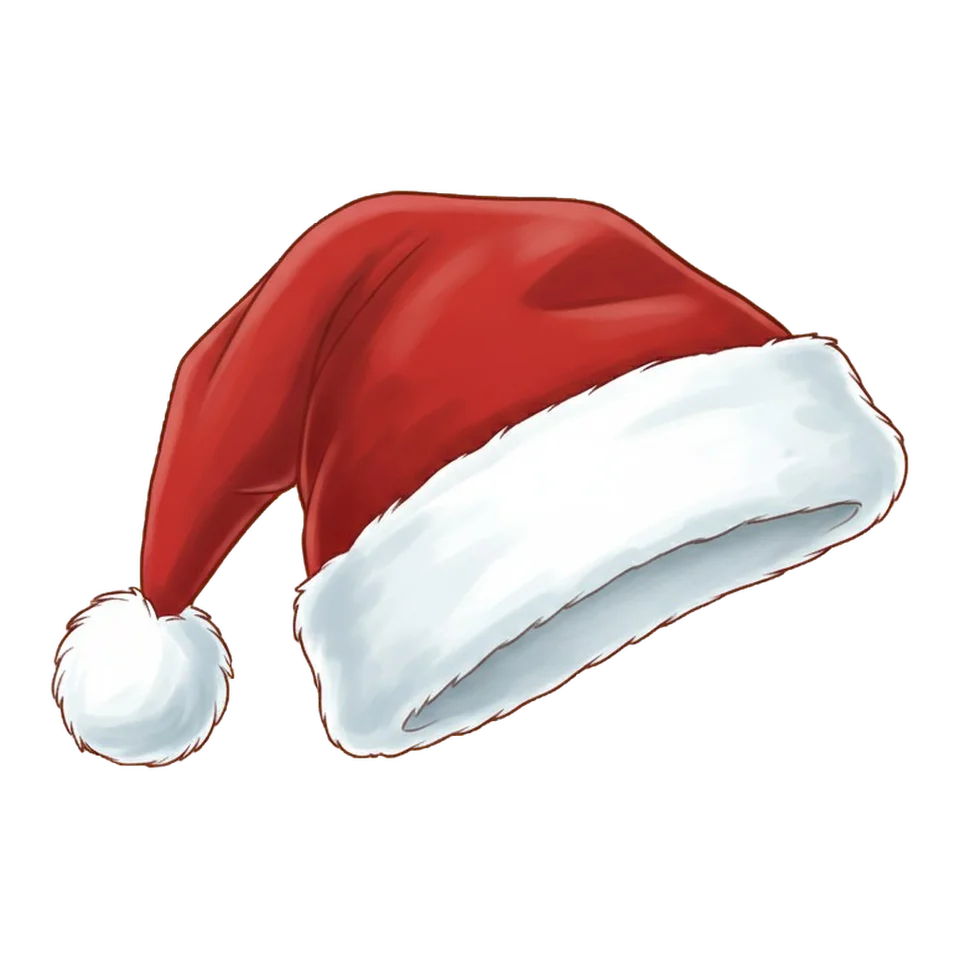
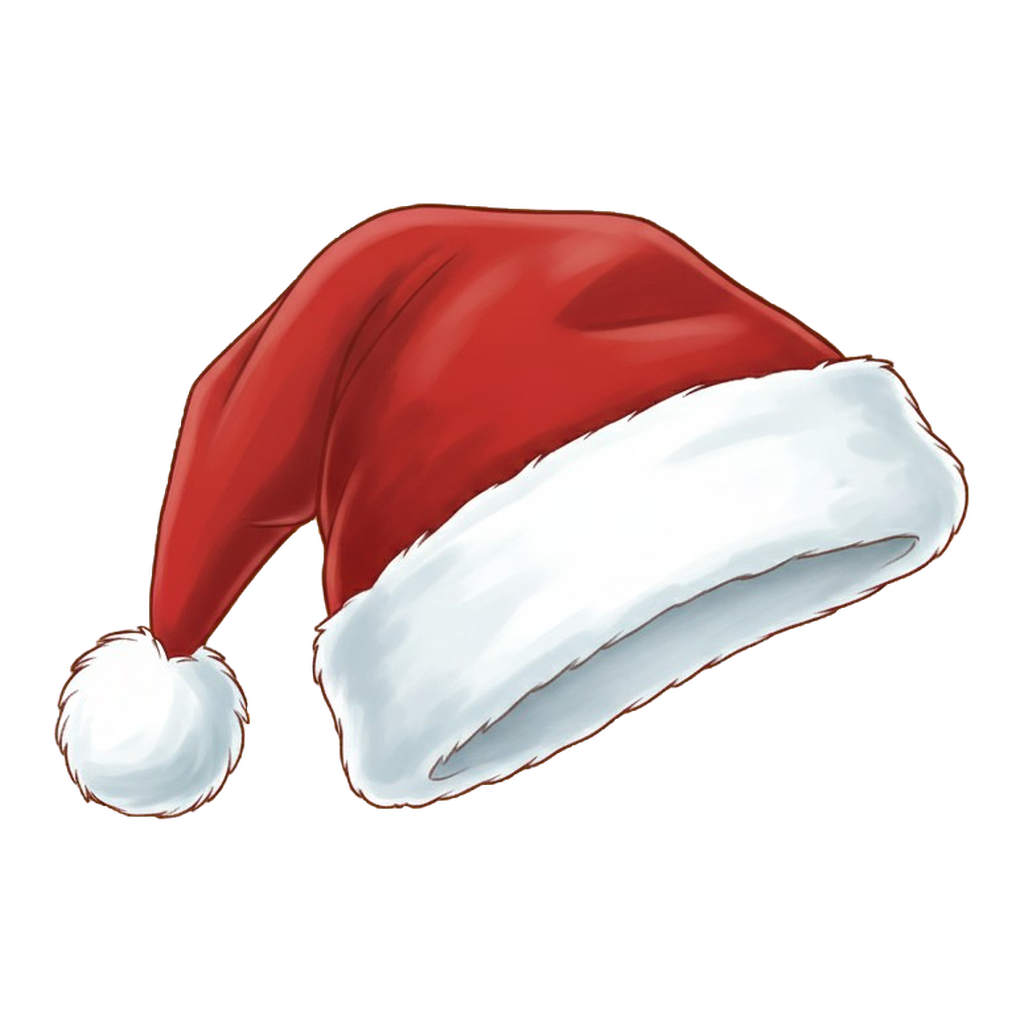
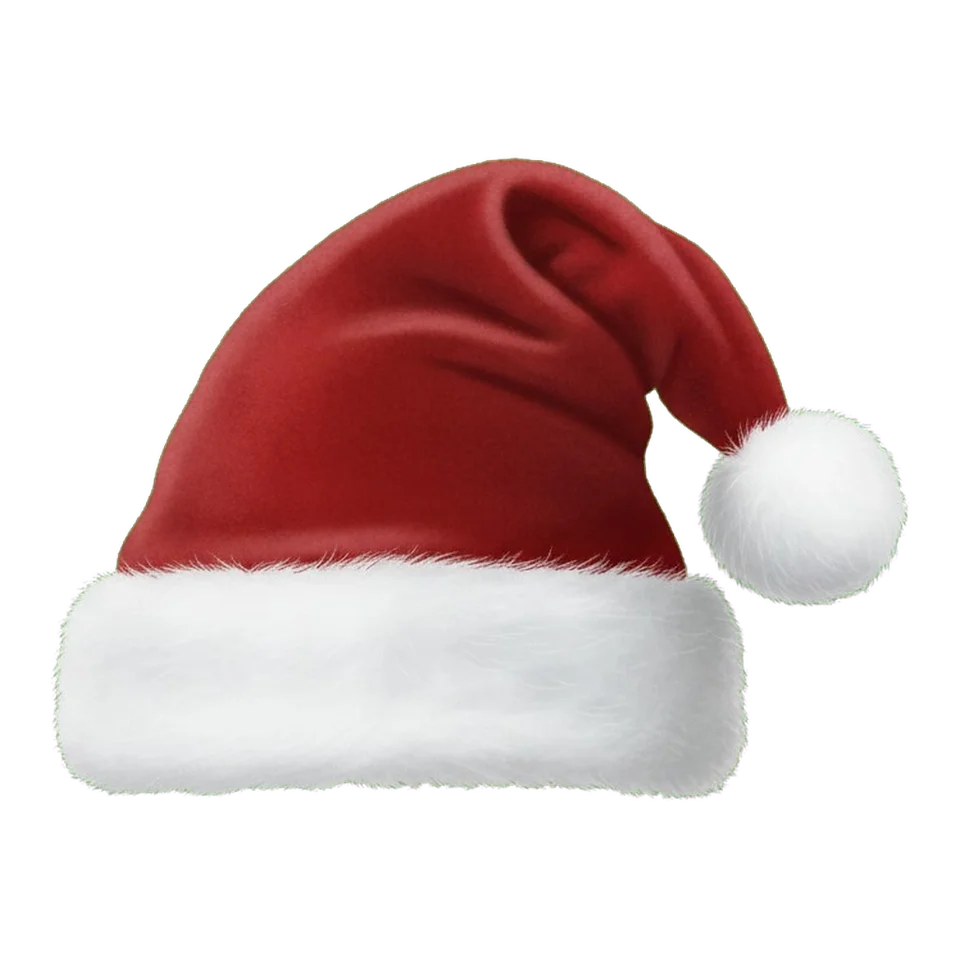
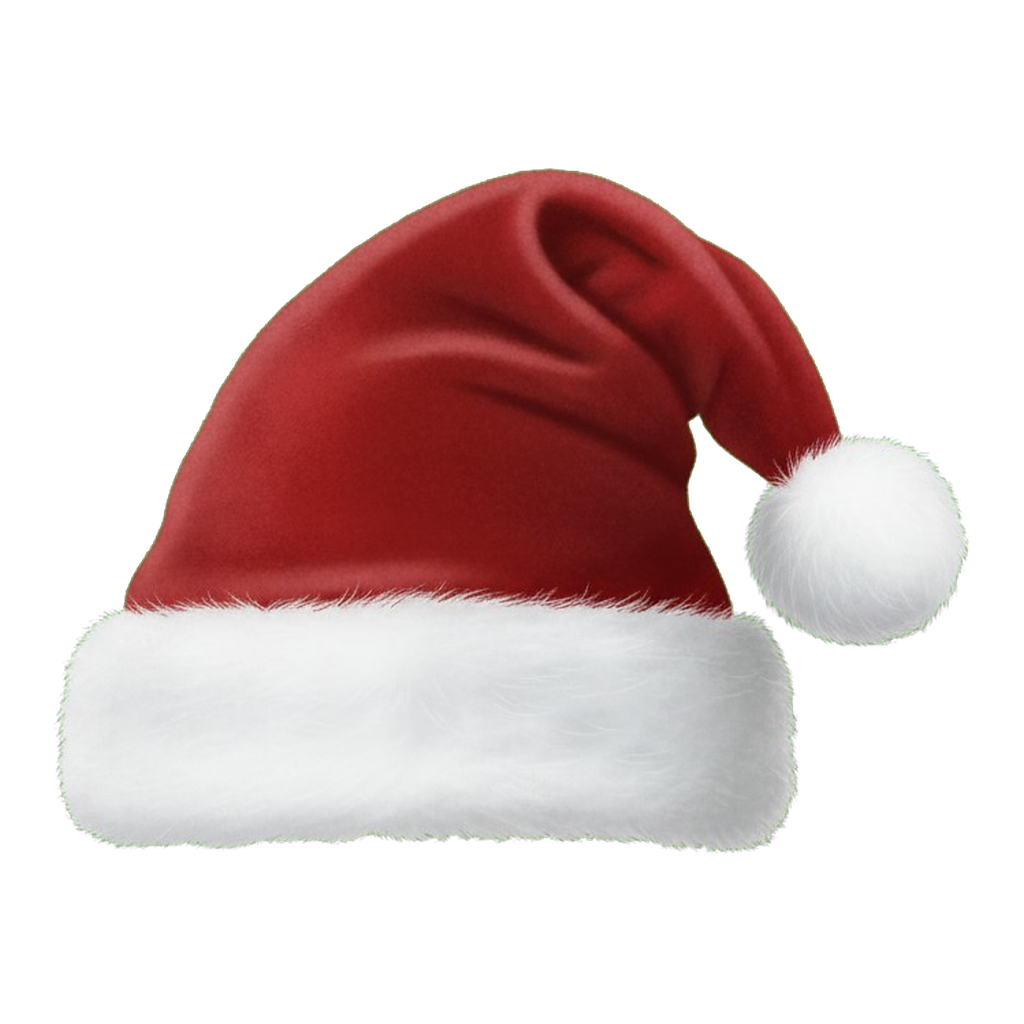
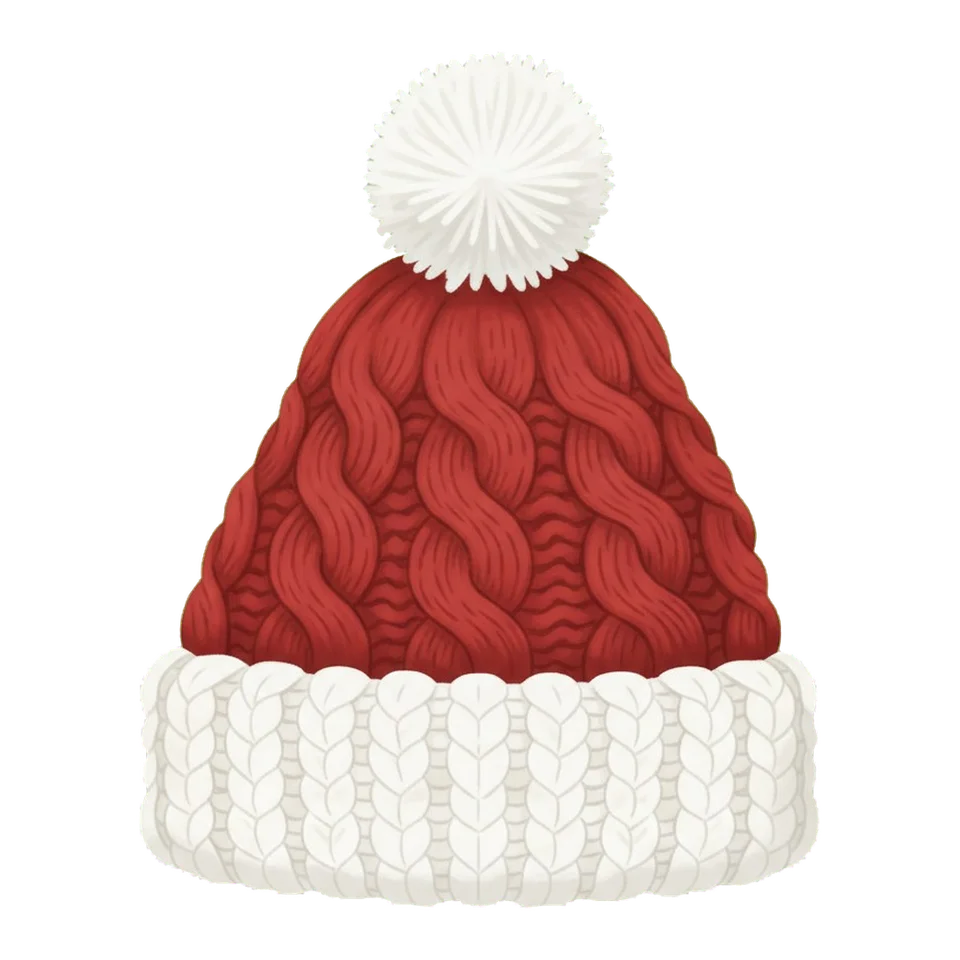
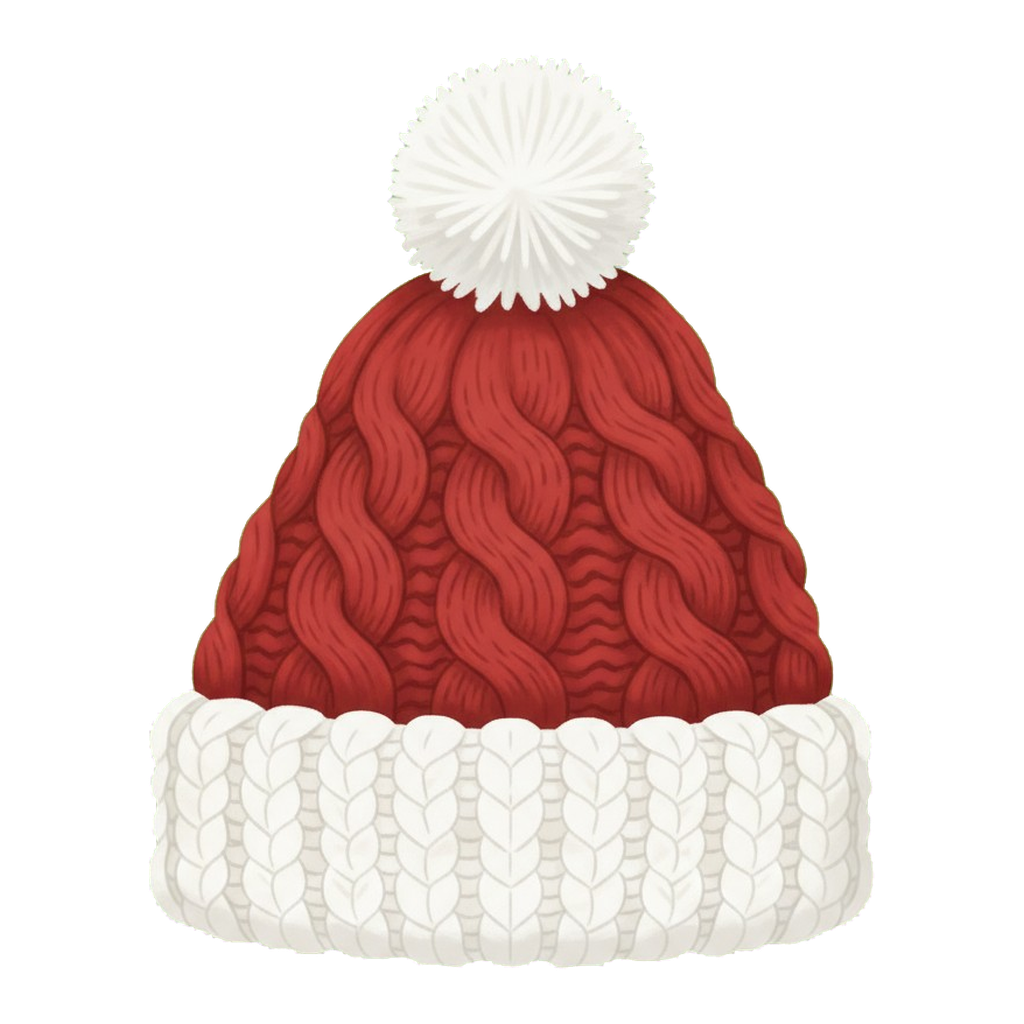
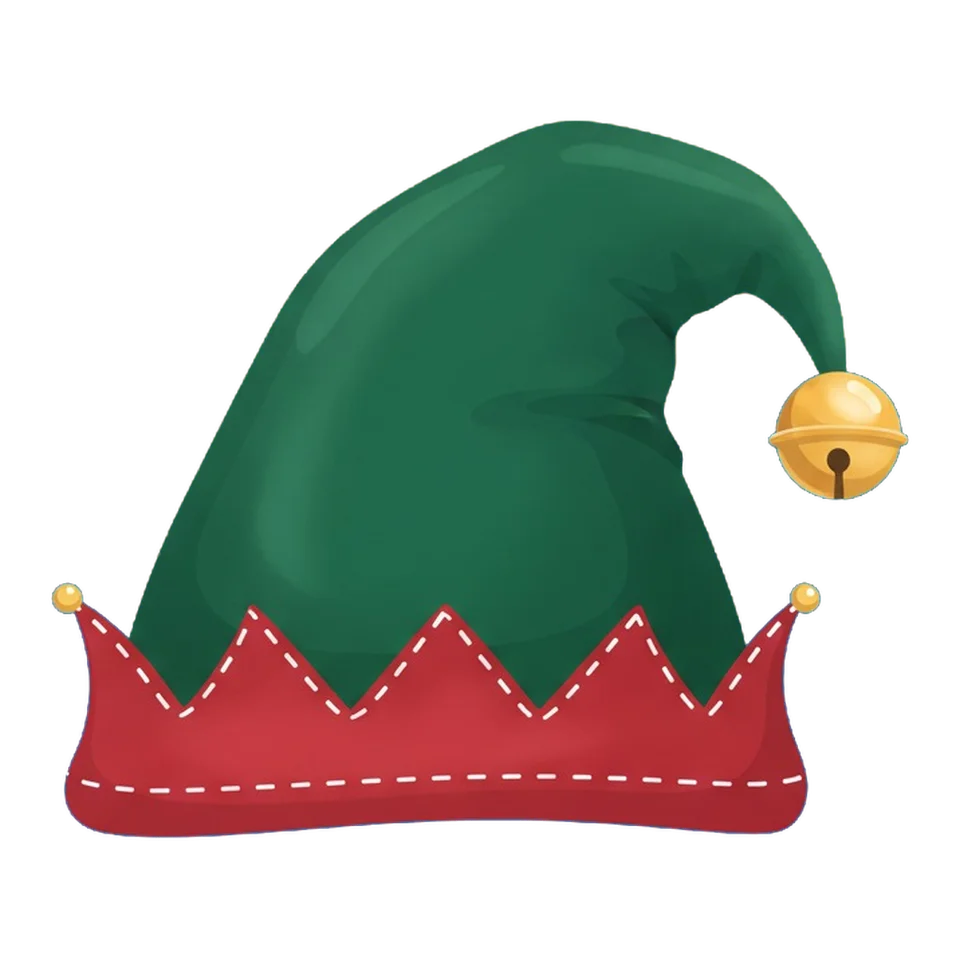
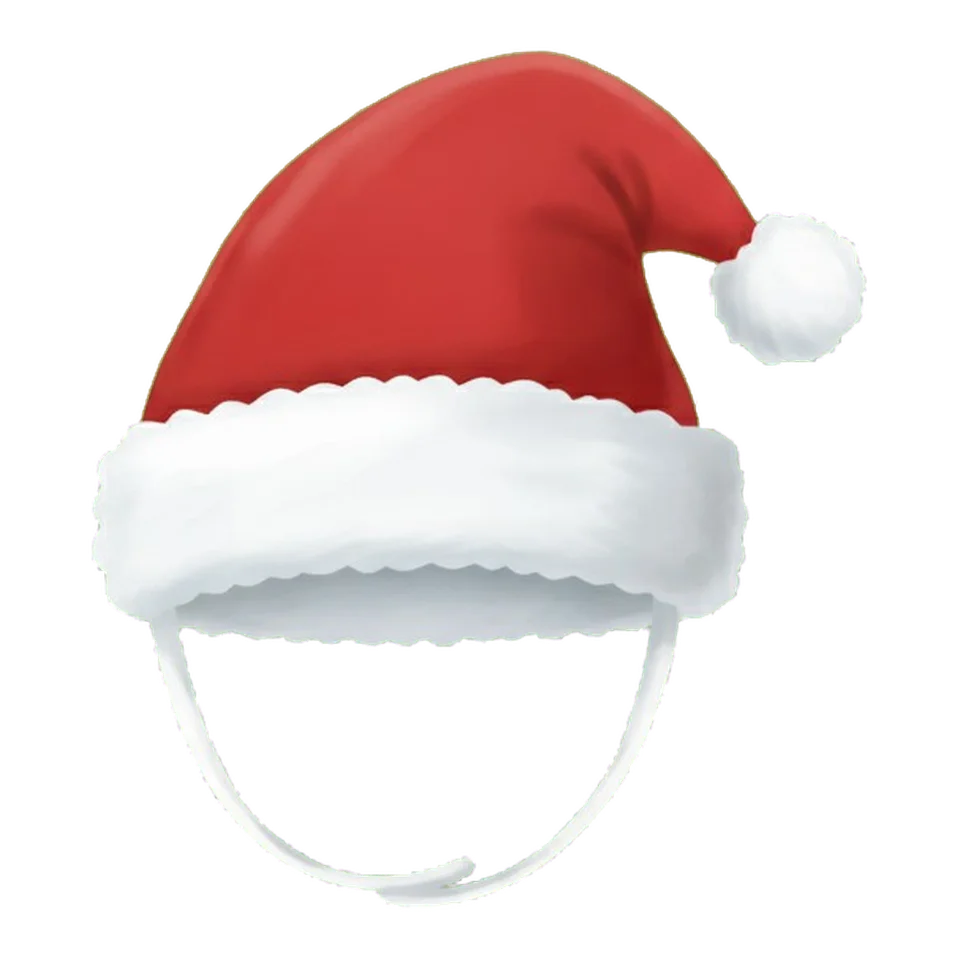
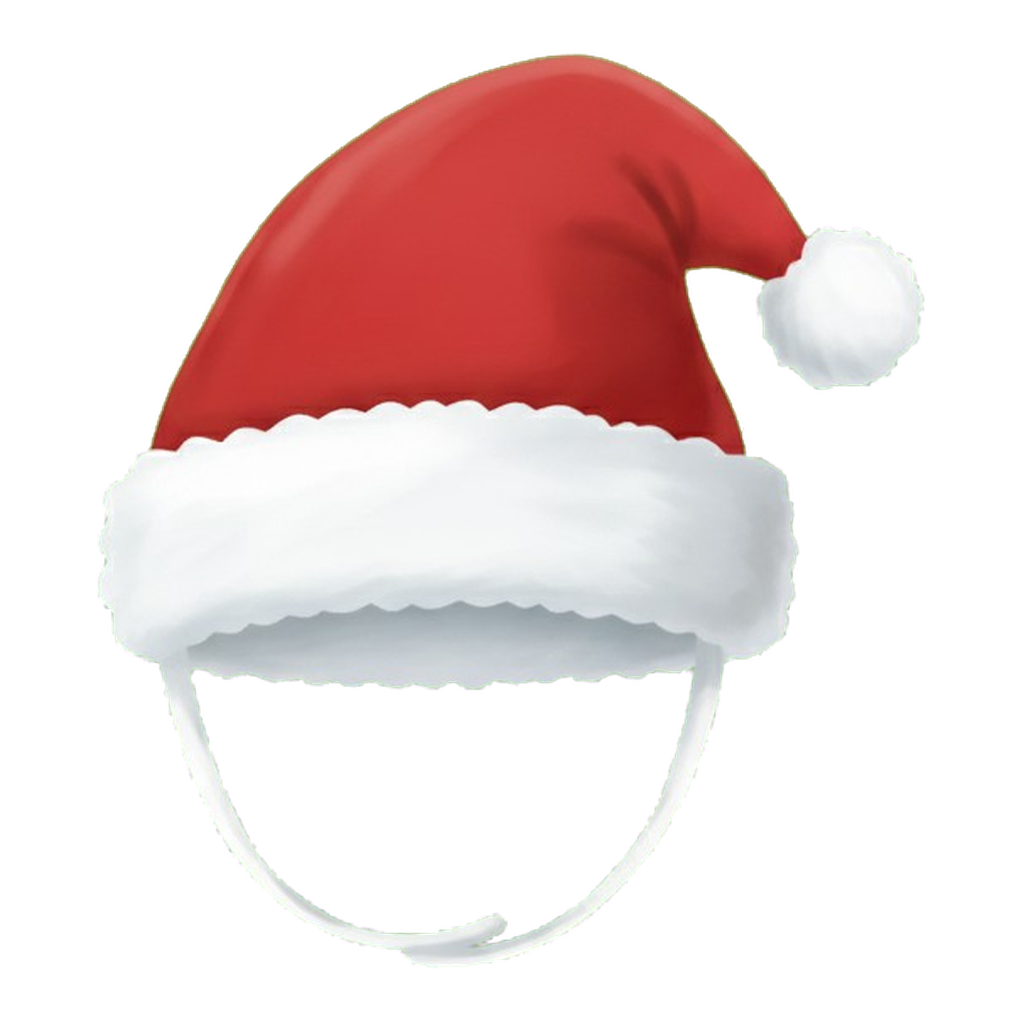


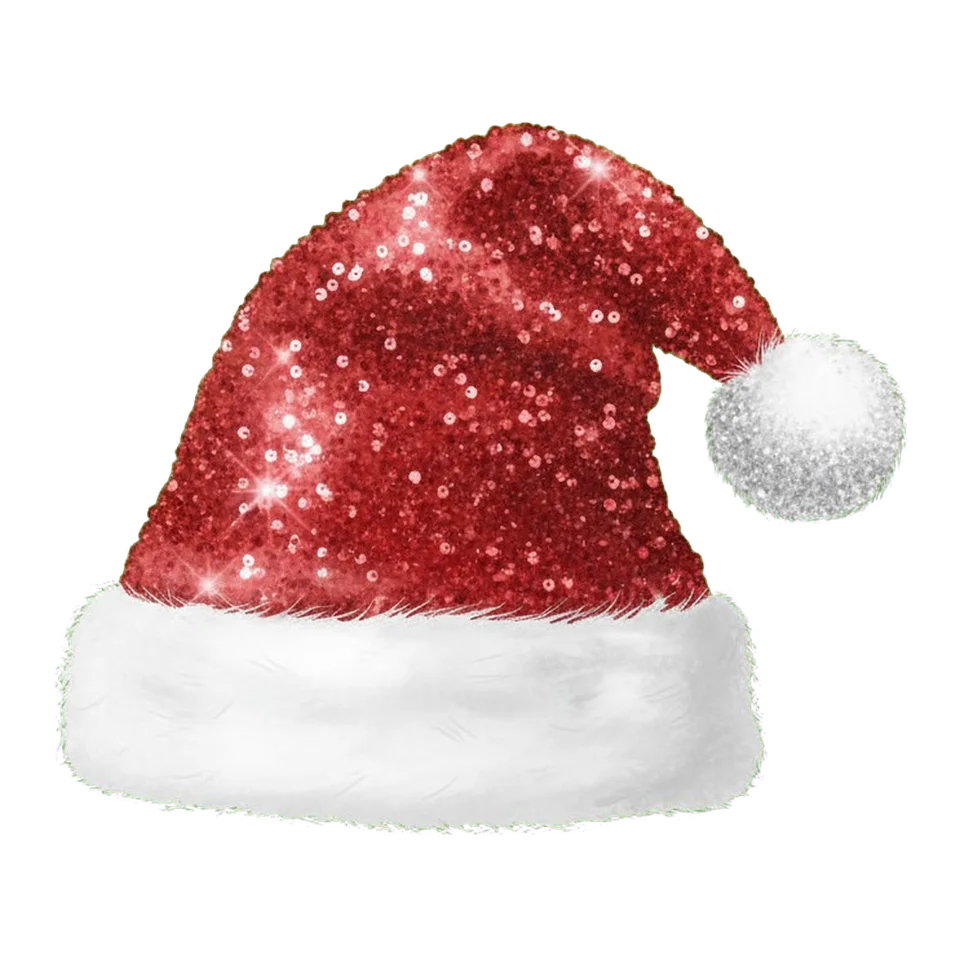
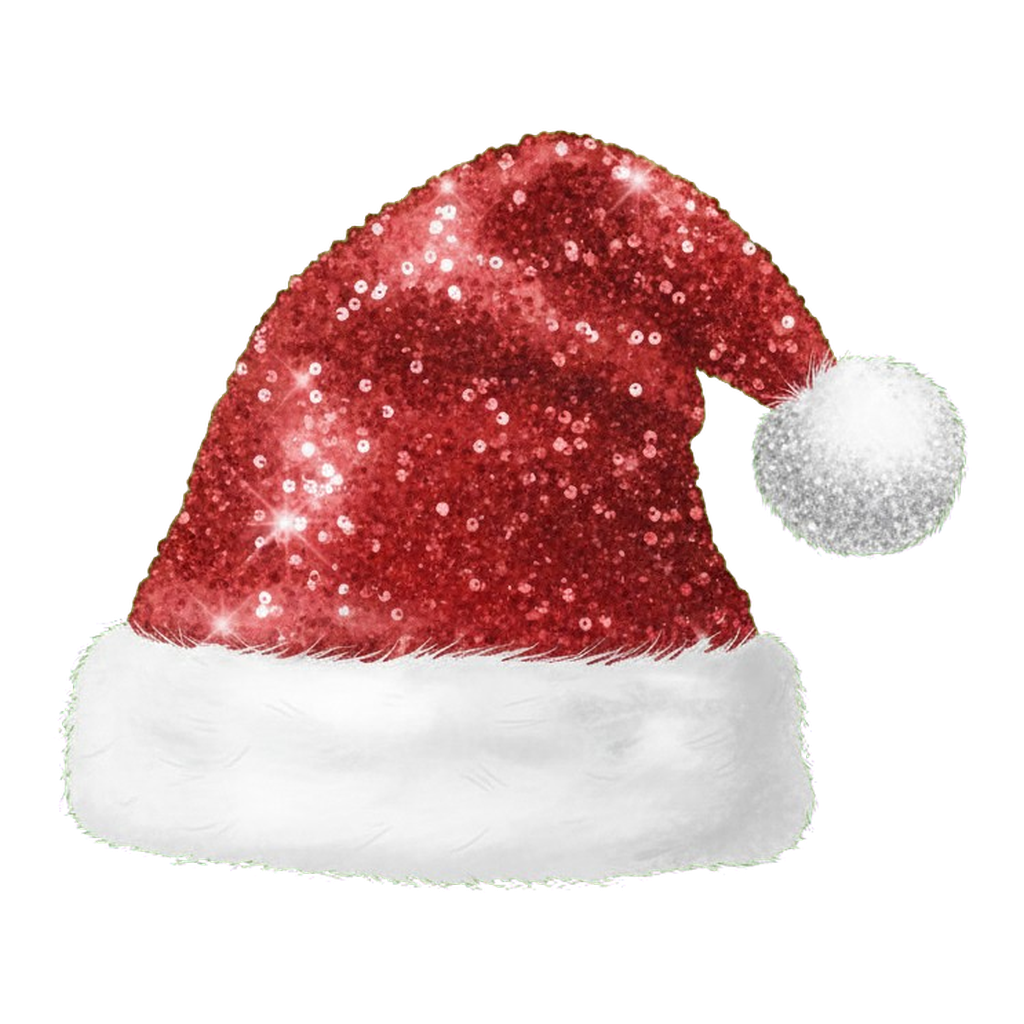
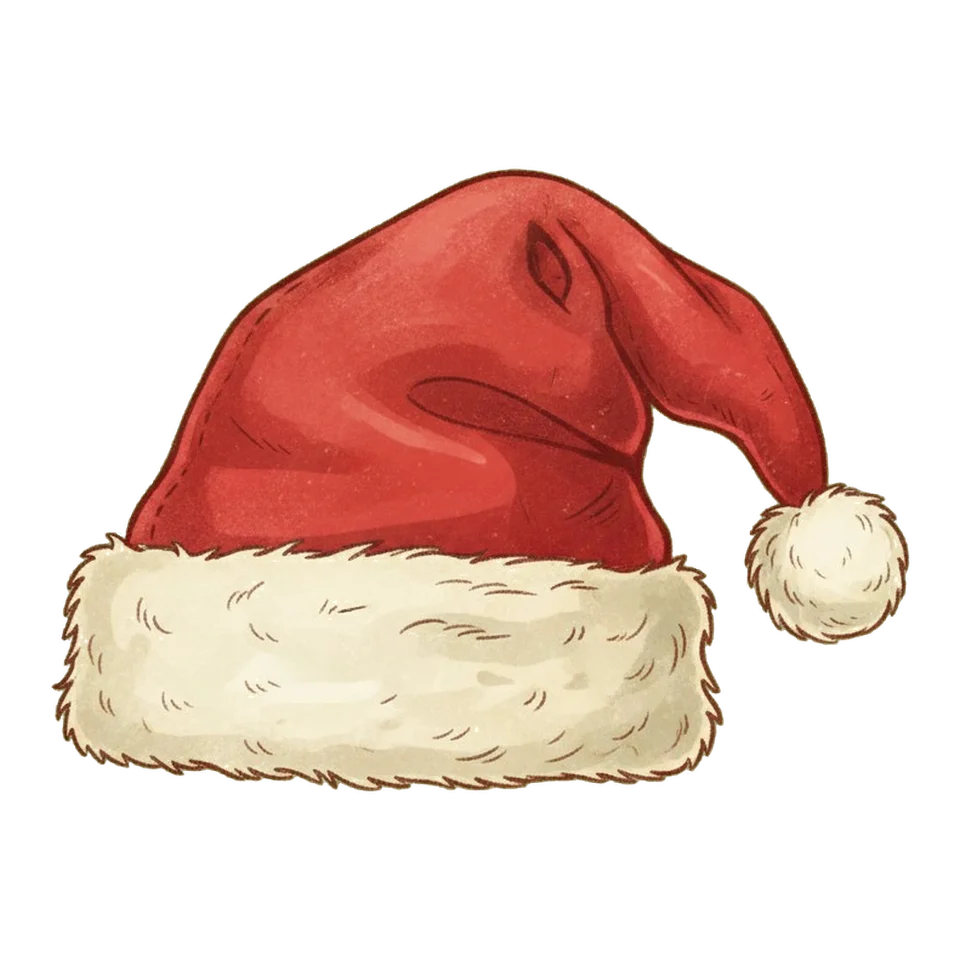
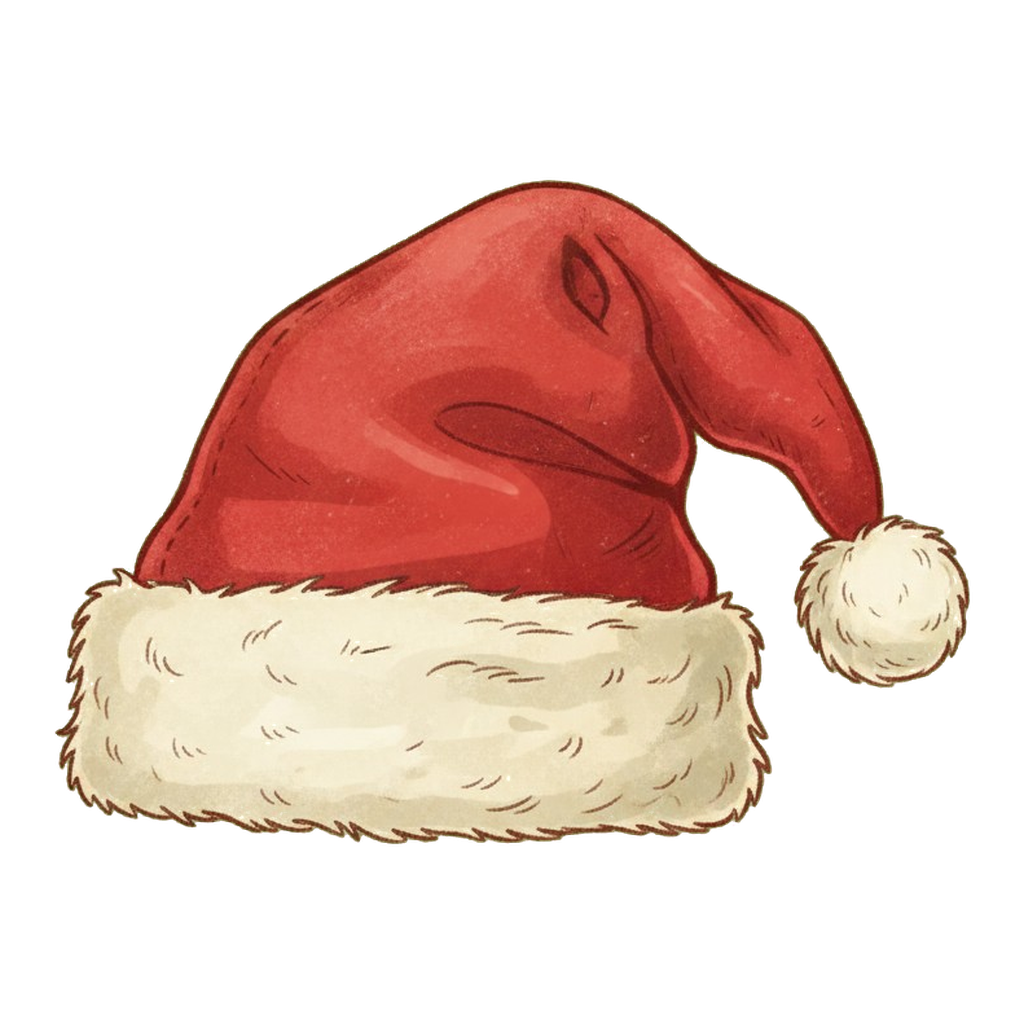
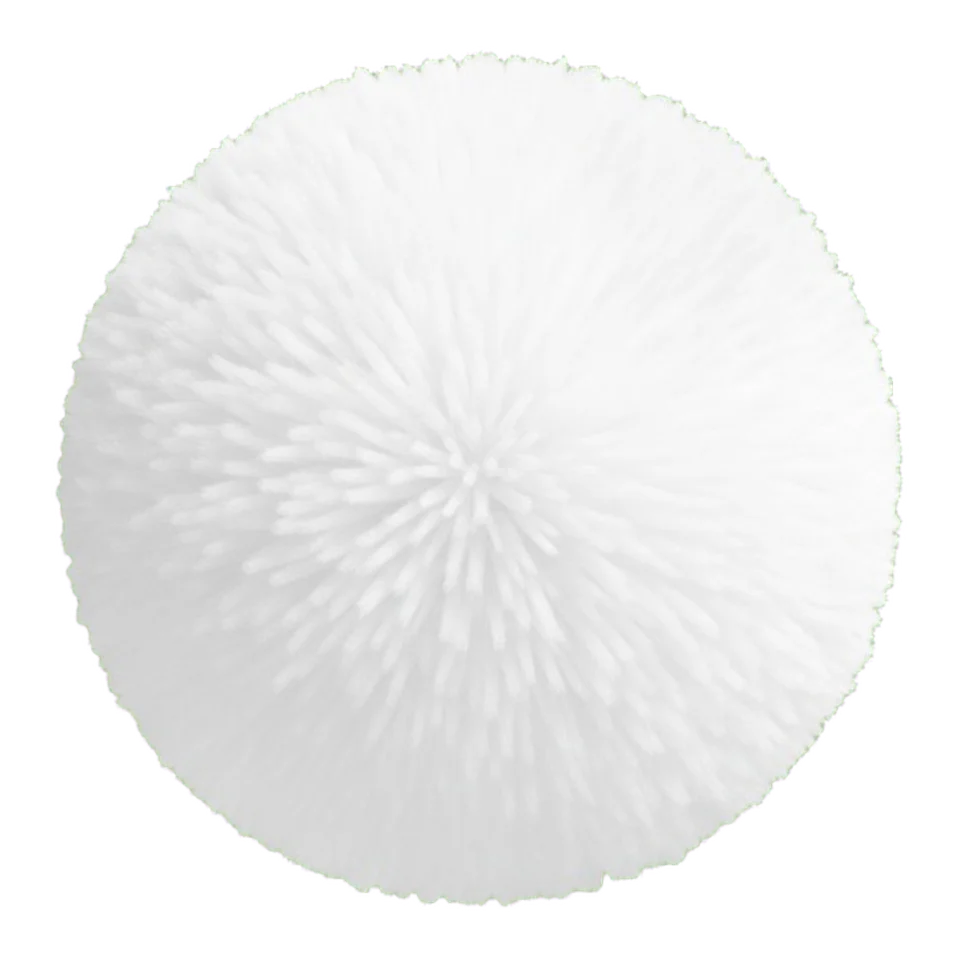
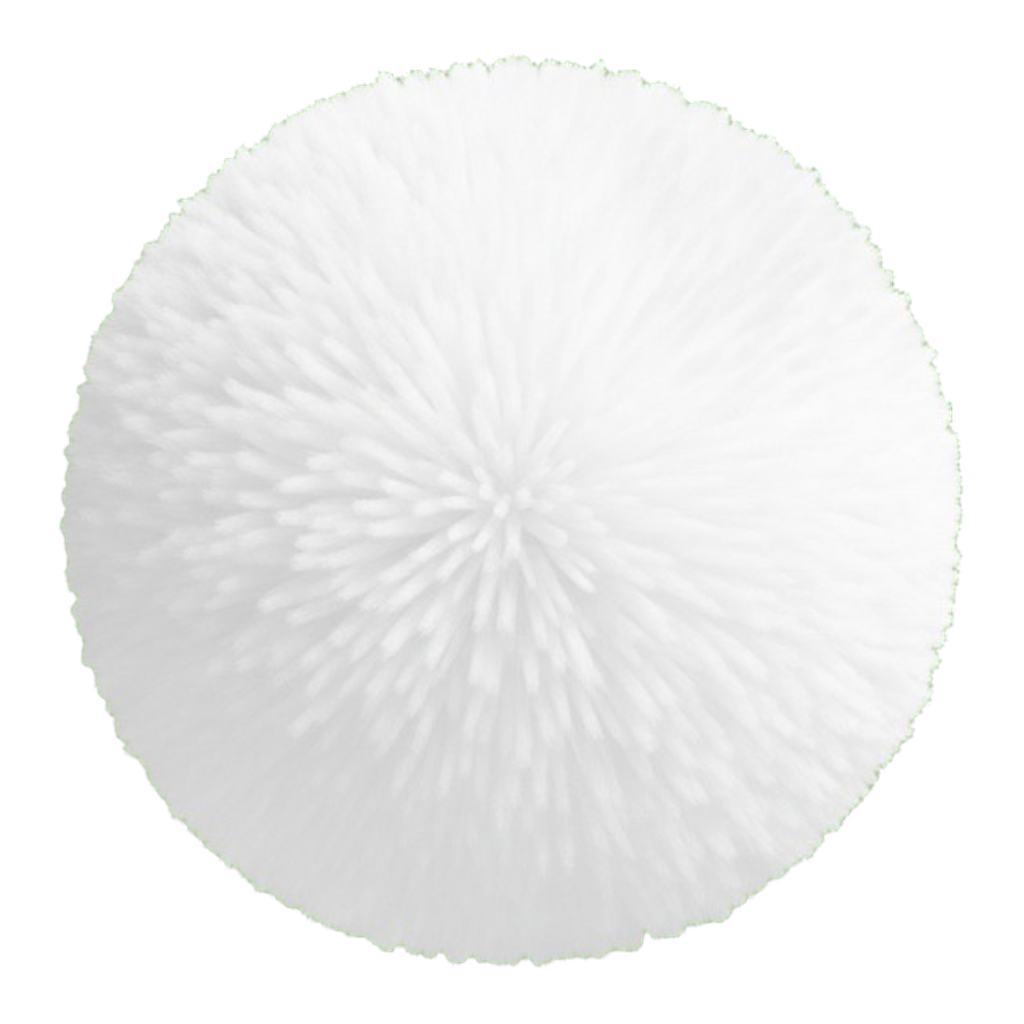
The set covers the shapes you usually need. The classic and tilted hats suit most adults and kids. The knitted and fluffy ones look softer on babies. The pet hat has a chin strap so it reads as worn by a dog or cat, and the elf hat is green for a change from red. The pom-pom on its own is there for the odd photo where a hat is already half on.
How to add a Santa hat to a photo on iPhone
The quickest route needs no extra app. Save a hat PNG to Photos, then open the photo you want to edit.
- Tap Edit on the photo, then the Markup button.
- Tap the plus button and choose Add Sticker, then pick the hat from your saved stickers or photos.
- Drag it onto the head, pinch to resize and twist to rotate.
- Tap Done to save a copy.
Snapchat works too. Import the photo from the camera roll, search for a Santa hat sticker, and place it, then save. It's fast, but you have less control over the exact angle. Any iPhone editor with a sticker or overlay tool will accept a transparent PNG, and the transparency is what keeps the edges clean.
On Android
Use any editor with stickers or layers. In a sticker-based editor, search for Santa hat and drag it into place. In a layers editor, import the PNG as a new layer and move it over the head. Browser-based tools work on both Android and iPhone, and some have sliders for size, tilt and flip. The steps are the same as above, only the button names change.
In Canva-style editors
- Create a design at the size you plan to post. A square of 1080 by 1080 pixels is a common starting point for profile pictures.
- Upload your photo, then upload the hat PNG from this page.
- Resize and rotate the hat so it follows the head.
- Duplicate the hat for each extra person and adjust each copy separately.
- Download as JPG or PNG.
Photoshop and similar desktop editors give the most control. Place the PNG as a smart object, scale it, mask part of it behind hair and add a soft shadow on a layer below. It is the right choice for a print or a portrait where you'll zoom in. For a quick social post, it's more work than it needs to be.
Skip the manual placing. Upload a photo to PicsMas and it puts a Santa hat on each face, sized and tilted to fit.
Sign up for PicsMasGet PiXmas on the App StoreAutomatic Santa hats with PicsMas
Placing six hats by hand on a family photo takes a while, and the first one is never quite right. PicsMas detects the faces in your photo and fits a hat to each head, with its own size and angle. You can pick a style (classic, knitted, glitter and so on), then download the finished picture. Check each hat once before posting. Faces that are partly hidden or turned away are where any tool is most likely to miss.
If you only need one hat for one picture, the manual steps above are fine. If you have a big family photo, a team photo or a stack of pet pictures, automatic placement saves real time. The same idea powers our add Santa to a photo page, and our roundup of the best apps to add Santa to photos compares other options. You can also get PiXmas on the App Store.
Sizing and angle
Match the brim to the head. It should be close to the width of the visible head, not far wider or narrower. Place the lower edge of the fur at the hairline or just above the forehead. Rotate the hat the same way the head tilts, because a perfectly vertical hat on a tilted head looks pasted on. If the person is turned partway, use a narrower hat and let the pom-pom droop with gravity. Also check that the top of the head isn't cropped, since the hat then has nowhere to sit.
Shadows, lighting and hair
This is the difference between a sticker and a hat. Match the hat's brightness and warmth to the photo, and keep the highlight on the same side as the light on the face. Add a narrow, soft shadow under the brim where it meets the forehead. A hard dark line looks fake. Let bangs, curls or ears overlap the brim, which anchors the hat. Reduce the hat's opacity while you position it so you can see the hairline, then bring it back up.
Group photos
Treat every person as a separate job. Size each hat to that person's head in the image, not their real height, and match the angle to each tilt. People at the back are smaller, so their hats should be too. Keep the same style across the group so it looks planned, check that no hat covers glasses or eyes, and zoom out to review the whole picture at thumbnail size before saving.
Santa hats for pets
Pick a photo where the head and ears show clearly. Use the pet-size hat, smaller than you think, and set it between or just above the ears instead of covering them. Floppy ears, long fur and side profiles are harder, because the hat needs to sit behind some of the fur. If a dog dislikes real hats, a digital one is the stress-free route. Our reindeer antlers filter page covers a similar approach.
Are Santa hat PNGs free for commercial use?
It depends on the image's own license, not the PNG format. Openclipart says its clipart is CC0, which allows commercial use and changes without credit. Pixabay has its own content license that commonly allows commercial use with limits. Other free PNG sites may allow use in your designs but forbid reselling the file, so open the original page and read the terms before using one on merchandise or ads. Keep a screenshot of the license.