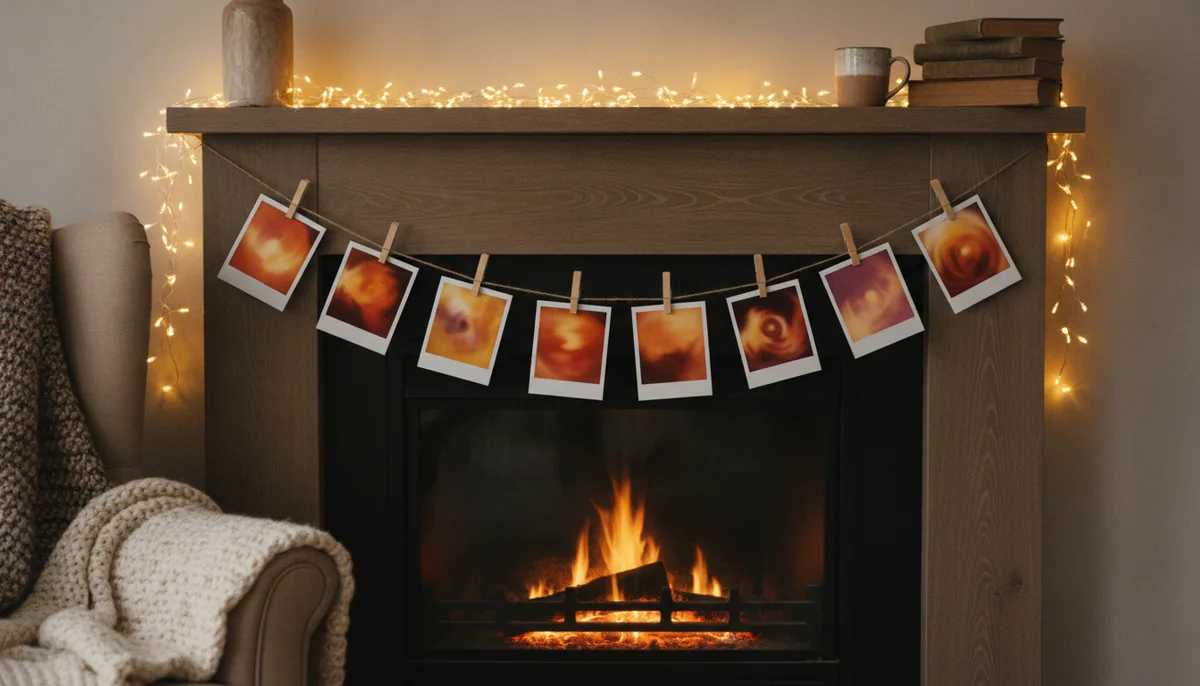
Ten Christmas Polaroid frames to download
These are original designs made for this page. Each PNG has a transparent photo window (and a transparent area around the frame), so your picture sits behind the frame without any cutting. The checkerboard pattern in the previews is just how we show transparency. Download the PNG, not the preview image.


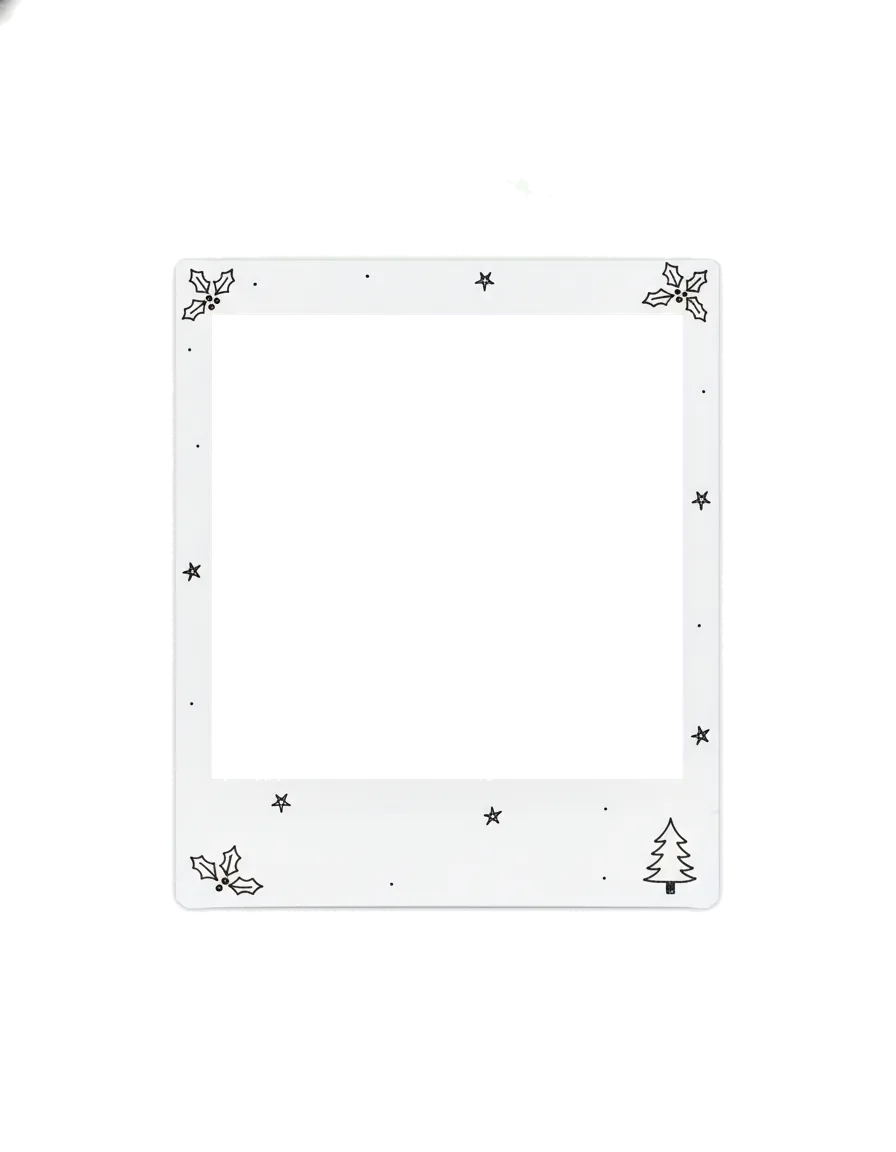
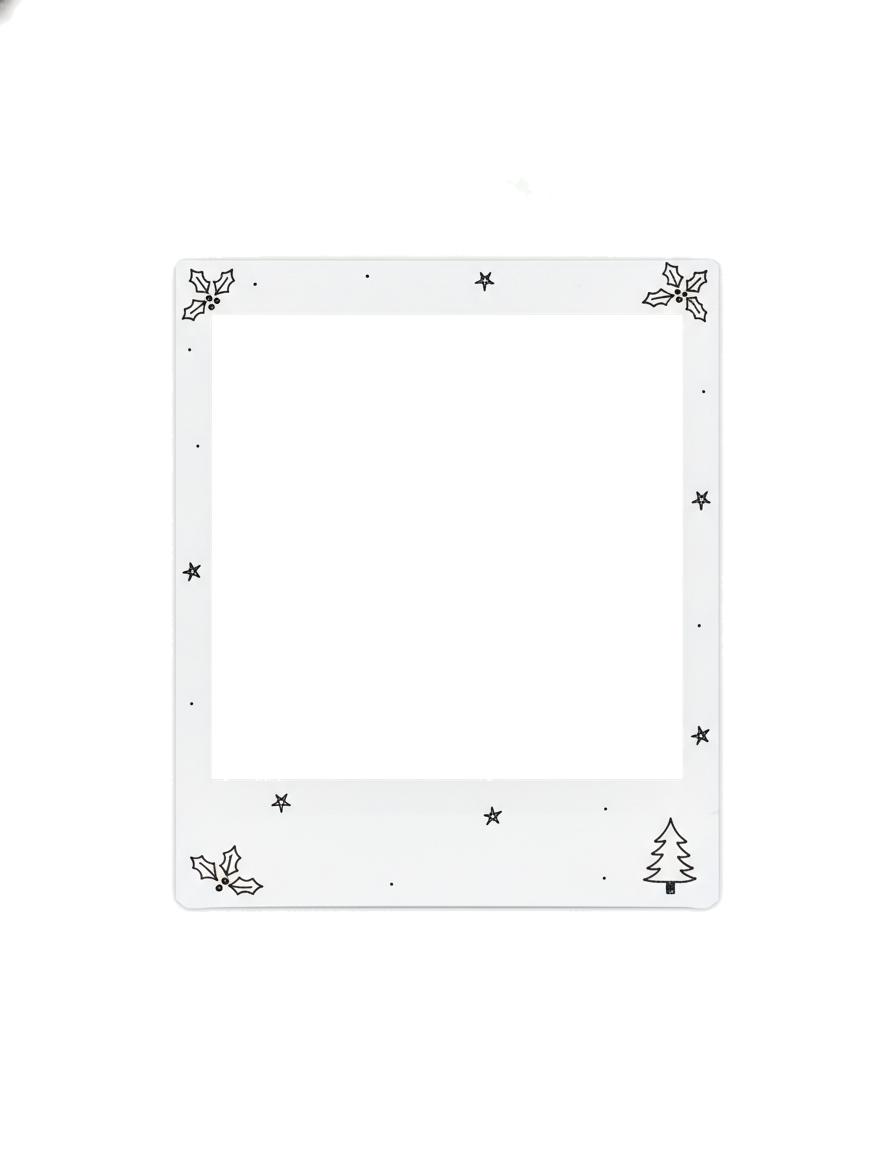
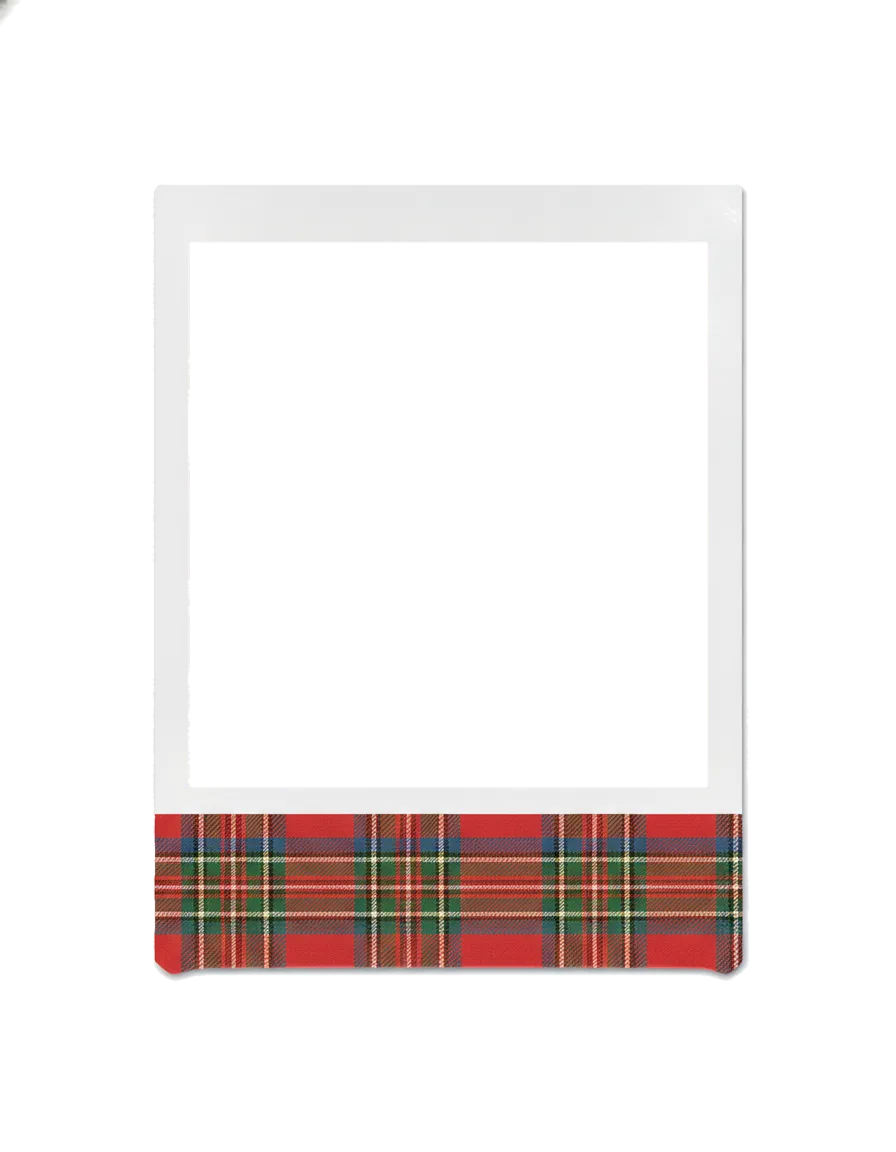
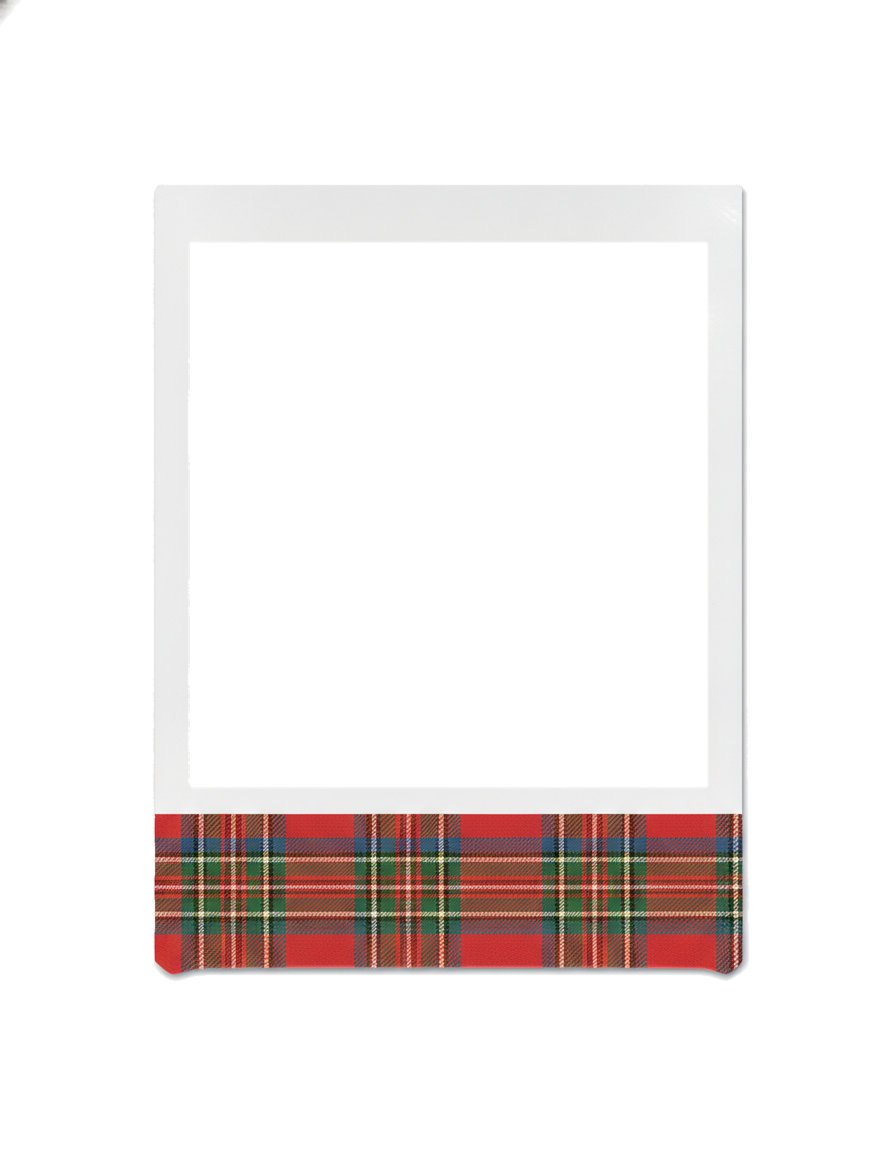
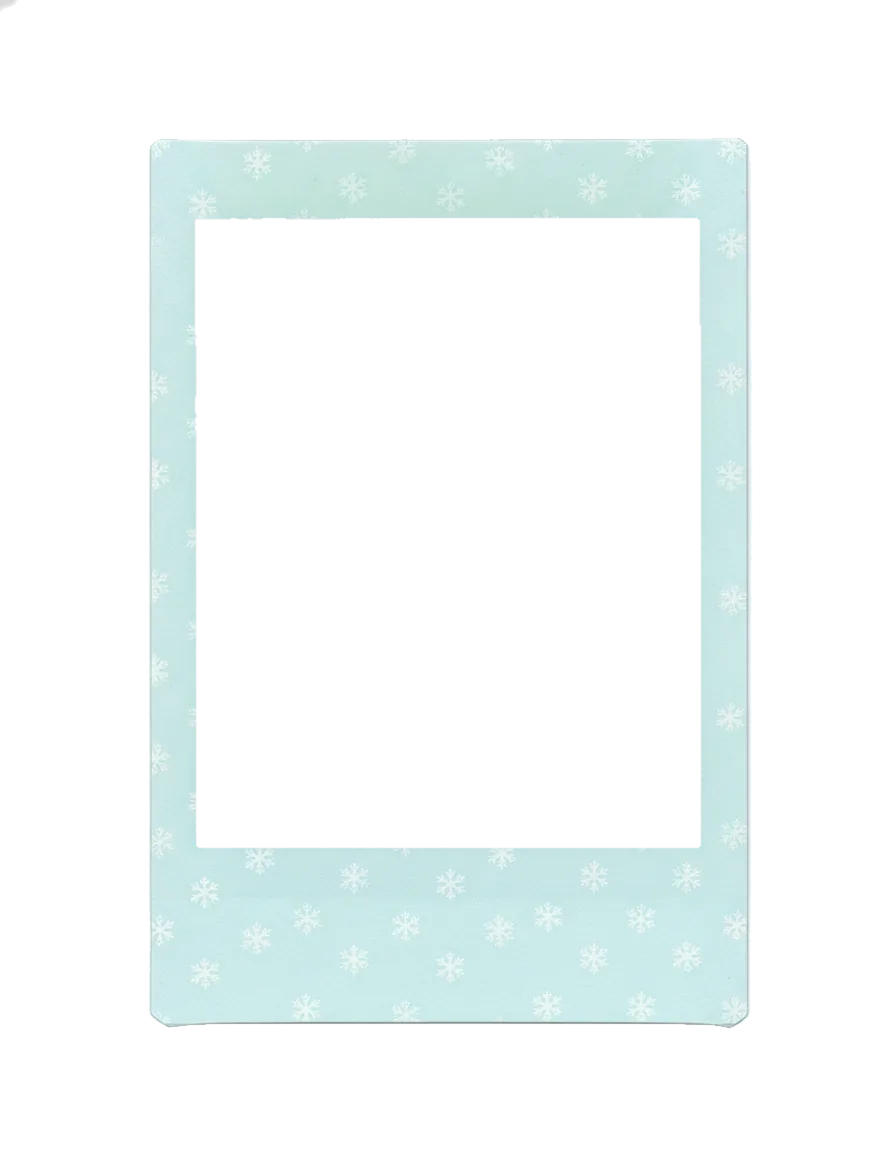
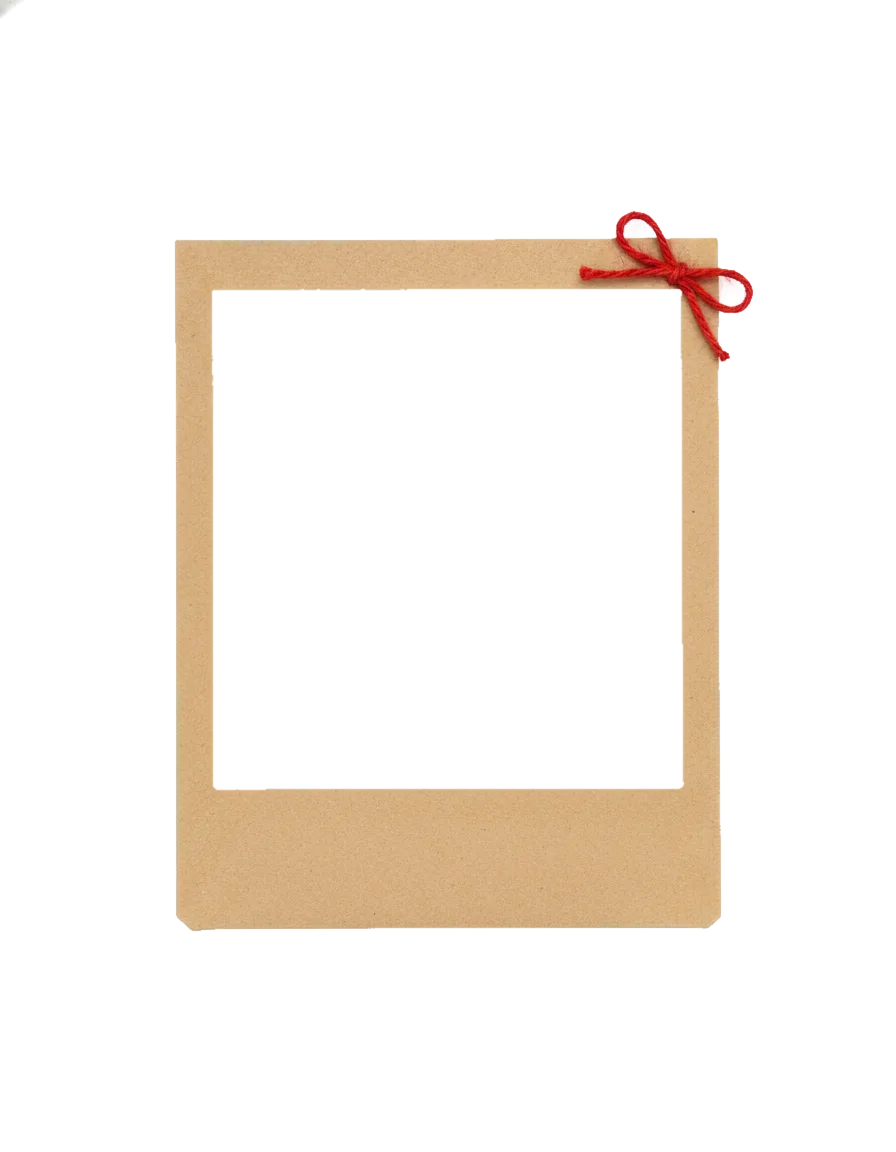
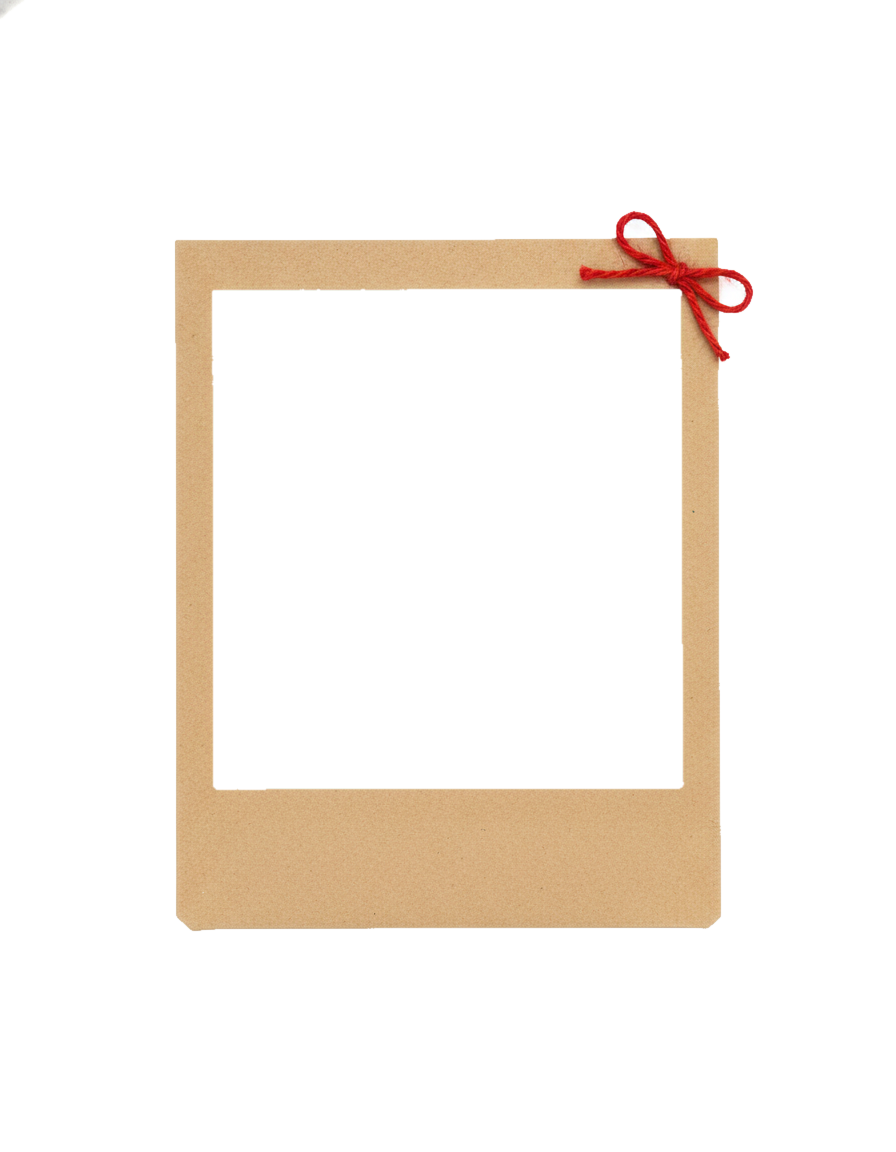
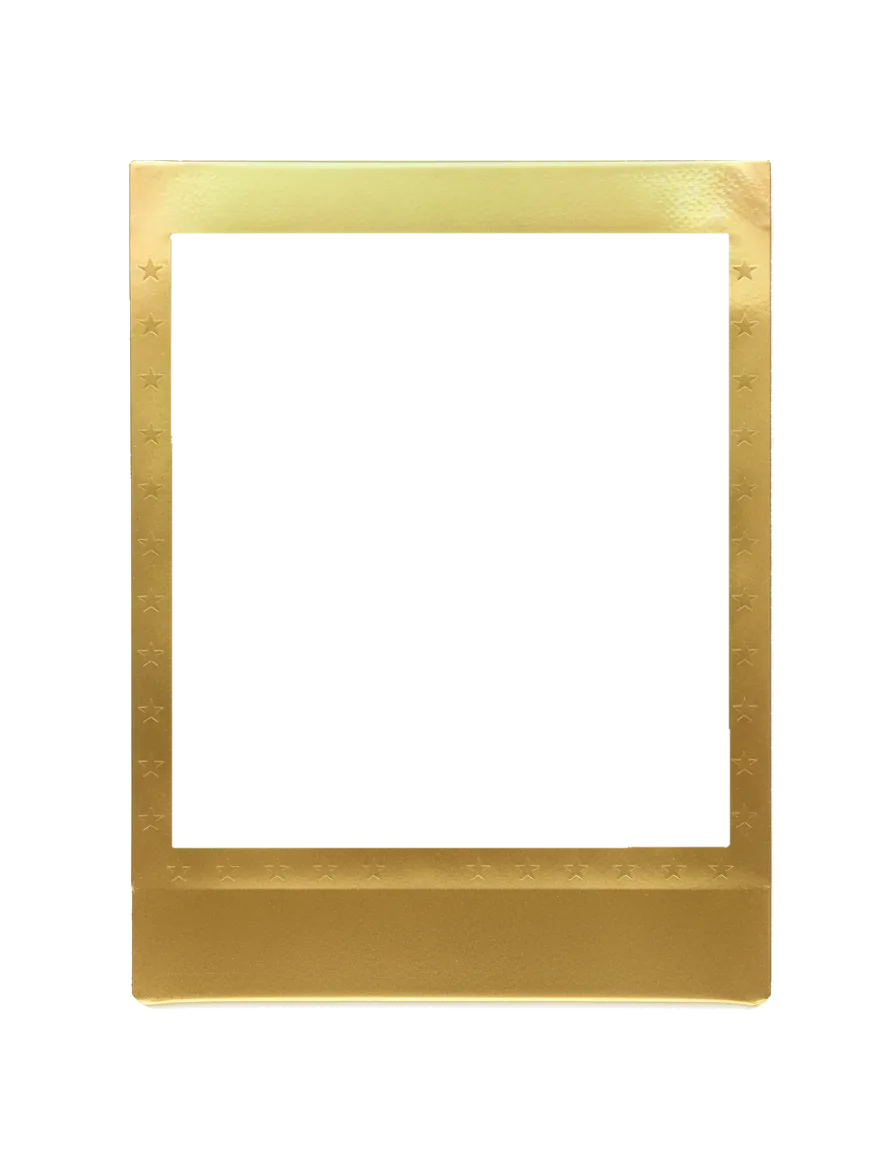
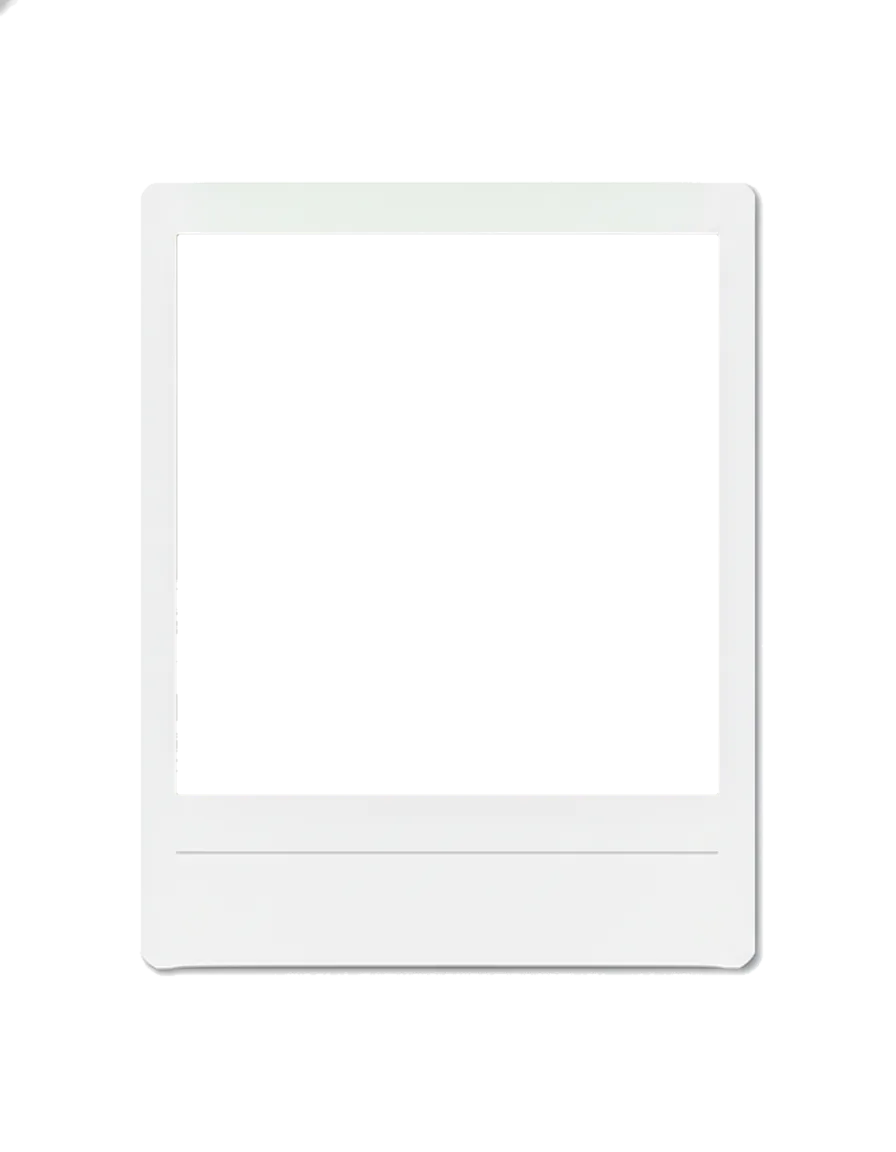
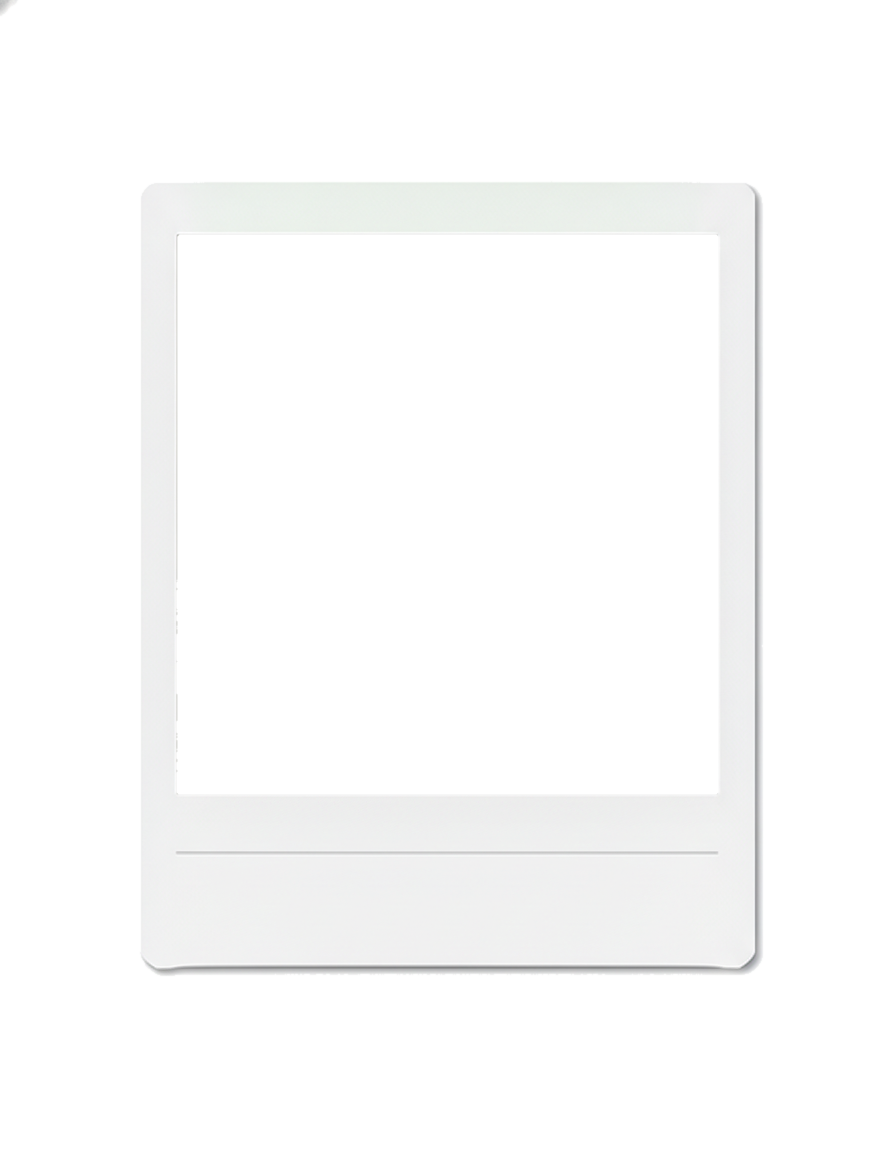
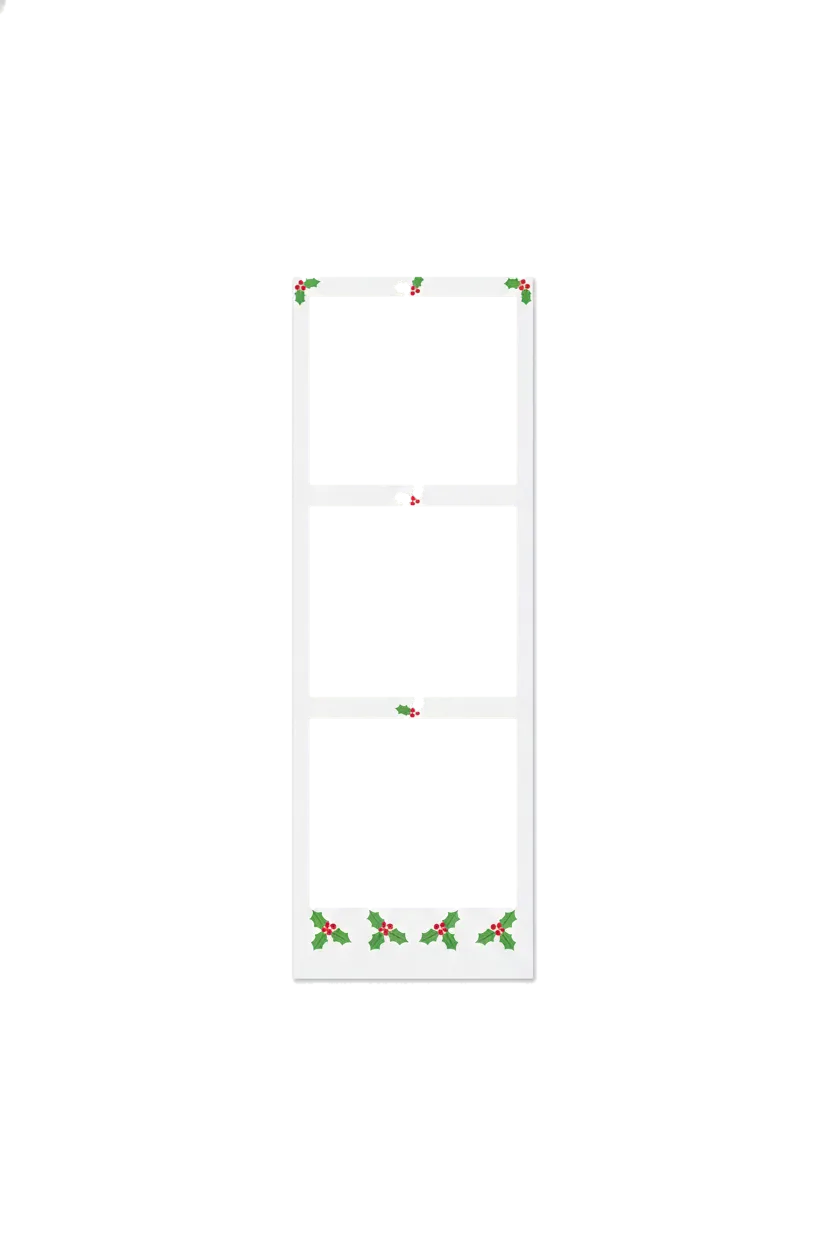
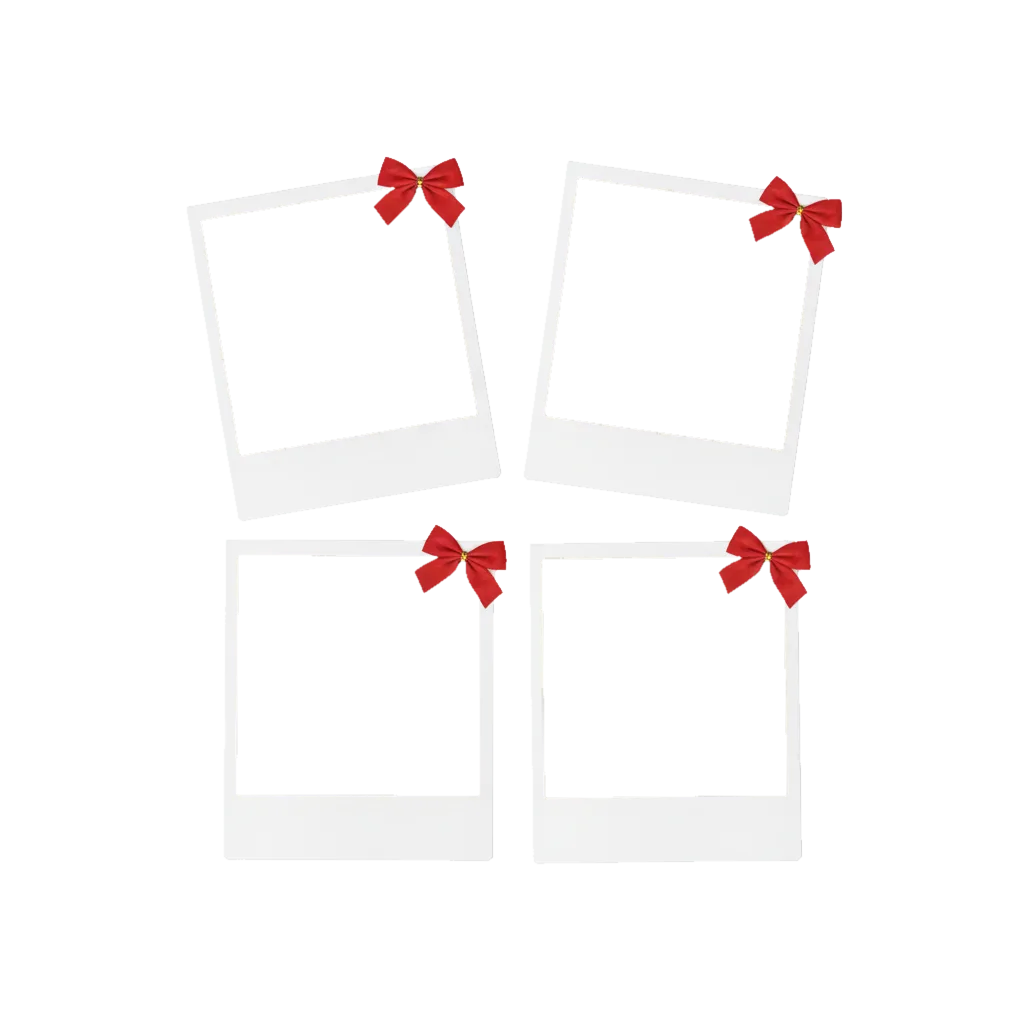
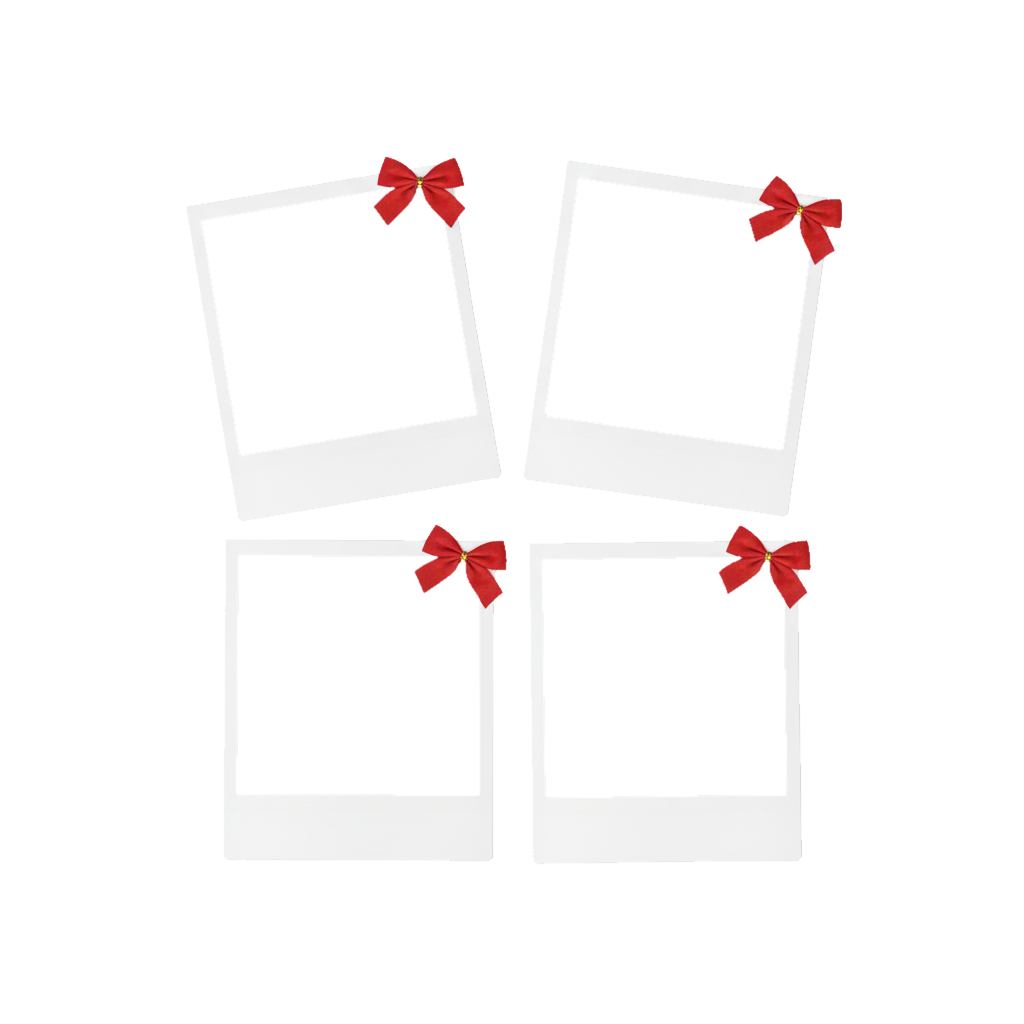
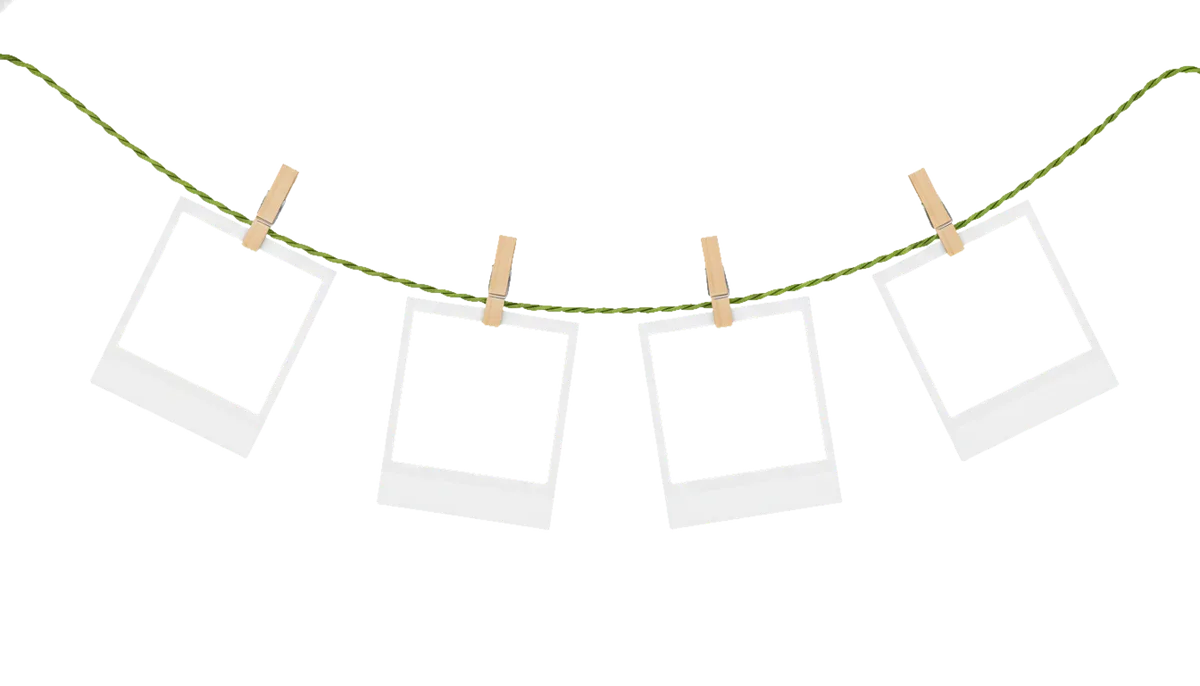
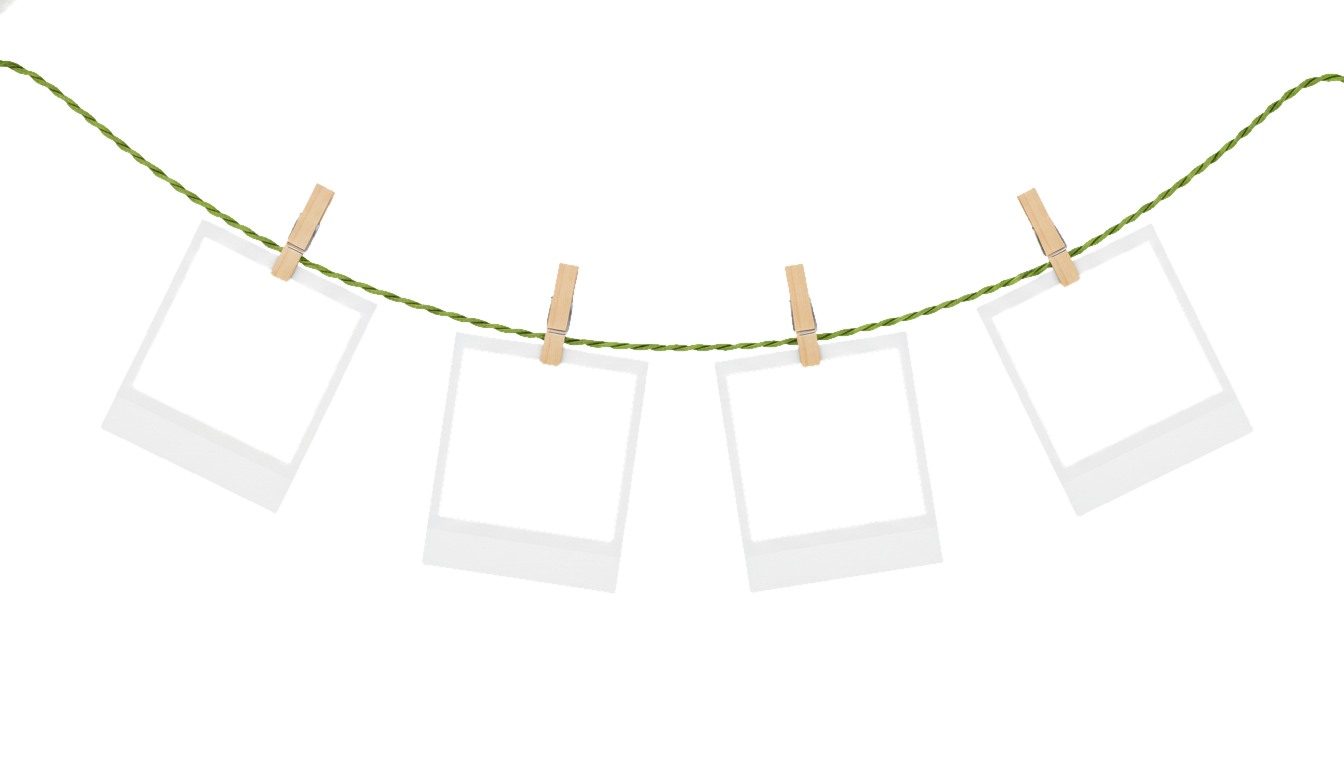
The classic, kraft, gold and caption frames work for a single photo. The plaid and snowflake frames add color to a plain picture. The strip fits three photos in a photo-booth style, the collage holds four, and the garland gives you four hanging prints on a string. The frames are stylized rather than exact copies of film, so for print sizes use the table below.
Instax and Polaroid film sizes
If you plan to print and cut your photos to match real instant film, here are the commonly listed sizes. Sources differ by a fraction of a millimeter, so treat these as close rather than exact.
| Format | Overall size | Image area | At 300 ppi (overall) |
|---|---|---|---|
| Instax Mini | 54 x 86 mm | 46 x 62 mm | 638 x 1016 px |
| Instax Square | 72 x 86 mm | 62 x 62 mm | 850 x 1016 px |
| Instax Wide | 108 x 86 mm | 99 x 62 mm | 1276 x 1016 px |
| Polaroid i-Type and 600 | 88.5 x 107.5 mm | about 79 x 77 mm | 1045 x 1270 px |
| Polaroid Go | 53.9 x 66.6 mm | about 47 x 46 mm | not listed |
Instax Mini and Polaroid frames are portrait, Instax Wide is landscape. Mini's image is a bit taller than wide, Square is exactly square, and the Polaroid window is nearly square with a deeper bottom border, which is what gives it the look. The Polaroid i-Type and 600 film share the same size.
How to put a photo inside a Polaroid frame
On a phone
Open an editor that supports layers or overlays, such as Canva, Picsart or Photoshop Express. Add your photo first, then add the frame PNG on top. Zoom and drag the photo until it fills the window, because the photo sits under the frame and the transparent part lets it show. Add a caption in the bottom border if you like, then save as a JPG or PNG.
On a PC
Photopea, GIMP, Photoshop and Canva all do the same job. Open the frame, import your photo as a separate layer, drag that layer below the frame, scale it until it covers the window with a little extra on every side, and export. Use full resolution for printing. Layers matter here: if your photo is above the frame, nothing will show through.
If you aren't sure where to start, any online Polaroid frame generator also works. Upload the photo, pick a format, crop inside the window, add an optional caption or date and download the file.
A tip for faces: look at the window shape before you crop. Instax Mini and Polaroid windows are a little taller than they are wide, while Instax Square is a true square. Keep faces slightly above center, because the deeper border at the bottom makes the whole print feel bottom-heavy.
Printing your Polaroid-style photos at home
Prepare files at 300 pixels per inch for sharp prints. Choose glossy or semigloss photo paper, and in the print dialog select Actual Size or 100 percent, not Fit to Page. Print one test first and measure it with a ruler against the size in the table. A classic Polaroid-style card and an Instax Mini-style card each fit on a 4 by 6 inch sheet of photo paper, depending on margins and layout, so you may be able to print two on one sheet.
For a sturdier card, use heavier 180 to 250 gsm paper or glue the print to thin cardstock. Cut with a craft knife and ruler for straight edges; scissors are fine for a small batch. For a batch of identical prints, arrange several finished frames on one US Letter or A4 page before you print, which saves paper and makes cutting easier.
Make a Polaroid garland
This is the project the garland frame above is for. You need printed instant-style photos, cotton string or twine, small wooden clothespins or paper clips, and removable hooks or tape. Optional extras are fairy lights, washi tape and paper stars.
- Print and cut out the photos, leaving the lower border intact.
- Cut the string longer than the span, with extra at each end, and tie a loop or knot at each end.
- Hang it from a mantel, shelf or wall with removable hooks.
- Space the prints evenly and clip each by its top edge so the border stays visible.
- Leave small gaps so it doesn't look crowded, and let the line sag a little between the ends.
Wooden clothespins hold heavier prints; paper clips leave no visible mark. If the prints curl, flatten them under a book first or mount them on cardstock. Fairy lights threaded behind the string give you a lit garland, and the same prints can go on an ornament instead: see our guide to photo Christmas ornaments.
Add Polaroid frames to your Christmas pictures automatically: upload photos to PicsMas and get framed, print-ready results.
Sign up for PicsMasGet PiXmas on the App StoreAdd Polaroid frames automatically with PicsMas
Placing a frame by hand is fine for one photo, but slow for twenty. In PicsMas you upload your pictures, pick a Polaroid frame style such as classic, kraft or plaid, and the app places each photo in the window for you. Then you download the framed pictures, or send them to print. It's the fastest way to turn a camera roll of Christmas photos into a stack of instant-style prints for a garland.
For other kinds of borders, see our overview of Christmas photo frames and the Christmas photo frames app page. For a photo-strip look, Christmas photo booth ideas has props and poses. And if the prints are for presents, the Christmas gift tags page has printable tags for them.