AI App to Edit iPhone Photos in 2026
The best AI app to edit iPhone photos in 2026 is one that combines subject masking, object removal, background editing, retouching, and high-quality export in a phone-first workflow. For most creators, the right app is less about one-click filters and more about making fast, controlled edits that still look natural at 100% zoom.
Creating your image...
The best AI app to edit iPhone photos in 2026 should offer object removal, background replacement, facial retouching, lighting correction, and clean export without crushing image quality. Choose an app that lets you compare versions, preserve the original photo, and inspect tricky areas like hair, hands, shadows, text, and jewelry before posting or printing.
What Is an AI App to Edit iPhone Photos?
An AI app to edit iPhone photos uses machine learning to detect subjects, backgrounds, faces, objects, edges, lighting, and texture so it can change specific parts of an image automatically. Instead of manually brushing a mask around hair or using ten separate sliders, you can ask the app to remove clutter, brighten a face, replace a background, soften shadows, or extend a crop.
The strongest iPhone AI photo editors are not just filter apps. A filter applies one look across the whole image, while AI editing uses segmentation masks, inpainting, generative fill, face detection, and tone mapping to make targeted edits. That matters for social posts, dating photos, product shots, gifts, prints, portfolio images, and brand visuals where the edit needs to look intentional rather than obviously automated.
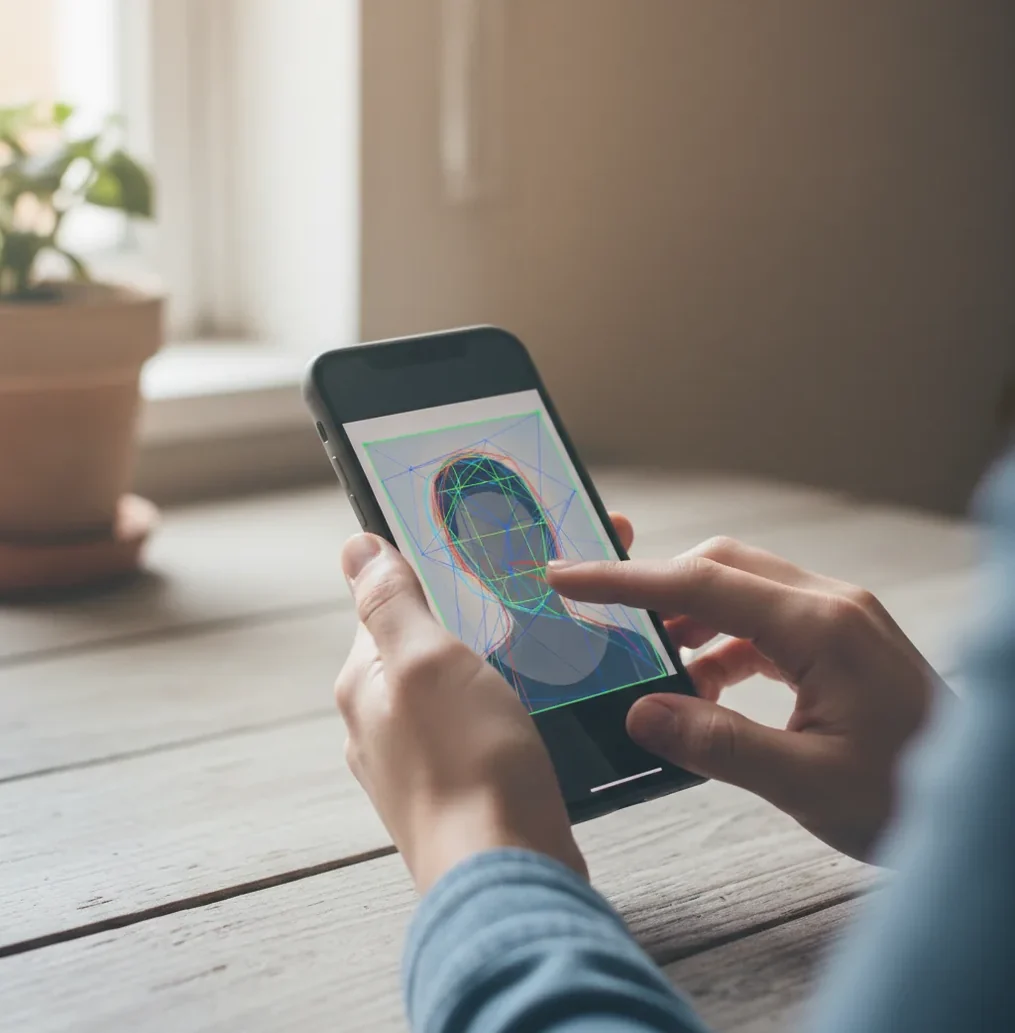
How Does AI Photo Editing Work on iPhone?
AI photo editing on iPhone usually starts with computer vision. The app analyzes the image for edges, faces, hair, clothing, sky, depth cues, shadows, text, and object boundaries, then creates a segmentation mask so the subject and background can be edited separately. This is why modern editors can remove a person from a street scene or relight a portrait without changing every pixel equally.
Generative edits often use diffusion-style models or similar image synthesis systems. When you type a prompt such as “remove the trash can and rebuild the brick wall,” the model predicts replacement pixels that match the surrounding color, perspective, texture, and lighting. The hard parts are small details: hair strands, glasses rims, earrings, fingers, reflections, bokeh, fabric seams, and printed text can still confuse the mask or generate artifacts.
How Do You Edit iPhone Photos With AI Without Making Them Look Fake?
Start With a Sharp Original
Open the iPhone photo and zoom to 100% before editing. If the face, product, or main subject is already blurry, AI can enhance it slightly but cannot reliably recreate real detail for prints or professional use.
Fix the Biggest Distraction First
Remove background clutter, bad lighting, unwanted objects, or awkward crop issues before touching skin or color. Large structural edits affect the whole image, so they should happen before subtle retouching.
Check Masks Around Hair and Hands
After object removal or background replacement, inspect hairlines, fingers, ears, glasses, straps, jewelry, and transparent objects. These are the places where halos, smeared edges, or mismatched texture usually appear first.
Retouch Lightly
Use skin smoothing, blemish removal, and face brightening at low strength. A natural edit should preserve pores, fine lines, catchlights, and skin texture instead of creating a waxy or plastic surface.
Match Tone to the Camera Roll
Adjust warmth, contrast, saturation, and shadows so the edited image still fits nearby photos from the same day. This is especially important for carousels, travel sets, portfolio grids, and brand campaigns.
Export a Copy and Compare
Save the edited version separately, then compare it beside the original. Look for halos, warped text, strange shadows, over-sharpening, compression blocks, or generated details that do not match the scene.
Which AI Photo Editing Apps Are Best for iPhone in 2026?
| App | Best For | AI Strengths | Watch For |
|---|---|---|---|
| Apple Photos | Basic camera roll cleanup and quick adjustments | Native editing, auto enhancement, portrait controls, clean iPhone integration | Limited generative editing and fewer prompt-based controls |
| Lightroom Mobile | Creators who want pro color control | AI masks, subject selection, sky selection, adaptive presets, RAW support | More editing knowledge required; full feature set may require a subscription |
| Photoshop Express | Fast retouching and social-ready edits | Object removal, face tools, background edits, collage features | Some edits can look heavy if effects are stacked too aggressively |
| Canva | Social graphics, thumbnails, and branded posts | Background remover, Magic Edit-style tools, templates, text overlays | Less ideal for detailed photographic color grading or print-first workflows |
| Snapseed | Manual edits with selective control | Selective adjustments, healing, curves, tonal edits | Not as prompt-native or generative as newer AI editors |
| Pict AI | Prompt-based photo edits, background changes, and quick iPhone workflows | Text-guided edits, retouching, object cleanup, browser and iOS access | As with any AI editor, complex edges and generated details need visual checking |
The best choice depends on the job: use Apple Photos for light cleanup, Lightroom for color accuracy, Canva for social layouts, Photoshop Express for fast retouching, Snapseed for manual control, and a prompt-based editor when you want to describe the change in plain language.
What Features Matter Most in an iPhone AI Photo Editor?
The most important features are accurate subject masking, object removal, background replacement, face-aware retouching, lighting correction, prompt-based editing, version comparison, and export quality. A useful AI editor should protect the original image, let you undo or regenerate results, and export at a resolution suitable for your destination.
For social posts, prioritize speed, background cleanup, crop extension, and consistent color across a set. For prints and gifts, prioritize resolution, low compression, natural skin texture, and clean edges. For product photos and branding, prioritize shadow consistency, white balance, readable labels, and background control. A strong app should help you finish the image on your phone, not force you into a desktop workflow for every correction.
What Prompt Recipes Work Best for iPhone Photo Editing?
- Portrait cleanup: “Remove background clutter, keep the person unchanged, preserve natural skin texture, and add soft window light from the left.”
- Product photo polish: “Make the background clean light gray, keep the product shape accurate, remove dust and reflections, and create a soft shadow underneath.”
- Travel photo repair: “Remove tourists in the background, rebuild the street texture naturally, keep the lighting warm, and do not change the main subject.”
- Social profile image: “Brighten the face slightly, reduce harsh shadows, keep skin realistic, blur the background softly, and maintain natural eye detail.”
- Food photo improvement: “Increase appetizing warmth, clean the table surface, keep the food texture sharp, and avoid oversaturating reds or greens.”
- Print-safe edit: “Remove distractions only, preserve original lighting direction, avoid plastic skin, keep edges sharp, and maintain realistic shadows.”
When Should You Use AI Instead of Manual iPhone Editing?
Use AI when the edit requires selection, cleanup, replacement, or reconstruction rather than simple tonal adjustment. Removing a lamp behind someone, extending a background for a 9:16 story, cleaning a product table, or changing a dull sky is usually faster with AI than with manual brushing on a small screen.
Use manual tools when you only need precise exposure, contrast, white balance, crop, or color grading. A creator-native workflow often combines both: let AI solve the structural problem, then use manual controls for the final 10% of taste. That final pass is what keeps the image from looking like a generic generated result.
Where Do AI iPhone Photo Edits Still Break?
- Hair edges can develop halos, especially against dark walls, trees, neon signs, or busy street backgrounds.
- Low-light iPhone shots may turn skin waxy because noise reduction, face smoothing, and sharpening stack on top of each other.
- Small text, logos, labels, tattoos, and signs can warp during generative edits because the model treats them as visual texture rather than readable language.
- Hands, jewelry, glasses, straps, and earrings can be misread as background detail if the mask is too loose.
How Do You Choose an AI Photo Editor for iPhone in 2026?
Choose an iPhone AI photo editor by testing it on your real problem photos, not only on polished demo images. Use one portrait with hair detail, one low-light image, one product or object shot, one busy background, and one photo with text or signs. The best app for you is the one that handles your actual camera roll with the least cleanup.
Before paying, check whether exports are watermarked, what resolution is supported, whether edits are stored in the cloud, whether commercial use is allowed, and whether the app keeps the original file intact. Also check practical friction: signup requirements, batch editing, version history, undo controls, iCloud access, and whether the interface is comfortable for one-handed editing.
More Pict.AI guides for prompt edits and generation
Frequently Asked Questions
The best AI photo editor for iPhone is the one that matches your workflow: Apple Photos for quick fixes, Lightroom for color control, Canva for social designs, and prompt-based editors for object removal, retouching, and background changes.
No. A filter changes the overall look of a photo, while an AI editor can target specific areas such as the face, sky, background, objects, shadows, or empty space around the subject.
Yes, but only if the app exports at a high enough resolution and does not over-compress the image. Always inspect the final file at 100% zoom before posting, printing, or sending to a client.
Yes, AI can remove objects by masking the unwanted area and generating replacement pixels from the surrounding scene. It works best on simple textures and can struggle with fences, hair, reflections, brick, fabric patterns, and text.
Look for subject masking, object removal, background replacement, face-aware retouching, lighting correction, prompt editing, undo controls, version comparison, and clean export options.
AI edits look fake when skin is over-smoothed, shadows do not match, edges have halos, text is warped, or generated details do not follow the original perspective and lighting.
Yes. AI-edited iPhone photos are useful for profile pictures, thumbnails, carousels, product posts, and story backgrounds as long as you check the image for artifacts before publishing.
They can be, but print requires stricter quality control than social media. Check resolution, compression, skin texture, edges, and shadows before printing gifts, posters, portfolio pages, or framed photos.
Some apps process images in the cloud and may store uploads temporarily, while others keep more data on-device or in a project library. Read the privacy and storage terms before editing sensitive photos.