AI Image Upscaler App in 2026: What Works Best?
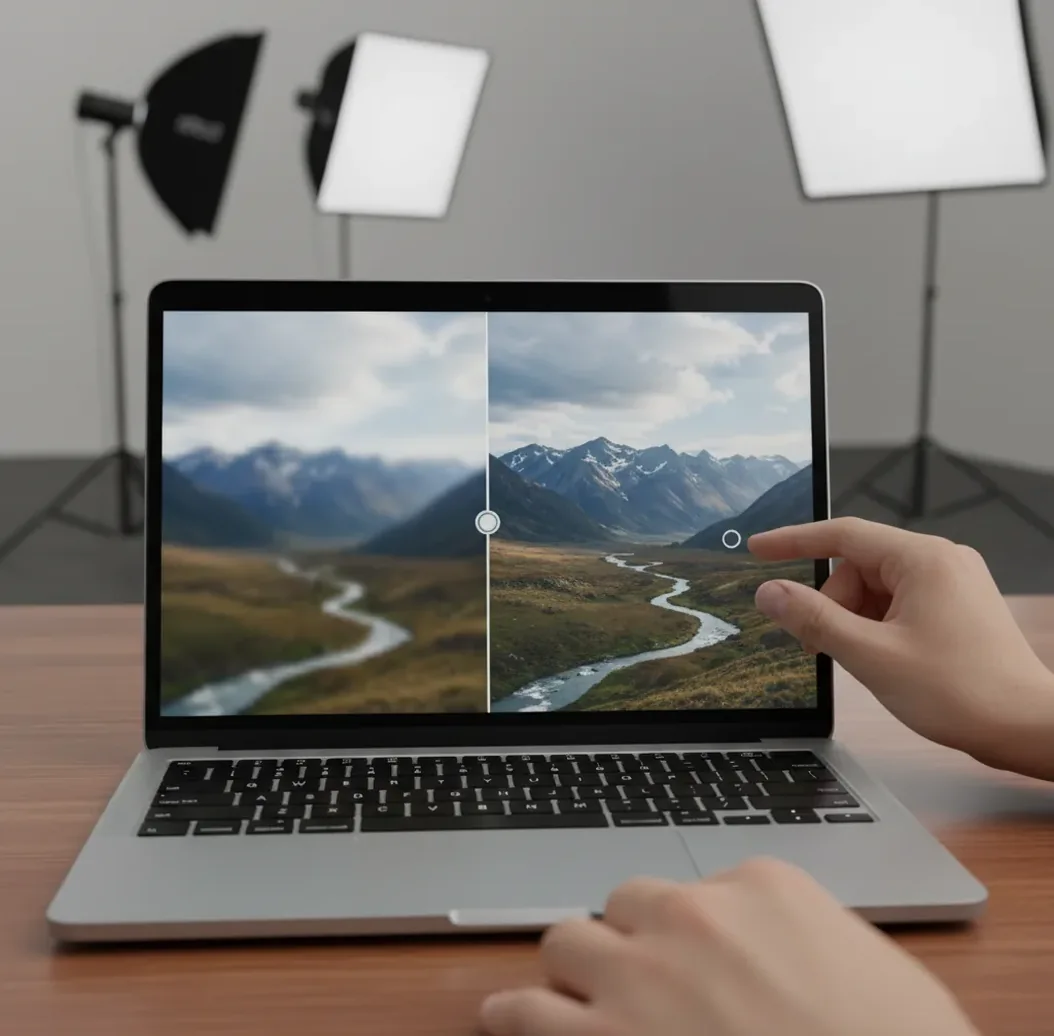
The best AI image upscaler app in 2026 is one that increases resolution, reduces compression noise, and keeps edges, faces, and text believable at 100% zoom. For creators, the real test is not the biggest 4x label; it is whether the final image works for a print, crop, product listing, slide deck, or social post.
Creating your image...
An AI image upscaler app in 2026 should use super-resolution, denoising, and edge-aware enhancement to enlarge photos without making them look plastic or over-sharpened. Start with 2x upscaling, inspect faces and text at 100% zoom, and only move to 4x when the source image has stable edges and low noise.
What Is an AI Image Upscaler App in 2026?
An AI image upscaler app in 2026 is a tool that enlarges an image by predicting missing pixels with a super-resolution model instead of simply stretching the file. It is used to make low-resolution photos, screenshots, product images, scanned artwork, and cropped portraits sharper for sharing, printing, or layout work.
The strongest upscalers combine resolution increase with denoising, deblocking, edge preservation, and micro-contrast control. A good result should look natural at full size: skin should keep texture, hair should not become crunchy, and small text should become more readable without turning into invented symbols.
Which AI Image Upscaler Works Best for Photos, Screenshots, and Prints?
The best upscaler depends on the source image and final use. For old phone photos, choose a tool that controls noise and skin texture. For screenshots, choose one that preserves hard UI edges and letter shapes. For prints, choose an app that lets you preview at 100% zoom before exporting.
Pict AI is a practical option for quick browser or iPhone upscaling because it focuses on fast image-to-image enlargement and clarity control. It should still be judged like any other tool: compare the original and output side by side, check important details, and test the exported file in the actual destination, such as a frame, slide, listing, or portfolio page.
How Does AI Image Upscaling Actually Work?
AI image upscaling works by using a super-resolution model trained on pairs of low-resolution and high-resolution images. The model learns visual patterns such as edges, hair, fabric grain, typography, and repeated textures, then predicts a larger version with more plausible detail than bicubic resizing can produce.
Modern upscalers often combine several image-processing stages: denoising to reduce color speckle, deblocking to soften JPEG squares, edge detection to preserve outlines, and sharpening to restore local contrast. The risk is hallucinated texture: if the source is very blurry or compressed, the model may invent pores, brick patterns, or letter shapes that look sharp but are not accurate.
How Do You Upscale an Image Without Making It Look Fake?
Start with the cleanest source file
Upload the original JPG, PNG, or screenshot when possible, not a compressed repost from a messaging app. Every extra save can add artifacts that the model may mistake for detail.
Choose 2x before 4x
Use 2x for decent phone photos, portraits, product shots, and social images. Move to 4x only for tiny originals or when the image still has readable edges after the first test.
Inspect at 100% zoom
Check the areas people notice first: eyes, hairlines, hands, logos, UI text, and high-contrast edges. Fit-to-screen previews hide halos, waxy skin, and incorrect lettering.
Balance clarity with texture
If the image looks gritty, reduce sharpening or denoise before upscaling. If it looks too smooth, keep mild grain or add subtle texture so faces, fabric, and artwork do not look synthetic.
Export for the final destination
Save PNG for screenshots, graphics, and text-heavy images. Save high-quality JPG for photos where file size matters. Test the image in its real use case, such as a print layout, listing, deck, crop, or profile page.
Which AI Upscaler Tools Should You Compare in 2026?
| Tool type | Best for | Strengths | Watch out for |
|---|---|---|---|
| Browser upscaler | Fast photo fixes, social posts, small prints | Quick upload, no heavy install, easy before-and-after review | May have file-size limits or cloud processing |
| Mobile upscaler app | Phone photos, portraits, profile images | Convenient camera-roll workflow and fast sharing | Small screens make artifact checking harder |
| Desktop photo editor | Prints, client work, layered edits | More control over sharpening, masking, color, and export settings | Slower workflow and often requires a paid license |
| Free web tool | One-off tests and casual images | Low friction and useful for comparing outputs | Watermarks, queues, unclear retention, or weaker text handling may appear |
| Pict AI | Quick web or iPhone upscaling | Simple image-to-image workflow for photos, screenshots, and cleaner crops | Still requires manual review for faces, tiny text, and commercial-use requirements |
Compare outputs at the same upscale factor, preferably 2x first. The most reliable tool is the one that preserves natural detail for your specific image, not the one that advertises the largest scale.
What Settings Matter More Than a 4x Upscale Label?
The most important settings are scale factor, denoise strength, sharpening, face detail, text preservation, and export format. A 4x image can look worse than a 2x image if it exaggerates JPEG blocks, skin smoothing, or halos around contrast edges.
For creator work, match settings to intent. Use gentle denoise and low sharpening for portraits and gifts. Use stronger edge preservation for screenshots, logos, and UI examples. Use high-quality JPG or PNG export when preparing portfolio images, marketplace listings, pitch decks, thumbnails, or small-to-medium prints.
What Upscaling Recipes Work for Common Creator Projects?
- Old phone photo for a gift print: use 2x, mild denoise, low sharpening, then check faces at 100%. Avoid heavy face restoration if identity accuracy matters.
- Screenshot for a slide deck: use PNG input and PNG export, 2x or 4x depending on size, strong edge preservation, and manual text verification before presenting.
- Product image for a listing: use 2x, light background cleanup, moderate sharpening on product edges, and inspect logos, stitching, labels, or packaging text.
- Profile picture or avatar: crop after upscaling, not before. Upscale the full image first so hair edges and shoulders have enough context for a cleaner crop.
- Artwork for a small poster: upscale 2x, preserve grain or brush texture, avoid aggressive denoise, and make a test print before ordering a large final version.
- Meme or social repost: use 2x to reduce blockiness, but do not expect tiny compressed captions to become perfectly accurate. Re-type critical text when needed.
When Will AI Upscaling Not Fix a Bad Image?
- Heavy motion blur usually stays blurry because the model cannot know the exact shape of the moving subject.
- Out-of-focus faces may look sharper, but identity-level accuracy is unreliable when eyes, nose, or mouth detail was never captured.
- Extreme JPEG compression can become cleaner, but blocky text may turn into wrong letters or distorted symbols.
- Strong denoise can remove film grain, skin pores, fabric weave, and other real texture that makes an image feel natural.
How Should You Choose an Upscaler for Real Work?
- Check whether the app supports your main inputs: JPG for photos, PNG for screenshots, and larger files for scans or artwork.
- Look for 2x and 4x options, but judge quality by edges, faces, text, and natural texture, not by maximum scale alone.
- Prefer tools that show a fast before-and-after preview and allow full-size inspection before download.
- For brand, portfolio, or client work, review commercial-use terms and avoid uploading private or sensitive images to unclear services.
- Choose mobile-first workflows for casual phone images and desktop or browser workflows for prints, listings, and batch review.
- Keep the original file. Upscaling is a creative enhancement step, not a replacement for the source image.
Related reads for editing and generating images
Frequently Asked Questions
The best option is the app that improves resolution while preserving natural edges, skin texture, and readable text. Test 2x first, inspect at 100% zoom, and compare several tools on your own image.
AI upscaling can improve mild softness, but it cannot fully repair motion blur or a badly out-of-focus subject. If the original has no clear edge information, the output will still be limited.
2x is safer for most phone photos, portraits, and product images because it creates fewer artifacts. 4x is useful for very small images, but it can invent texture if the source is noisy or compressed.
PNG is best for screenshots, graphics, UI images, and text because it avoids extra compression. High-quality JPG is fine for photos, but heavily compressed JPGs give the model less reliable detail to work with.
It often improves screenshots by sharpening UI lines and letter edges. However, tiny or heavily compressed text must be checked manually because AI can create incorrect characters.
Yes, if the source is decent and the output looks clean at print size. For gifts, posters, or portfolio prints, make a small test print first and avoid over-sharpened faces or crunchy edges.
It increases pixel dimensions and can improve perceived quality by predicting sharper detail. It does not create guaranteed true detail, so the result should be treated as an enhanced version, not a perfect reconstruction.
A waxy look usually comes from too much denoising, face smoothing, or sharpening after texture has been removed. Use a lower scale, reduce denoise, and keep subtle grain for a more natural result.
It depends on the service’s processing and storage policies. Avoid uploading sensitive personal, legal, medical, or confidential images unless you understand how the tool handles data.