AI Passport Photo App in 2026: Which Is Best?
The best AI passport photo app in 2026 is the one that crops to official dimensions, centers the face, cleans the background, and exports both digital and print-ready files. It should help you meet size, head-position, background, lighting, and resolution rules, but you still need to verify the final image against your country’s latest official checklist.
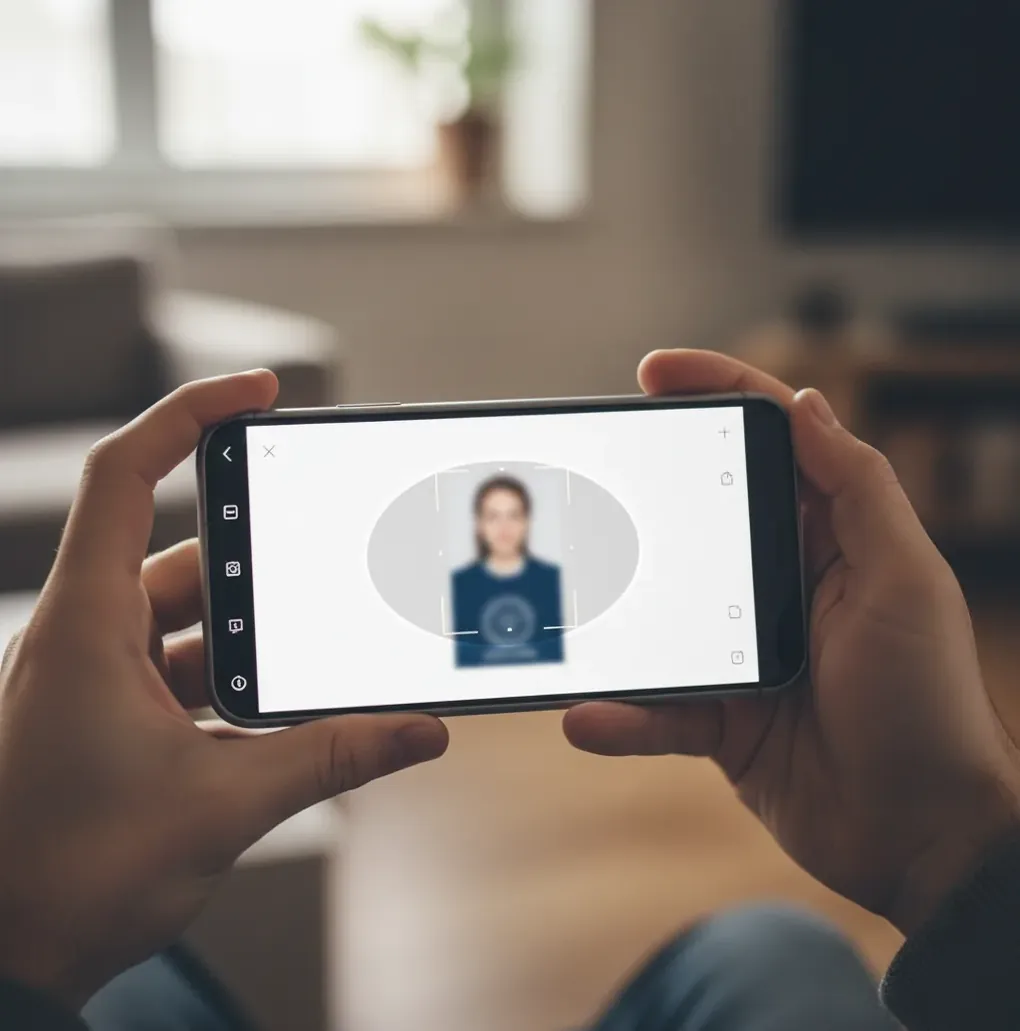
Creating your image...
The best AI passport photo app in 2026 automatically detects the face, crops to the required passport or visa size, replaces the background with an accepted color, and exports a compliant digital file or print sheet. AI can speed up formatting and background cleanup, but it cannot guarantee approval because passport photo rules differ by country, agency, and application type.
What Is the Best AI Passport Photo App in 2026?
The best AI passport photo app in 2026 is not simply the app with the strongest background remover. It is the tool that combines face detection, official crop presets, background replacement, export sizing, and a final compliance review in one workflow. A good app should support common outputs such as 2 x 2 inches, 35 x 45 mm, digital upload files, and printable photo sheets.
Look for practical checks: eye-line alignment, head-size guides, neutral background colors, minimum resolution warnings, and a 100% zoom preview around hair, ears, glasses, and shoulders. Tools such as Pict AI are useful when you want browser or iOS-based formatting from a regular phone photo, but the final decision should always be based on the official rules for your country or visa category.
How Does an AI Passport Photo Maker Work?
An AI passport photo maker uses computer vision to locate the face, estimate facial landmarks, separate the subject from the background, and resize the image to a target specification. Face detection identifies key points such as the eyes, chin, crown, and nose bridge so the app can center the head and place the eyes near the required guide line.
Background removal usually relies on segmentation models that classify pixels as person, hair, clothing, or background. The app then replaces the wall with white, off-white, light gray, or another accepted color. The final export step matters just as much as the edit: many photos that look correct get rejected because the pixel dimensions, file size, compression, or print layout are wrong.
How Do You Turn a Phone Photo Into a Passport Photo?
Shoot in soft front light
Stand facing a window or another even light source. Avoid overhead bathroom lights because they create nose shadows, chin shadows, and forehead shine.
Use a plain wall with distance
Stand about 2 to 4 feet from a white, off-white, or light gray wall. Distance reduces the dark halo shadow that can survive background replacement.
Keep the pose official
Face the camera directly, keep both eyes open, use a neutral expression, and remove hats, headphones, sunglasses, and heavy filters.
Upload and choose the requirement
Open the passport photo tool, upload the image, and select the target country, visa type, or exact dimensions if you already know them.
Review the crop and edges
Check the eye line, head size, shoulders, hair edges, glasses, and ears at 100% zoom. Re-shoot if the source image is blurry or strongly backlit.
Export and verify
Download the digital file or print sheet, then compare it with the official passport or visa photo checklist before submitting.
Which Passport Photo Apps and Tools Should You Compare?
| Option | Best for | Strengths | Watch out for |
|---|---|---|---|
| Pict AI | Fast browser or iOS passport-style photo creation | Auto-crop, background cleanup, common ID exports, quick phone workflow | Still requires manual review against official country rules |
| Dedicated passport photo services | Users who want guided country presets | Often include compliance checklists, print layouts, and paid review options | Some require subscriptions, accounts, or paid downloads |
| Government photo checker tools | Final validation before upload | Usually aligned with the specific agency’s digital submission system | They may reject formatting without explaining how to fix the photo |
| Local pharmacy or studio | People who prefer in-person help | Controlled lighting, physical prints, staff familiarity with common sizes | Less convenient for last-minute digital uploads or re-edits |
| General AI background removers | Simple white-background headshots | Good for quick cleanup and object separation | Usually lack passport-specific head-size, eye-line, and export rules |
Choose a passport-specific tool when the output must meet government dimensions. Use a general background remover only when you already understand the required crop, resolution, and file specifications.
What Camera Setup Gives the Most Acceptable Passport Photo?
The most reliable setup is a phone camera at eye level, a plain wall, soft front-facing light, and enough wall distance to prevent shadows. Use the rear camera if possible because it usually has better optics than the selfie camera. Keep the lens clean, turn off beauty filters, and avoid portrait mode blur because passport reviewers need natural skin texture and clear facial edges.
Use this repeatable shoot recipe: place the phone 4 to 6 feet away, keep the camera at eye height, stand 2 to 4 feet from the wall, look straight into the lens, relax your shoulders, and take 5 to 10 frames. Pick the sharpest frame before uploading. A slightly boring, evenly lit photo is better than a flattering photo with shadows, glare, or edited-looking skin.
What Prompt or Checklist Should You Use Before Exporting?
- Use this review prompt for yourself: “Does this photo have a plain accepted background, both eyes visible, a centered head, no strong shadows, no glare, natural skin texture, and the exact required size?”
- Use this export checklist: “Country or visa preset selected; crop guide aligned; head size checked; background color verified; file dimensions correct; file size accepted; print layout optional.”
- Use this re-shoot trigger: if the eyes are soft, glasses reflect light, hair edges look cut out, shoulders are unevenly cropped, or the wall shadow is visible, take a new source photo instead of over-editing.
- Use this kid-photo workflow: shoot in burst mode, place the child in soft window light, keep toys out of frame, choose the calmest neutral-expression frame, then crop only after selecting the sharpest image.
Where Can You Use AI-Formatted Passport Photos?
AI-formatted passport photos are commonly used for passport renewals, visa applications, residency documents, green card-style submissions, student IDs, employee badges, travel agency paperwork, and replacement files after a rejected upload. The same workflow is also useful for profile-style images that need a clean background, consistent crop, and printable output.
The important distinction is that “passport-style” does not always mean “passport-approved.” A work badge or school ID may accept a clean headshot with flexible crop rules, while a government application may enforce exact millimeter dimensions, face-height ranges, background tone, file size, and image age. Treat official travel documents as the strictest use case.
When Can an AI Passport Photo Still Be Rejected?
- The original photo is blurry, low-resolution, over-compressed, or shot in dim light, so the AI cannot recover real detail around the eyes and hairline.
- Glasses create glare over the pupils or frames cover the eyes; many systems reject this even if the background and crop are correct.
- The country or visa category requires a different size, head-height range, file format, or background color than the preset you selected.
- Background replacement leaves a halo around hair, ears, shoulders, or glasses because the source wall shadow was too strong.
How Should You Choose a Passport Photo App Without Wasting Time?
Choose a passport photo app by starting with the requirement, not the edit. First confirm the country, document type, photo size, background color, file format, and upload limits. Then pick a tool that supports those specifications directly instead of forcing you to guess crop ratios in a general photo editor.
A strong 2026 passport-photo workflow should include country presets, manual crop adjustment, background cleanup, digital and print exports, no visible watermark on the final file, and clear privacy language. If you are on a deadline, test the app with one photo before relying on it for the final submission. If the first source photo has glare, shadows, or blur, re-shooting is usually faster than trying to repair it.
Frequently Asked Questions
Yes, you can use an AI passport photo app to format the image, but approval depends on the official rules for your country or agency. Always compare the final file with the latest government checklist before submitting.
AI can crop, center, and clean up a selfie, but the source photo must still be sharp, evenly lit, front-facing, and natural. Many selfie-camera images fail because of lens distortion, soft detail, or beauty filters.
White or off-white is common, but some countries accept light gray or have stricter background rules. Check the requirement for the exact passport, visa, or residency application.
Common reasons include incorrect head size, visible shadows, glasses glare, wrong pixel dimensions, low resolution, unnatural retouching, and the wrong background color. A photo can look fine visually and still fail a technical upload check.
Not always. A free or basic tool may be enough if it exports the correct size without a watermark, but paid options may offer more country presets, print layouts, or manual review.
Yes, if the app exports a print sheet at the correct physical size and you use high-quality photo paper. Make sure printer scaling is set to 100% so the photo does not resize accidentally.
Most support common sizes such as 2 x 2 inches and 35 x 45 mm, plus digital upload dimensions for different countries. The required size depends on the issuing authority.
It can be safe if the service has clear privacy and retention policies, but you should avoid uploading unrelated sensitive documents. Only upload the headshot needed to create the photo.
Yes, but children are harder because movement, open mouths, tilted heads, and shadows are common. Use burst mode, soft light, and the sharpest neutral-expression frame before cropping.