Best AI Sticker Generator App in 2026
The best AI sticker generator app in 2026 does three jobs well: generates sticker-style art, removes the background cleanly, and exports a transparent PNG you can actually use. For chat stickers, social posts, gifts, prints, and branding, edge quality matters as much as the artwork itself.
Best AI Sticker Generator App in 2026
- Upload a clear photo of one person, pet, or object you want to turn into a sticker.
- Describe the sticker style, pose, and outline, or choose a preset that suits your subject.
- Generate sticker variations, then select the version with the clearest expression and fewest unwanted details.
- Review the cutout for missing edges, remove leftover background pixels, and export a transparent PNG.
Example prompt: Cute black cat sticker, thick white outline, flat shading, simple silhouette, transparent background, centered, high resolution
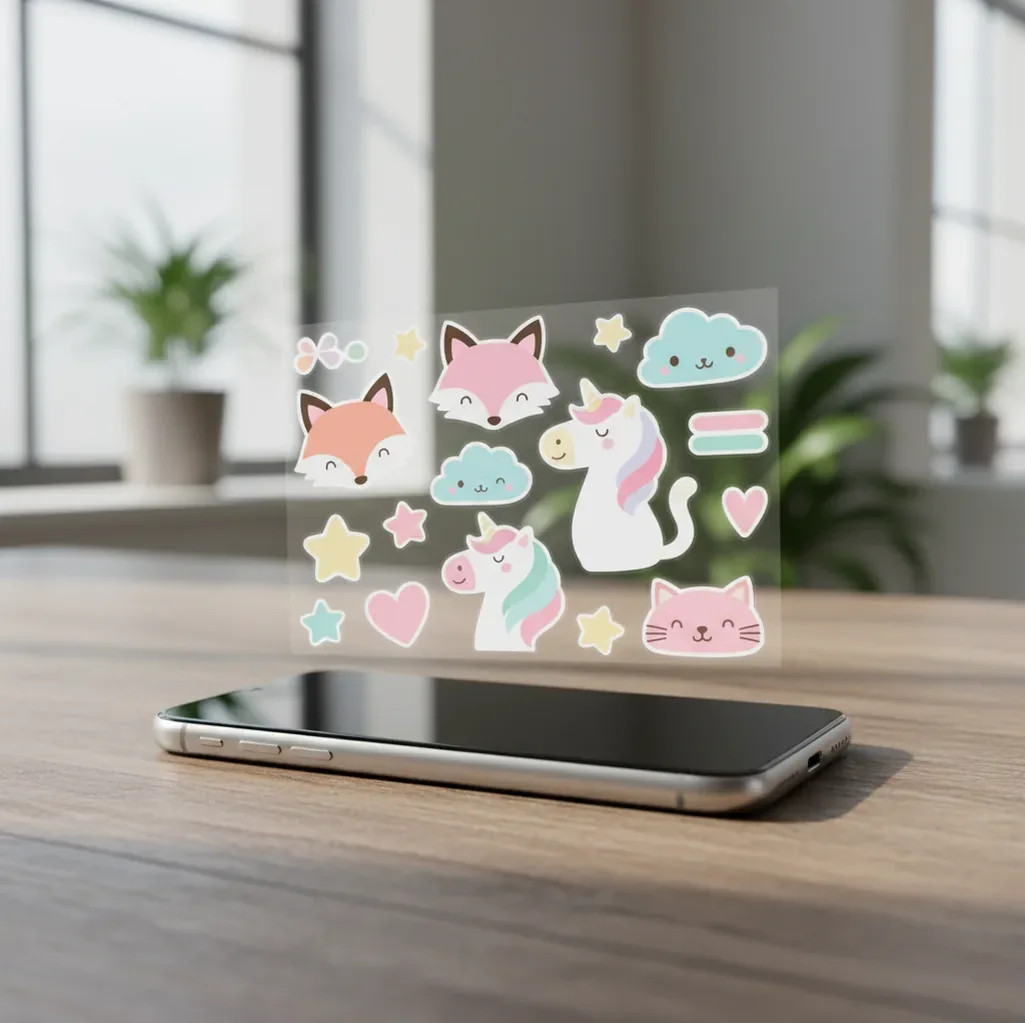
The best AI sticker generator app in 2026 is one that combines text-to-image or photo-to-sticker generation, accurate background removal, and transparent PNG export at 1024 px or higher. Choose a tool that lets you inspect edges, add a white outline, upscale, and test the sticker in the chat or print workflow where it will be used.
What Is an AI Sticker Generator App in 2026?
An AI sticker generator app is a tool that turns a text prompt or photo into a sticker-style image, usually with a transparent background. In 2026, the strongest sticker tools combine image generation, background removal, edge cleanup, and export settings instead of only producing cute artwork.
A good sticker output should have a readable silhouette, simple details, strong contrast, and a clean alpha channel. The most reusable format is a transparent PNG because it preserves the cutout for iMessage, WhatsApp, Discord, Slack, Canva designs, printable sticker sheets, and social media graphics.
How Does an AI Sticker App Create Clean Transparent Stickers?
An AI sticker app usually works in two stages: image synthesis and subject separation. The image synthesis step uses a generative model, often diffusion-based, to create the character, pet, object, mascot, or icon described in your prompt.
The cutout step uses segmentation, matting, or background removal to decide which pixels belong to the subject and which pixels should become transparent. Hard edges are easy; soft areas like fur, hair, smoke, motion blur, and transparent glasses are harder because the model must estimate partial opacity in the alpha matte.
That is why prompt wording matters. Phrases like “simple silhouette,” “thick white outline,” “flat shading,” and “transparent background” give the model a sticker-friendly structure before cleanup begins.
How Do You Make a Transparent PNG Sticker?
Start with one clear subject
Use a short prompt or a sharp photo with one main subject. A pet, character, product, food item, or reaction face works better than a crowded scene.
Add sticker-specific prompt cues
Include terms such as “sticker,” “transparent background,” “thick white outline,” “simple silhouette,” “flat vector shading,” or “cute reaction sticker.”
Generate several variations
Create 3 to 6 options and choose the one with the clearest outline, strongest pose, and fewest tiny details. Sticker quality is easier to fix when the base shape is simple.
Remove or verify the background
Run background removal if needed, then inspect the edge at 200% zoom. Look for halos, missing paws, clipped hair, jagged sleeves, or leftover background pixels.
Upscale before export
Export at a practical size such as 1024 x 1024 px when available. Messaging apps may downscale, but starting larger helps preserve the outline.
Test the sticker in context
Send one file in a chat, place it on a social post, or print a small test before making a full pack. The best preview is the real place where the sticker will be used.
Which AI Sticker Tools Are Best for Different Uses?
| Tool | Best for | Strength | Watch out for |
|---|---|---|---|
| Pict AI | Prompt stickers, photo cutouts, transparent PNG exports | Fast generate-edit-export workflow with browser and iOS access | Style consistency across large packs may still need prompt discipline |
| Canva | Social graphics, printable sticker sheets, brand layouts | Strong design templates and easy placement inside posts or documents | AI cutouts may need manual checking for fine hair or fur |
| Adobe Express | Brand assets, marketing stickers, quick design edits | Good integration with creative workflows and polished export options | Some features may require an account or subscription |
| Picsart | Mobile edits, collage stickers, social content | Good for casual creator workflows and fast visual styling | Free exports and resolution options can vary by plan |
| Sticker.ly | Messaging sticker packs and community-style stickers | Built around chat sticker distribution | Less flexible for advanced generative artwork or print-ready design |
The best choice depends on the final use. For chat stickers, prioritize transparent PNGs and clean edges; for printable sheets, prioritize resolution, layout control, and predictable color.
What Prompt Recipes Create Clean Sticker Results?
- Cute pet sticker: “cute golden retriever reaction sticker, happy face, thick white outline, flat shading, simple silhouette, transparent background, centered composition.”
- Streamer emote: “excited raccoon gaming emote sticker, expressive eyes, bold outline, high contrast, readable at small size, no background.”
- Brand mascot: “friendly coffee bean mascot sticker, waving, rounded vector style, limited color palette, clean white border, transparent PNG look.”
- Printable planner sticker: “minimal strawberry sticker, pastel colors, smooth die-cut outline, flat vector art, no shadow, transparent background.”
- Photo-to-sticker cue: “turn this photo into a clean sticker, preserve the subject, remove background, add thick white outline, simplify small details.”
- Consistency cue for packs: “same character style as previous sticker, matching line weight, matching color palette, same white outline, transparent background.”
Where Do AI Stickers Get Used in Real Creator Workflows?
AI stickers are most useful when they solve a small visual communication problem. Creators use them as reaction stickers in group chats, pet sticker packs for friends, streamer emotes, Discord server icons, product callouts, classroom labels, party favors, planner decorations, and lightweight brand mascots.
For social content, stickers help add emotion without redesigning a full graphic. For gifts and prints, they turn personal photos into objects people can keep. For portfolios or branding, a consistent sticker set can make a creator’s visual identity feel more recognizable across posts, packaging, and community channels.
What Technical Limits Should You Check Before Exporting?
- Hair, fur, feathers, smoke, and motion blur can create rough alpha mattes because the model must guess semi-transparent edge pixels.
- Tiny text usually fails at sticker size. If the sticker will be viewed under 300 px wide, use large lettering or remove text entirely.
- Thin outlines can disappear when messaging apps compress or downscale the image. A visible outline is often 8 to 20 px on a 1024 px sticker canvas.
- Dark subjects on dark backgrounds produce weak separation. A black dog on a black couch is harder to cut out than a black dog on a light wall.
How Do You Fix Blurry or Jagged AI Sticker Results?
Simplify the prompt
Remove extra props, background decorations, and texture words. A sticker needs subject, pose, style, and outline more than it needs a complex scene.
Regenerate with stronger shape language
Use “bold silhouette,” “centered subject,” “thick clean outline,” and “high contrast.” These cues reduce messy edges and improve readability.
Check edges at 200% zoom
Look for a 1 to 3 px halo, jagged corners, or leftover background fragments. These artifacts are often invisible in the editor preview but obvious in chat.
Upscale the chosen version
Upscaling helps preserve line work before compression. It will not fix a bad silhouette, but it can improve a good design that looks slightly soft.
Test one sticker before making a pack
Send it in the target app or place it on the final design. If it reads clearly at thumbnail size, build the rest of the set using the same prompt structure.
Build a Chat-Ready Sticker Pack Without Import Errors
A folder of generated images is not necessarily an installable sticker pack. Before producing dozens of designs, check how your chosen messaging app accepts stickers. This workflow helps you prepare a pack people can add and use, rather than a collection they must send as ordinary attachments.
- Choose the destination and import route. Check whether the messaging app supports direct sticker creation, a pack builder, or a separate import tool. Confirm its current requirements for dimensions, file format, file size, and pack size. Tip: Import one sample before committing to a full batch.
- Plan reactions people will actually send. List distinct messages such as agreement, thanks, celebration, confusion, and apology. Assign one image to each intent so the pack does not contain several nearly identical reactions. Tip: Name working files by purpose, such as thanks-cat, rather than generation order.
- Prepare copies for the destination. Keep your original artwork untouched, then resize or convert separate copies to meet the import requirements. Leave room around the subject so an outline or raised paw does not touch the canvas boundary. Tip: Use one canvas template for every file.
- Attach labels where supported. Some sticker builders let you associate emoji or search terms with individual stickers. Match these to the intended reaction; misleading labels make a useful design harder to find. Tip: Prefer familiar reaction emoji over obscure symbols.
- Verify installation and delivery. Add the finished pack, send several stickers, and ask a recipient to check whether they can access it through the intended sharing method. A ZIP archive alone does not install a pack. Tip: Include brief import instructions when distributing files outside the messaging app.
AI Sticker Creation: Common Questions Answered
Some AI tools can generate short animations, but an animated image is not automatically a compatible chat sticker. Messaging apps impose their own rules for animation format, duration, dimensions, and file size. You may need a separate animation editor or sticker builder to convert the result. Start with a short loop and verify that transparency survives the export.
Generate the illustration without lettering, then add the words in an editor that supports editable text. This gives you control over spelling, font size, spacing, and contrast. Keep captions short and avoid thin typefaces, which become difficult to read at chat size. Check the final sticker at its actual display size, not only on an enlarged editing canvas.
The best option is the one that generates sticker-style images, removes backgrounds cleanly, and exports transparent PNG files at a useful resolution. Edge quality, outline control, and real-use testing matter more than the number of templates.
Yes, most modern tools can turn a photo into a sticker by isolating the subject and removing the background. Use a bright, sharp photo with a plain background for cleaner edges.
Transparent PNG is the safest format for static stickers because it keeps the cutout without adding a background. Some apps also accept WebP or animated files, but PNG is the most reusable.
A 1024 x 1024 px square export is a practical starting point for most static stickers. Messaging platforms may downscale it, but the larger source helps preserve edges and outlines.
Chat apps often compress and resize uploaded images, which softens fine details and thin borders. Use a simpler design, thicker outline, and higher-resolution export before sending.
Add prompt cues like “thick white outline,” “die-cut sticker border,” or “bold clean border.” If the outline is uneven, regenerate with a simpler silhouette and fewer small details.
Yes, but print needs higher resolution, clean edges, and enough bleed for cutting. Test-print a small sheet before ordering a full batch, especially for detailed art or pastel colors.
They can be, but safety depends on the prompt, source photo, likeness rights, and commercial terms of the tool. Avoid copying trademarked characters, logos, celebrities, or private people without permission.
Reuse the same character description, color palette, line weight, outline style, and canvas ratio across every prompt. Generate multiple variations and choose the ones that match as a set.