How to Add a Background to a Photo With AI
To add a background to a photo with AI, use an editor that separates the subject from the original image, replaces or generates a new scene, and blends the edges. The best results come from matching light direction, camera angle, depth of field, and color temperature before exporting.
Creating your image...
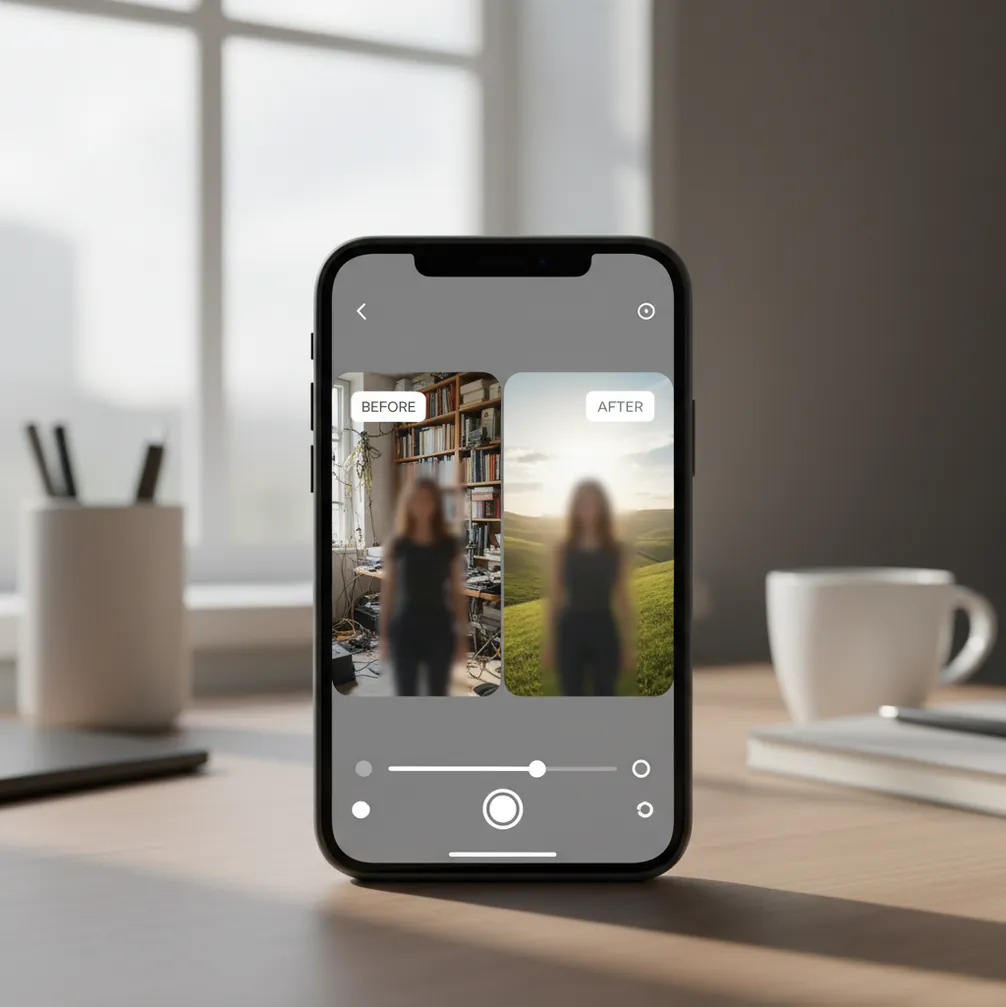
To add a background to a photo with AI, upload your image, let the tool create a subject cutout, choose or generate a new background, then adjust edge softness, blur, lighting, and color. The edit looks most realistic when the new scene matches the original photo’s camera angle, shadows, and focus depth.
What Does It Mean to Add a Background to a Photo With AI?
Adding a background to a photo with AI means using machine learning to separate the foreground subject from the original scene, then place that subject into a new generated or uploaded background. The process usually combines subject segmentation, alpha matting, inpainting, edge feathering, and color matching.
In practical creator terms, it turns a plain selfie, product shot, pet photo, food image, or profile picture into something more usable for social posts, gifts, prints, marketplace listings, portfolios, or branding. The AI does the heavy cutout work, but the creator still chooses the scene and checks whether the final image feels believable.
How Does AI Separate the Subject From the Original Background?
AI background editors usually start with semantic segmentation, which identifies pixels that belong to a person, object, animal, or product. The tool then creates a mask, often called an alpha matte, that defines which parts stay visible and which parts become transparent.
Hard edges like jackets, phones, packaging, and furniture are usually easier to isolate than soft edges like hair, fur, smoke, lace, glass, or motion blur. More advanced editors refine the mask with edge feathering and transparency prediction so the subject does not look like a sticker pasted onto a flat backdrop.
After the cutout is made, the app either inserts a selected image, removes the old background, or uses a diffusion model to generate new pixels from a prompt. Realism comes from blending: shadows, white balance, contrast, grain, and blur need to match the original photo.
How Do You Add a New Background on a Phone?
Choose a clean source photo
Start with an image where the subject is sharp and clearly separated from the background. Avoid heavy motion blur, crushed shadows, blown-out highlights, and busy scenes behind hair or transparent objects.
Run the AI cutout
Upload the photo and use the background remover or subject cutout tool. Zoom to at least 200% and inspect hair, glasses, hands, sleeves, product corners, and any thin outlines.
Pick or generate the background
Choose a background that matches the camera height, lens feel, and subject pose. A headshot usually needs a wall, studio, office, or outdoor blur; a product photo usually needs a surface, shadow, and realistic scale.
Match lighting and color
Check where the light hits the subject, then choose a scene with the same direction. Warm or cool the background slightly until skin, fabric, or product color feels like it belongs in the same environment.
Add blur, grain, and shadow
If the original photo has shallow depth of field, blur the background slightly. Add a soft contact shadow under the subject or product, and match grain so a sharp subject does not sit on an unnaturally smooth scene.
Export and re-check the saved file
View the exported image in your camera roll or gallery, not only inside the editor preview. Halos, jagged edges, and mismatched tones are often easier to spot at final size.
What Makes an AI Background Swap Look Real?
A realistic AI background swap depends less on the background itself and more on whether the subject and scene obey the same visual rules. The most important factors are light direction, shadow softness, perspective, focal length, depth of field, color temperature, and edge quality.
For portraits, check the shadow under the chin, the brightness on each side of the face, and the edge around hair. For products, check the bottom contact shadow, surface reflection, scale, and whether the object looks too sharp compared with the environment. A 1–2 pixel halo around hair or shoulders can make an otherwise strong edit look fake.
The safest backgrounds are simple, slightly blurred, and physically plausible: neutral walls, studio paper, café tables, office corners, outdoor greenery, soft gradients, or seasonal scenes with believable light.
Which AI Tools Can Add Backgrounds to Photos?
| Tool | Best For | Strengths | Watch For |
|---|---|---|---|
| Pict AI | Fast mobile background swaps and generated scenes | Simple cutout-to-background workflow for portraits, products, and social images | Review export terms, privacy settings, and edge details before publishing |
| Canva | Templates, graphics, thumbnails, and branded layouts | Strong design canvas with text, frames, social sizes, and asset libraries | Asset licensing and template style can affect commercial use |
| Adobe Photoshop Express | Manual refinement and mobile photo editing | Good for creators who want more control over correction, cleanup, and finishing | May take more steps than a one-tap background generator |
| PhotoRoom | Product photos, marketplace images, and e-commerce visuals | Useful for clean product cutouts, studio-style scenes, and batch-style workflows | Some advanced exports or commercial features may require a paid plan |
| Remove.bg plus editor | Fast background removal with simple replacement | Very quick for subject isolation and transparent PNG outputs | Less flexible if you need a highly stylized AI-generated environment |
Choose based on the final use case: portraits need believable hair edges and lighting, product photos need shadows and scale, and social posts need layout control as much as background quality.
What Prompt Should You Use for a Believable AI Background?
- Portrait prompt: "Replace the background with a softly blurred modern studio wall, natural window light from the left, neutral beige tones, realistic depth of field, no extra people, no text."
- Professional headshot prompt: "Create a clean office background with soft daylight, subtle bokeh, eye-level camera angle, realistic shadows, professional but natural atmosphere."
- Product prompt: "Place the product on a matte stone surface with a soft contact shadow, warm side light, realistic scale, minimal luxury studio background, no added labels or text."
- Holiday card prompt: "Add a cozy winter background with soft snow, warm indoor light, shallow depth of field, natural color grading, realistic edges around hair and clothing."
- Food photo prompt: "Replace the background with a rustic wooden table, soft overhead restaurant lighting, shallow depth of field, natural shadows, no extra utensils unless realistic."
- Branding prompt: "Create a minimal background in [brand color], soft gradient, realistic shadow under the subject, clean editorial lighting, suitable for a website hero image."
- Reusable formula: "Replace the background with [scene], lit by [light direction and quality], shot at [camera angle], with [depth of field], [color mood], and realistic shadows."
Where Do AI Background Changes Save the Most Time?
AI background replacement saves the most time when the original subject is usable but the environment is not. That includes cluttered bedrooms behind selfies, distracting walls in headshots, messy counters behind food photos, inconsistent product backdrops, or casual snapshots that need to look polished for a post or print.
Common use cases include profile photos, LinkedIn-style headshots, dating app pictures, marketplace listings, small business promos, event flyers, school projects, pet portraits, holiday cards, album art drafts, and creator portfolio thumbnails. In these cases, the background is not just decoration; it changes the context and emotional read of the image.
The workflow is especially useful when you need a fast visual upgrade without reshooting, booking a studio, setting up lights, or manually masking every strand of hair in a desktop editor.
When Do AI Backgrounds Look Wrong?
- Hair, fur, lace, veils, smoke, glass, and sheer fabric are difficult because they contain semi-transparent pixels that are hard to mask cleanly.
- Hard flash photos often clash with soft generated backgrounds because the subject has sharp shadows while the new scene has diffuse light.
- Low-resolution selfies can become softer after cutout, especially if the app enlarges or compresses the image during export.
- Glasses and reflective surfaces may show reflections from the original scene, which can contradict the new background.
How Should You Export an AI-Edited Photo?
Export the edited photo at the size required by its final destination, then inspect it at both 100% and thumbnail size. Social platforms often compress images, so a clean 1080 × 1350 portrait crop, 1080 × 1080 square, or 1920 × 1080 landscape export is usually safer than an oversized file with visible artifacts.
For prints, use the highest available resolution and avoid aggressive sharpening. For product listings, keep backgrounds consistent across a set so the catalog feels intentional. For profile photos, check that the face remains sharp after the background blur and that the edit still looks natural on a small circular crop.
If the image matters for a portfolio, ad, resume, or client deliverable, save a copy with layers or an uncompressed version when possible so you can revise the mask later.
Frequently Asked Questions
AI can add a background to most photos, but results are best when the subject is sharp and clearly separated from the original scene. Hair, glass, motion blur, and low resolution can reduce quality.
Yes. Many mobile editors can cut out the subject, generate or insert a new background, and blend edges with blur, color, and shadow adjustments.
No. A green screen can help, but modern AI tools can usually detect people, products, pets, and objects in normal photos.
Match the background’s light direction, perspective, blur, grain, and color temperature to the original subject. Small realistic adjustments usually work better than heavy filters.
Hair contains thin and semi-transparent edges that are difficult for masks to separate cleanly. Use a higher-resolution source image and choose a simple background behind the hair.
Yes, but product images need realistic contact shadows, correct scale, and consistent surfaces. Always check marketplace or platform rules before using AI-generated product backgrounds.
A simple studio wall, office corner, soft outdoor blur, or neutral gradient usually works best. Avoid busy scenes that compete with the face.
You can preserve quality by starting with a high-resolution photo, avoiding repeated exports, and saving at the final size needed. Some apps may compress images depending on the export mode.
Only if the edit is clearly creative or you have consent. Avoid backgrounds that imply a real event, workplace, travel location, endorsement, or situation that did not happen.