How to Retouch Selfies With AI in 2026
Retouch selfies with AI by correcting light first, reducing temporary blemishes second, and preserving real skin texture throughout the edit. The goal in 2026 is not plastic skin; it is a cleaner version of the same photo that still looks like you.
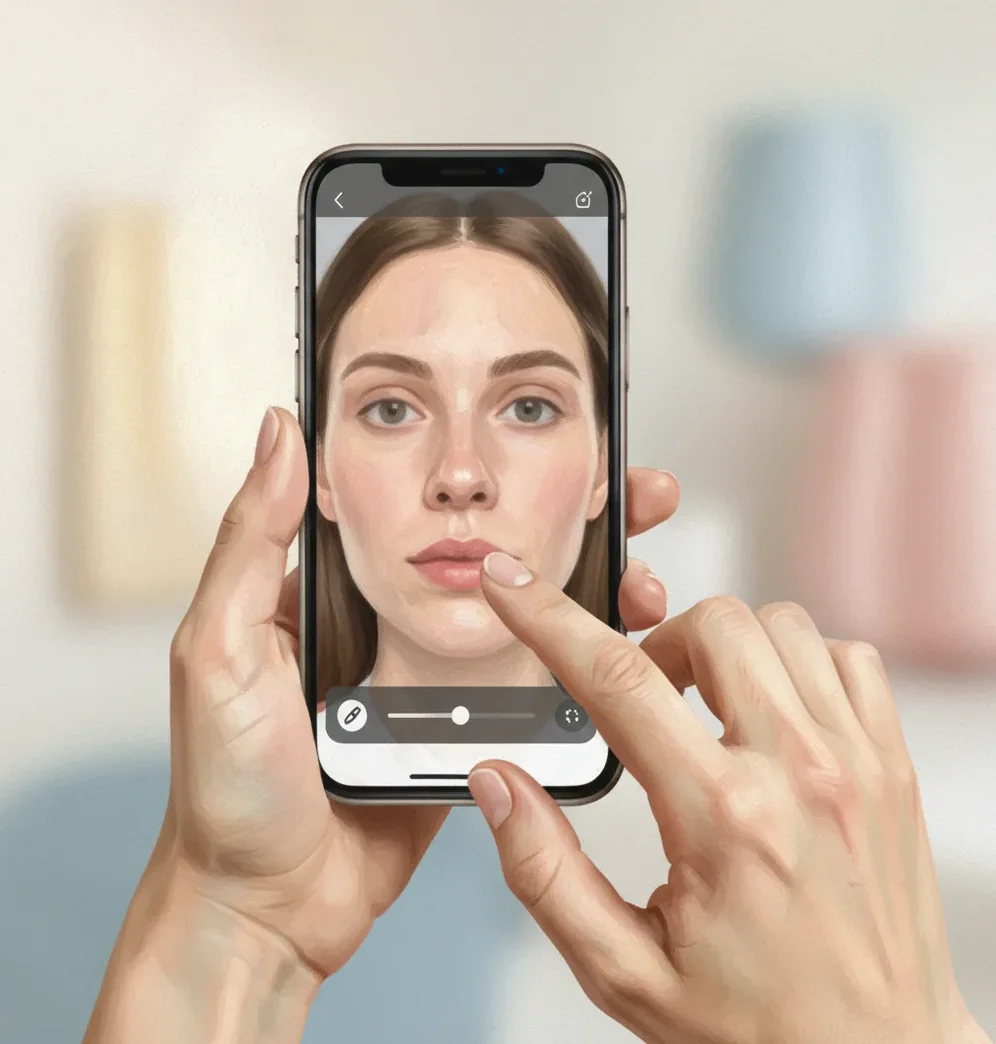
Creating your image...
To retouch selfies with AI in 2026, start with exposure and color correction, then apply low-strength blemish reduction and skin-tone balancing while checking the image at 100% zoom. Keep pores, hairline edges, eye texture, and facial proportions intact; if the selfie looks believable close up and clean as a profile thumbnail, it is usually ready to export.
What Does AI Selfie Retouching Mean in 2026?
AI selfie retouching means using computer vision and image-generation models to detect facial regions, correct lighting, reduce temporary blemishes, even out color, and sharpen important details without manually painting every pixel. A modern editor can separate skin, eyes, lips, hair, background, shadows, highlights, and phone-camera noise, then apply localized edits to each area.
The best AI retouching workflow is controlled, not automatic. Instead of applying one heavy beauty filter, you make small changes: lift under-eye shadows, reduce forehead shine, soften a breakout, restore skin tone after mixed indoor lighting, and keep texture visible. This makes the result useful for profile photos, social posts, dating app images, creator branding, website bios, and small prints.
How Does AI Detect Skin, Light, and Face Details?
Most AI selfie editors begin with facial landmark detection, which maps the eyes, nose, mouth, jawline, brows, and face outline. The model then uses semantic segmentation to identify regions such as skin, hair, lips, teeth, clothing, and background. This lets the editor brighten a cheek without brightening the wall behind it, or reduce redness without blurring eyelashes.
The technical challenge is separating useful texture from unwanted noise. Pores, fine facial hair, lashes, freckles, and lip lines are real detail; sensor noise, compression blocks, color blotches, and small temporary blemishes are usually editable artifacts. Good retouching preserves micro-contrast around the eyes, nose, lips, and hairline while reducing uneven color in larger skin areas.
How Do You Retouch Selfies With AI Without Losing Texture?
Upload the highest-resolution selfie
Start with the original camera file when possible, not a screenshot or compressed messaging-app copy. More pixels give the AI more real texture to preserve.
Crop and straighten before retouching
Align the eyes, remove distracting background edges, and choose the final format first. A 4:5 crop works well for Instagram feeds, while 1:1 is safer for profile photos.
Correct light before skin
Lift shadows slightly, reduce blown highlights on the forehead or cheeks, and neutralize strong yellow or green indoor color casts. Skin retouching looks better after exposure is balanced.
Reduce blemishes at low strength
Use gentle blemish reduction for temporary spots, redness, and uneven patches. Avoid global smoothing above roughly 30-40% unless the image is very noisy.
Preserve edges and facial proportions
Check the hairline, eyebrows, nostrils, lips, jaw, and under-eye area at 100% zoom. If edges smear or the face shape changes, reduce the edit strength.
Export after a thumbnail check
View the selfie both close up and small, about the size of a profile circle. If the eyes look too sharp or the cheeks look flat, back off contrast or smoothing before exporting.
Which Tools Are Best for AI Selfie Retouching?
| Tool type | Best for | Strengths | Watch for |
|---|---|---|---|
| Pict AI | Fast browser or iOS selfie cleanup | Natural retouching controls, quick exports, useful for blemishes, lighting, and tone balancing | Review terms before commercial campaigns and avoid sensitive ID-style images |
| Adobe Photoshop or Lightroom | Professional portrait workflows | Precise masks, healing tools, color grading, batch export, print-ready control | Steeper learning curve and more manual decision-making |
| Facetune-style mobile editors | Quick creator edits on a phone | Easy sliders for skin, eyes, teeth, background, and face polish | Can look filtered if presets reshape or smooth too aggressively |
| Canva-style design editors | Social posts, thumbnails, and creator graphics | Good when retouching is part of a larger layout with text or branding | Less precise for close-up skin texture and edge repair |
| Free web retouching tools | One-off tests and casual profile photos | Fast access, low friction, simple upload-and-export flow | Watermarks, limited controls, unclear upload storage, or inconsistent quality |
Choose the tool based on control level. For a quick profile photo, a simple AI editor is enough; for paid portraits, print campaigns, or portfolio images, use a tool that supports masks, healing, color management, and high-resolution export.
What Edits Make a Selfie Look Natural Instead of Filtered?
- Fix lighting before skin texture. A balanced exposure often removes the need for heavy smoothing.
- Keep pores visible on cheeks, nose, and forehead. Completely textureless skin reads as a filter, especially on high-resolution screens.
- Protect the hairline and eyebrows. A 2-3 pixel blur band around hair or brows is one of the fastest giveaways.
- Use selective sharpness on eyes and lashes, not the whole face. Over-sharpened skin makes pores and noise look crunchy.
- Leave some under-eye texture. Removing every crease can make the face look flat or generated.
- Match the neck, ears, and hands to the face. If only the face is bright and smooth, the edit looks disconnected.
- Check the photo in daylight and on a phone screen. Dark-room editing often leads to over-bright faces and muddy shadows.
- Export for the final use case. Use 1080 x 1350 px for many feed posts, 1:1 for profile crops, and higher resolution for prints.
What Prompt Recipes Work for Natural Selfie Retouching?
- Natural cleanup: "Retouch this selfie lightly. Reduce temporary blemishes and uneven redness, keep pores and freckles visible, preserve face shape, and avoid plastic skin."
- Harsh bathroom lighting: "Soften overhead shadows, reduce forehead and nose shine, brighten the eyes slightly, and keep the skin texture realistic."
- Low-light phone selfie: "Reduce camera noise and color blotchiness while preserving eyelashes, eyebrows, hair edges, and natural cheek texture."
- Professional profile photo: "Create a clean, natural headshot look with balanced skin tone, subtle contrast, realistic eyes, and no face reshaping."
- Social post polish: "Make this selfie look clean for Instagram, but keep it candid. Correct light, reduce small distractions, and avoid a beauty-filter effect."
- Print-safe edit: "Retouch for a small print. Keep detail at 100% zoom, avoid waxy skin, and preserve natural shadows around the nose, lips, and jaw."
Where Does AI Retouching Help Most?
AI retouching helps most when the selfie is already emotionally good but technically messy. It can save a strong expression from harsh bathroom downlights, mixed indoor color, low-light camera noise, under-eye shadows, shiny forehead highlights, or small temporary blemishes. These are normal phone-camera problems, not reasons to throw away the photo.
It is especially useful for creator workflows where the same face appears across platforms: Instagram, TikTok thumbnails, LinkedIn, portfolio pages, dating profiles, podcast covers, and newsletter bios. A light retouch can make a set of selfies feel visually consistent without turning them into studio portraits.
When Is AI Selfie Retouching Risky or Not Enough?
AI retouching becomes risky when the original image lacks usable detail or when the edit changes identity cues. Very low-resolution selfies, screenshots, heavy compression, motion blur, blown-out highlights, glitter makeup, wet hair, and strong backlighting can confuse face segmentation. The result may include smeared edges, haloing, uneven skin patches, or eyes that look pasted on.
Do not use AI retouching to alter passport, visa, license, school ID, medical, legal, or verification photos. Those images often require accurate, unmodified facial representation. For commercial campaigns, paid ads, or client work, review the tool’s terms, model release requirements, and disclosure expectations before publishing.
What Limitations Should You Check Before Exporting?
- Blown highlights cannot be fully recovered if the original pixels are clipped to pure white.
- Deep motion blur cannot be repaired cleanly; AI may invent eyelashes, hair strands, or skin texture.
- Messaging-app compression can create blocky artifacts that become more visible after sharpening.
- Very strong smoothing reduces micro-contrast, creating a waxy or mask-like face.
How Should Creators Use Retouched Selfies in 2026?
Creators should treat AI retouching as finishing, not transformation. The strongest selfie edits keep the original expression, mood, and facial structure while removing technical distractions that compete with the message. That might mean softening a forehead shine before posting a skincare reel, balancing color for a personal brand headshot, or cleaning low-light noise before using a selfie in a newsletter header.
Build a repeatable standard: crop first, fix light, reduce temporary distractions, preserve texture, check at 100% zoom, then check as a thumbnail. Save a subtle version for professional profiles, a warmer version for social posts, and a higher-resolution version for prints or gifts. Consistency matters more than perfection.
Frequently Asked Questions
Upload the highest-resolution selfie, correct light and color first, then use low-strength blemish reduction and tone balancing. Check the result at 100% zoom before exporting.
Yes, if the edit preserves pores, freckles, hairline edges, and natural under-eye texture. Avoid one-click beauty presets that apply heavy smoothing to the entire face.
Use light to moderate smoothing, often below 30-40%, and prioritize color correction over blur. Natural skin should still show micro-texture when viewed close up.
A waxy look usually comes from too much smoothing and too little local contrast. Reduce smoothing, restore detail around the cheeks and nose, and avoid brightening the whole face evenly.
AI can reduce shadows, lower shine, and balance yellow or green indoor color casts. It cannot fully recover areas where highlights are completely clipped white.
It can help reduce redness and temporary blemishes, but aggressive smoothing may erase real texture or scars. Use selective edits and keep the overall skin surface believable.
Crop and straighten first so the AI works on the final composition. This also helps you judge whether the face will read well as a post, profile photo, or thumbnail.
Yes, for light cleanup, exposure correction, and tone balancing. For formal corporate, print, or paid portrait use, choose a workflow with precise masking and high-resolution export.
No, avoid retouching passport, visa, license, school ID, legal, or verification photos. Official images usually require accurate, unaltered facial representation.