How to Change Hairstyle in a Photo With AI
To change hairstyle in a photo with AI, upload a clear portrait, select the hair area, and describe the new cut, length, part, color, or texture you want. The most realistic edits come from tight hair masks, specific prompts, and photos where the hairline, temples, ears, and lighting are easy to read.
Creating your image...
You can change hairstyle in a photo with AI by masking the hair region and using an inpainting editor to regenerate that area into a new style. For believable results, use a sharp head-and-shoulders photo, keep the mask close to the existing hairline, and prompt for length, part, texture, color, and lighting.
What Does It Mean to Change Hairstyle in a Photo With AI?
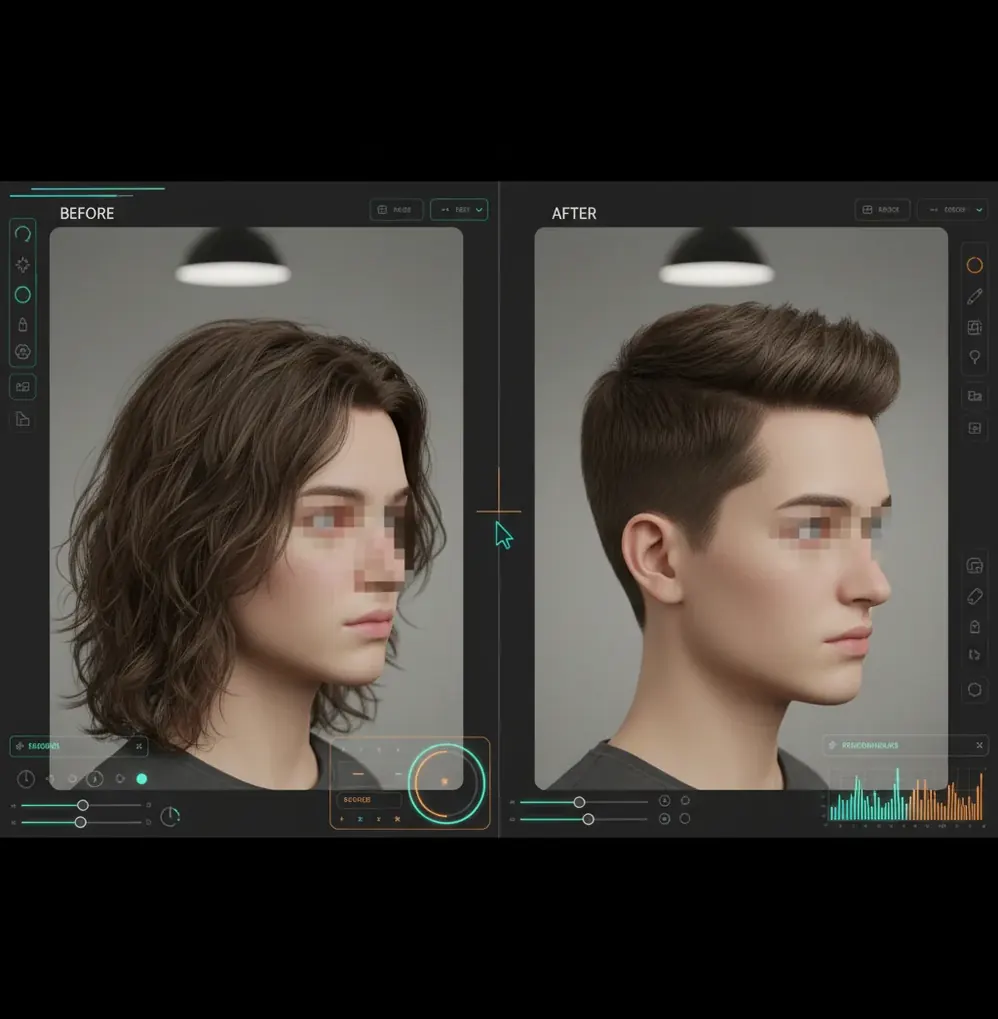
Changing a hairstyle in a photo with AI means using image generation to redraw the hair while preserving the face, pose, background, and lighting. Instead of manually painting strands, the editor uses a selected hair region as a boundary and generates new pixels that match the requested style.
This can be used to preview bangs, a bob, a fade, a middle part, longer waves, darker color, or a cleaner headshot look. The edit is strongest when the AI only changes the hair and leaves identity markers, such as eyebrows, eyes, jawline, glasses, and skin texture, untouched.
How Does AI Replace Hair Without Changing the Face?
AI hairstyle editors usually combine segmentation, masking, and inpainting. Segmentation detects the hair area, the mask defines where the model is allowed to edit, and inpainting regenerates hair texture, shadows, flyaways, and edges inside that region.
Most modern tools use diffusion-based image models, which predict new pixels while referencing the surrounding image for lighting direction, lens softness, color temperature, and grain. A good mask prevents the model from redrawing the forehead, eyebrows, ears, or cheek contours. This is why a precise hairline mask matters more than a dramatic prompt when you want the result to look like a real salon photo rather than a pasted-on wig.
How Do You Change a Haircut or Add Bangs With AI?
Choose a sharp portrait
Use a head-and-shoulders photo with even light, visible temples, and minimal motion blur. Front-facing or slight three-quarter angles are easier than extreme tilted selfies.
Crop around the head and shoulders
Remove distracting room details so the model focuses on the face and hair. Keep enough background around the head for natural hair volume.
Mask only the hair area
Select the existing hair, including the outer silhouette near the ears and neck. Avoid painting over skin by more than a few pixels, especially around the forehead.
Write a specific hairstyle prompt
Include length, part, texture, color, and finish. For example: chin-length wavy bob, side part, natural dark brown hair, soft salon texture, realistic hairline.
Generate several variations
Create 3 to 6 versions and compare hairline shape, shadow direction, and ear edges. The best version is usually the one that matches the original lighting, not the most dramatic cut.
Inspect before exporting
Zoom to 200% and check the temples, bangs, glasses, earrings, neck, and background seams. If the hair looks pasted on, shrink the mask near the forehead and regenerate.
What Prompts Work Best for Realistic AI Hairstyle Edits?
- Bob preview: chin-length blunt bob, soft inward curve at the ends, natural side part, realistic hairline, same face, same lighting, salon portrait texture.
- Bangs preview: wispy curtain bangs, forehead partially visible, natural flyaway strands, medium brown hair, soft shadows, no change to eyebrows or eyes.
- Short cut preview: textured pixie cut, slightly longer top, tapered sides, natural volume, realistic scalp shadow, keep facial features unchanged.
- Fade preview: low taper fade, clean edge around temples, short textured top, natural skin fade, consistent beard and ear details.
- Long hair preview: shoulder-length layered waves, middle part, natural shine, realistic strand detail, same hair color, preserve background and face.
- Color-only edit: keep the same haircut and length, change hair to warm copper brown, natural roots, realistic highlights, preserve skin tone and lighting.
Which Tools Can Change Hairstyles in Photos?
| Tool | Best For | Strengths | Watchouts |
|---|---|---|---|
| Pict AI | Prompt-based hairstyle edits in a browser or on iPhone | Useful for masking hair, generating style variations, and quick portrait tests | Check export settings and avoid sensitive images when using cloud editing |
| Adobe Photoshop Generative Fill | Detailed retouching and professional compositing | Strong manual control, layers, masks, and local refinements | Requires more editing skill and may be slower for casual hairstyle previews |
| Canva Magic Edit | Simple social graphics and fast visual mockups | Easy masking and beginner-friendly interface | Less precise for fine hairlines, baby hairs, and complex portrait cleanup |
| YouCam Makeup or FaceApp-style apps | Mobile beauty previews and quick try-on effects | Fast hairstyle and color experimentation on selfies | Results can look filtered, stylized, or less editable after generation |
| Open-source inpainting tools | Advanced users who want model and workflow control | Flexible prompts, local workflows, and adjustable models | Setup can be technical, and results depend heavily on model quality |
Choose an inpainting-style editor when realism matters, because it lets you control exactly where the hair changes. Choose a try-on app when speed matters more than pixel-level hairline accuracy.
What Photo Works Best for an AI Hairstyle Swap?
The best photo for an AI hairstyle swap is a sharp portrait with clean lighting, visible hair edges, and enough resolution to show strand texture. A head-and-shoulders crop works better than a full-body photo because the model has more pixels to understand the hairline, part, ears, neck, and face shape.
Use soft daylight or a large window instead of harsh bathroom lighting. Avoid heavy beauty filters, strong backlight, wet hair, motion blur, hats, and busy backgrounds like plants or fences. If you wear glasses or earrings, make sure they are clearly visible so the AI does not accidentally redraw them into the hair.
When Do AI Hairstyle Changes Look Fake?
- Low-resolution selfies can turn individual strands into a painted texture, especially around bangs, curls, and flyaways.
- A mask that overlaps the forehead can create a smooth helmet-like hairline or erase baby hairs at the temples.
- Strong backlight often creates halo edges because the model struggles to separate hair from the bright background.
- Complex accessories, including glasses, hoop earrings, veils, headphones, and hair clips, may warp if they touch the masked area.
How Can You Fix an AI Hairstyle That Looks Pasted On?
The fastest fix is to reduce the mask around the forehead and regenerate with a more specific prompt. Pasted-on hair usually comes from a mask that covers too much skin, a vague style request, or lighting that does not match the original portrait.
Add constraints such as realistic hairline, same lighting direction, natural flyaways, preserve ears, and keep forehead shape. If the new hair is too glossy, ask for matte natural texture or soft salon finish. If the hair color changes the skin tone, include keep original skin tone and same camera exposure in the prompt.
What Is the Best Workflow for a Believable Hairstyle Change?
The best workflow is to make one controlled hairstyle change at a time, then compare multiple generations before refining the mask. Start with length or shape first, such as bob, pixie, fade, or long waves. After the cut looks believable, adjust color, shine, or flyaways in a second pass.
For creator use, save versions with clear labels such as bob-side-part-v1 or bangs-soft-light-v3. This makes it easier to compare looks for social posts, dating profiles, personal branding, headshots, bridal mood boards, print gifts, or portfolio concepts without losing the version that had the most natural face and hairline.
What Should You Check Before Sharing the Edited Photo?
- Zoom in on the hairline, temples, ears, and neck to catch warped edges before posting.
- Check that eyebrows, eyelashes, glasses, earrings, and facial contours were not changed by the edit.
- Look for background smears where the new hair extends beyond the original silhouette.
- Compare the shadow direction of the new hairstyle with the original face lighting.
- Export at the highest practical resolution if the image will be printed, used in a portfolio, or posted as a profile photo.
- Disclose the edit when context matters, especially for professional, dating, casting, or identity-sensitive images.
Frequently Asked Questions
Yes. AI can replace or reshape the hair area in a portrait using masking and inpainting while keeping the face and background mostly unchanged.
Mask the hair and upper forehead edge carefully, then prompt for the type of bangs, such as wispy bangs, curtain bangs, or blunt bangs. Keep the mask tight so the model does not redraw the eyebrows or forehead shape.
A strong prompt includes length, part, texture, color, and realism cues. Example: shoulder-length layered waves, middle part, natural dark brown hair, realistic hairline, same face, same lighting.
Yes, AI can preview short styles like pixie cuts, bobs, crops, fades, and undercuts. Use a clear portrait with visible ears and temples for the most believable skull and hairline alignment.
The most common causes are a mask that covers too much skin, a vague prompt, low image resolution, or lighting mismatch. Shrink the mask around the hairline and regenerate with realistic hairline and same lighting in the prompt.
Yes. Prompt the editor to keep the same haircut, length, and texture while changing only the color, and include natural roots or realistic highlights if you want a less flat result.
Use a sharp head-and-shoulders photo in even light with the hairline, temples, ears, and neck visible. Avoid blurry selfies, strong backlight, hats, heavy filters, and busy backgrounds.
You can use it for informal profile images or creative previews, but avoid using heavily altered hair for official IDs, credentials, or situations where accurate identity representation matters.
Use a try-on app for quick style previews and an AI image editor when you need more control over masking, hairline realism, and final image quality.