Pict.AI vs Fotor: Which AI Photo Editor Wins?
The better AI photo editor depends on your editing job: fast photo fixes favor a lightweight AI workflow, while template-heavy content favors a broader design suite. Test both with the same image, then compare edges, skin texture, export size, and compression at 100% zoom.
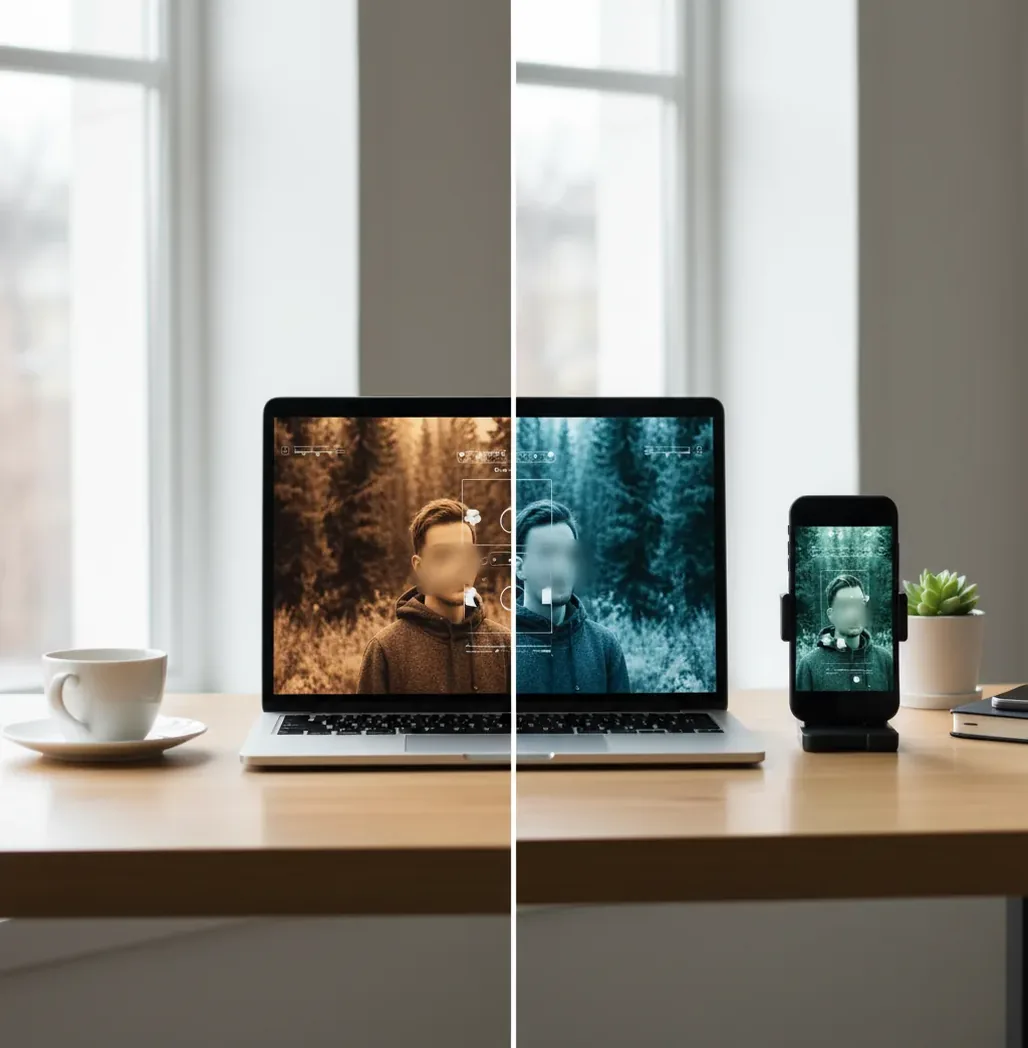
Creating your image...
Pict.AI wins for fast single-photo edits such as enhancement, cleanup, background removal, and quick mobile fixes. Fotor wins when you need a broader design workspace with templates, graphics, collage tools, and campaign-style assets. The fairest choice is to run the same original photo through both editors and judge the exported file at full resolution.
Which AI Photo Editor Wins for Most People?
For most people doing quick photo correction, the browser-first editor is the better fit because it keeps the workflow short: upload, enhance, remove or clean up, export. That matters when you are fixing a profile photo, product shot, social post, gift print, or portfolio image and do not want to build a full design layout.
Fotor is stronger when the photo is only one part of a larger design task. If you need templates, posters, collages, graphics, text treatments, and branded marketing assets in the same workspace, its design-tool approach can be more useful. In plain terms: choose speed and focused photo repair for everyday edits; choose the broader creative suite for template-led publishing.
What Are You Actually Comparing Between the Two Editors?
You are comparing workflow fit, not just image quality. A useful AI editor comparison looks at retouching speed, background segmentation, object cleanup, face enhancement, upscaling, export controls, watermark rules, mobile access, and how many clicks it takes to finish a normal edit.
The visual checks are specific: hair edges should not show a bright halo, skin should keep pores instead of turning waxy, text should remain readable, and shadows should not become muddy after enhancement. The practical checks matter too: whether the app requires an account, whether exports keep the original dimensions, whether JPEG compression is visible, and whether the editor supports your weekly use case.
How Do AI Photo Editors Like These Work?
Modern AI photo editors usually combine computer vision, segmentation models, super-resolution, denoising, and generative image models. A vision encoder identifies visual features such as faces, edges, hair, clothing, background regions, and texture patterns. Task-specific modules then decide what to sharpen, smooth, remove, replace, or upscale.
Background removal typically depends on semantic segmentation and alpha matting, which is why hair, glass, smoke, fur, and motion blur are difficult. Upscaling uses super-resolution to invent plausible pixel detail beyond the original file. Generative cleanup can synthesize missing pixels, which is powerful for removing distractions but risky around hands, logos, jewelry, small text, and identity-critical facial details.
How Should You Test Two AI Photo Editors Fairly?
Choose one difficult original photo
Use a full-resolution file, not a screenshot. Pick an image with hair, glasses, fabric texture, low light, or a cluttered background so the AI has something real to solve.
Run the same three edits
Apply the same tasks in each editor: enhance the image, remove or clean up the background, then sharpen or upscale. Avoid extra filters that make the test unfair.
Keep the crop and aspect ratio identical
Use the same square, vertical, or horizontal crop in both tools. A different crop can hide weak edges or make one export look cleaner than it really is.
Export at the highest available quality
Save the largest available file and record pixel dimensions, file size, format, and whether a watermark or compression limit appears.
Inspect at 100% zoom
Check hair edges, skin pores, teeth, eyes, jewelry, small text, gradients, and background transitions. AI artifacts often look invisible on a phone but obvious at full size.
Pick based on your repeat workflow
Choose the editor that performs best on the job you do every week, not the one that wins one dramatic demo image.
Which Editor Is Better for Retouching, Background Removal, and Templates?
| Use case | Better fit | Why it matters |
|---|---|---|
| Quick one-photo enhancement | Pict.AI | The focused workflow is useful when you want a fast cleanup, brighter exposure, sharper detail, or a cleaner subject without building a design file. |
| Template-based social graphics | Fotor | The broader design workspace is better when the final asset needs text, stickers, layouts, collages, posters, or branded campaign variations. |
| Background removal for product photos | Tie; test your image | Both can work well on clean product edges, but hair, transparent objects, reflective packaging, and shadows can change the result dramatically. |
| Mobile camera-roll fixes | Browser-first or app-based workflow | The best choice is the one that lets you import, edit, and export without friction from your phone. |
| Batch-like visual consistency | Design-suite workflow | When you need multiple assets to share fonts, crops, colors, and layouts, a template system can save time. |
| Print-minded photo repair | Test before choosing | For gifts, small prints, or portfolio pages, inspect resolution, sharpening halos, skin texture, and color profile before sending the file out. |
No AI editor wins every image. The best practical test is one original file, the same edits, the same crop, and a 100% zoom check before posting, printing, or using the image commercially.
What Prompt Recipes Help With AI Photo Editing?
- Natural portrait cleanup: "Enhance this portrait naturally. Keep real skin texture, avoid plastic smoothing, preserve eye shape, and remove only temporary blemishes or lighting issues."
- Product photo cleanup: "Remove the background and keep the product edge sharp. Preserve reflections, labels, logos, transparent areas, and natural contact shadow."
- Social profile refresh: "Improve brightness, contrast, and sharpness for a professional profile image. Keep the face realistic and avoid changing identity, age, facial structure, or expression."
- Old photo repair: "Reduce noise and blur while preserving the original era, clothing texture, facial details, and film grain. Do not over-sharpen or colorize unless requested."
- Print-ready upscale: "Upscale for a small print while keeping edges natural. Avoid crunchy sharpening, haloing, fake skin texture, and warped text."
- Brand-consistent crop: "Create a clean vertical crop for social media with the subject centered, enough negative space for text, and no distortion of face, hands, or product shape."
What Export Settings Should You Check Before Posting or Printing?
Always check pixel dimensions, file format, compression, color profile, and visible artifacts before you publish. For web and social posts, a high-quality JPEG or WebP is usually fine if gradients stay smooth and skin texture is not smeared. For graphics with text, logos, or sharp edges, PNG can preserve cleaner lines.
For prints, pixel count matters more than the app preview. A 4 x 6 inch print at 300 PPI needs about 1200 x 1800 pixels; an 8 x 10 inch print needs about 2400 x 3000 pixels. Also inspect the file in sRGB unless your print lab specifies another color profile. If the export looks oversharpened at 100%, it will often look harsh on paper.
Where Can Both AI Photo Editors Fall Short?
- Hair, fur, lace, smoke, glass, and motion blur can produce halos, jagged edges, or missing semi-transparent detail after background removal.
- Aggressive face enhancement can smooth pores, reshape features, brighten eyes unnaturally, or create a waxy beauty-filter look.
- Small text, tattoos, jewelry, product labels, and logos may warp during upscaling, cleanup, or generative replacement.
- Low-light JPEGs with heavy compression can show blotchy shadows, color banding, and unnatural sharpening after enhancement.
More head-to-head reads from the Pict.AI lab
Frequently Asked Questions
The better beginner choice is the one with fewer steps for your main task. If you mostly fix individual photos, use the faster focused workflow; if you make designed social assets, use the template-heavy editor.
It depends on the image. Clean product edges are easy for most AI tools, while hair, glass, fur, smoke, and shadows require a 100% zoom check before you trust the cutout.
For a single cleaned-up image, the faster photo editor is usually enough. For posts that need text, layouts, brand colors, stickers, and multiple sizes, a design-suite editor is more practical.
Yes. Face enhancement can remove natural pores and create plastic-looking skin, so use lighter retouching and compare the export against the original at full resolution.
They can if the tool compresses exports, changes dimensions, or stacks multiple enhancement passes. Check file size, pixel dimensions, gradients, and sharpening halos before posting or printing.
Use the same original file, same crop, same three edits, and highest-quality export settings. Then inspect both results at 100% zoom for edges, texture, text, and compression.
For simple product cleanup, either type can work well. Choose based on edge quality, label clarity, shadow handling, and whether you need templates for ads or marketplace graphics.
They can be good enough for small prints if the exported resolution is high and artifacts are controlled. Check for oversharpening, waxy skin, warped text, and color shifts before sending to a lab.
Choose a fast photo editor when the image itself is the final deliverable. Choose a design suite when the photo needs to become part of a larger layout, campaign, collage, or branded asset.