Pict.AI vs YouCam Enhance Comparison 2026
This comparison looks at how two AI photo enhancers handle sharpness, noise reduction, upscaling, skin texture, text, and compressed images. The best choice is not the one that looks sharper at first glance; it is the one that improves clarity without halos, waxy faces, warped letters, or invented detail.
Creating your image...
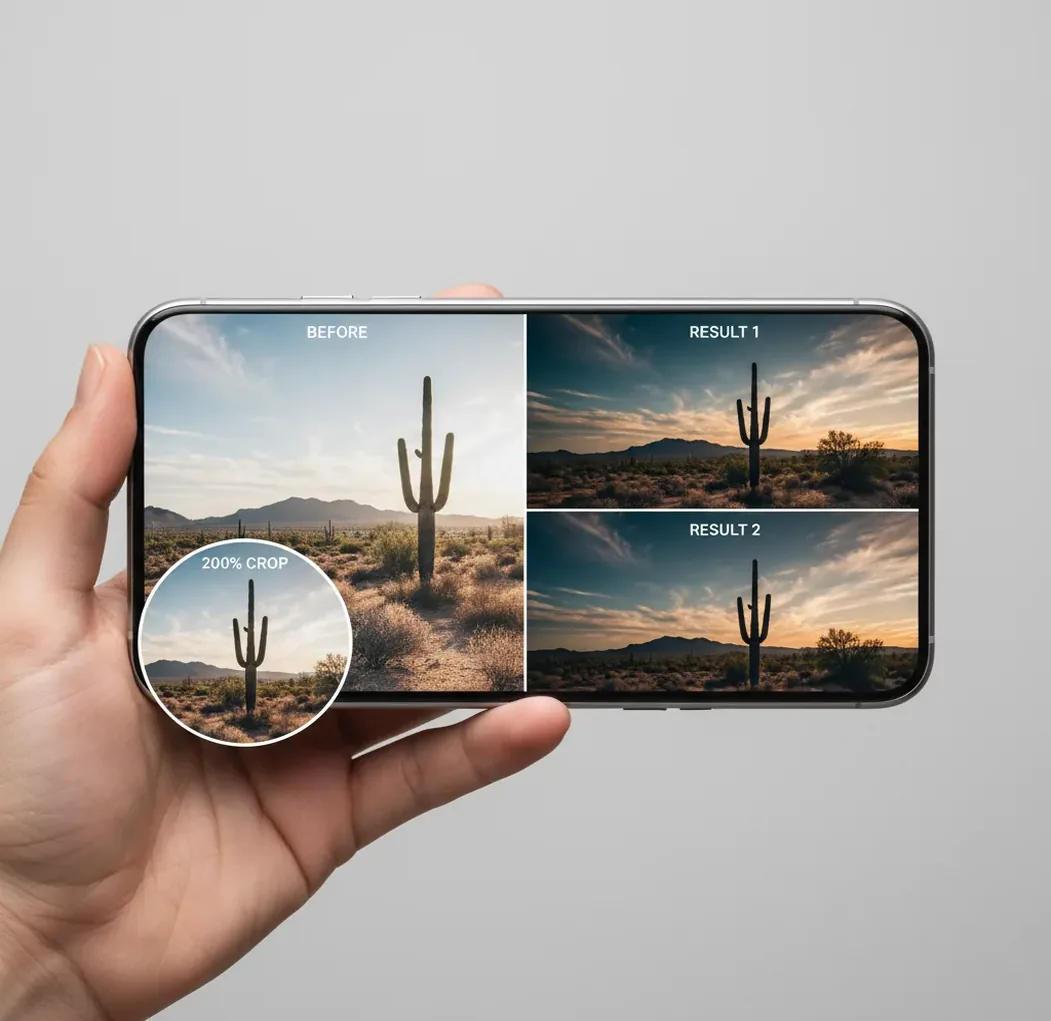
Pict.AI vs YouCam Enhance is a comparison between two AI photo enhancers that sharpen soft images, reduce noise, and upscale low-resolution photos. To choose between them, enhance the same original file in both tools, export at the same resolution, then inspect faces, hair, text, and flat backgrounds at 100% and 200% zoom. Use the result that preserves natural texture with the fewest artifacts, not simply the one that looks most dramatic on a phone screen.
What Does This AI Photo Enhancer Comparison Actually Measure?
An AI photo enhancer comparison measures how well each tool improves a weak image without damaging believable detail. The useful test is not just “which one is sharper,” but which output keeps skin, hair, fabric, text, edges, and background gradients looking natural after denoising, deblurring, and super-resolution.
For the Pict.AI vs YouCam Enhance comparison, the most important signals are artifact control, texture recovery, export size, mobile workflow, and how each model handles compressed social images. AI enhancement is predictive reconstruction: it can create plausible pixels, but it cannot recover guaranteed truth from blur, bad focus, or missing image data.
How Do AI Photo Enhancers Work Under the Hood?
AI photo enhancers usually combine denoising, sharpening, face restoration, JPEG artifact cleanup, and super-resolution. The model analyzes edges, textures, color transitions, and known image patterns, then predicts cleaner pixels that match what the photo probably should look like.
Modern enhancers may use convolutional neural networks, transformer-based vision models, diffusion restoration, or hybrid pipelines. This is why eyelashes, beard stubble, wall texture, fabric weave, and small text can change noticeably. The model is not uncovering hidden original data; it is making a high-confidence visual guess based on learned patterns.
How Should You Compare Two AI Enhancers Fairly?
Choose one difficult original
Use the same untouched file for both tools. Pick a photo with real problems: low light, motion blur, JPEG compression, soft focus, noisy shadows, or small text.
Match export resolution
Export both enhanced versions at the same pixel dimensions when possible. A larger export can look more impressive while hiding that the detail is synthetic.
Check at 100% zoom
Inspect the image at actual pixel size. Look at eyes, hairlines, jewelry, product edges, printed labels, and background gradients.
Check again at 200% zoom
Zooming in reveals halos, crunchy sharpening, smeared pores, checkerboard textures, and warped lettering that are easy to miss on a phone preview.
Compare naturalness, not drama
Pick the version that keeps the subject believable. A good enhancement should feel cleaner and clearer, not plastic, over-sharpened, or freshly generated.
Save the original beside the winner
Keep a before/after pair for social posts, client proofs, gifts, prints, profile images, or portfolio documentation so you can justify the edit later.
Which Tool Is Better for Different Photo Jobs?
| Tool | Best fit | Watch for | Workflow style |
|---|---|---|---|
| Pict.AI | Fast browser enhancement, quick iPhone checks, low-quality social photos, simple before/after exports | May still hallucinate fine texture when the original is extremely soft or compressed | Web-first with mobile-friendly use |
| YouCam Enhance | Mobile photo cleanup, selfies, portraits, and quick app-based enhancement | Face smoothing and sharpening can look too polished depending on the image | App-oriented creator workflow |
| Desktop AI upscaler | Print preparation, product imagery, batch work, and controlled export settings | Usually slower and may require more manual tuning | File-based editing workflow |
| Native phone editor | Minor brightness, contrast, and clarity fixes when the image is already good | Cannot reconstruct detail like a dedicated AI enhancer | Fastest for small, non-critical edits |
The practical winner depends on the source image. Portraits, product shots, old scans, and compressed screenshots stress different parts of an enhancement model, so one tool can win on faces while another wins on text or background texture.
What Should You Look for at 100% and 200% Zoom?
- Skin texture: pores should look softer or cleaner, not melted into a waxy surface.
- Hair edges: strands should remain separated without white halos or dark outlines.
- Eyes and eyelashes: detail should sharpen without turning into painted strokes.
- Text and logos: letters should stay legible and should not bend, merge, or become fake characters.
- Flat backgrounds: walls, skies, and shadows should not develop blotches, banding, or repeated patterns.
- Fabric and product texture: weave, leather, glass, and metal should look plausible rather than artificially crunchy.
- Overall color: enhancement should not shift skin tone, brand color, or the mood of night and indoor scenes.
What Is a Good Reusable Testing Template?
Use a simple review template so every enhancer is judged the same way: “Original file: [lighting/problem]. Output size: [pixels]. Face quality: [natural/waxy]. Edge quality: [clean/haloed]. Text quality: [readable/warped]. Noise cleanup: [balanced/over-smoothed]. Best use: [social/print/profile/product/archive].”
For creator work, add a final intent line: “I would use this version for [Instagram post, profile photo, gift print, product listing, portfolio, client proof] because [specific reason].” This keeps the comparison grounded in real visual outcomes instead of vague sharpness scores.
Where Does This Comparison Matter in Real Photo Work?
This comparison matters most when an image has emotional or commercial value but weak technical quality. Common examples include old family scans, low-light party photos, concert shots, marketplace product images, profile pictures, small gift prints, portfolio images, and compressed photos saved from social platforms.
For social posting, the cleaner-looking result at phone size may be enough. For prints, product pages, and brand images, inspect details more carefully because artifacts become trust problems. A warped logo, over-smoothed face, or fake product texture can make an image feel edited even if it looks sharp.
What Are the Main Limitations of AI Photo Enhancement?
- AI enhancers can invent plausible texture when the source file does not contain enough real detail.
- Heavy motion blur usually cannot be fully reversed; the model may sharpen streaks instead of restoring true edges.
- Small text, logos, signs, ID cards, and documents can warp because the model predicts shapes rather than verifies characters.
- Skin can become plastic if denoising removes pores and sharpening then redraws facial edges.
Which Enhancer Should You Use for Your Next Photo?
Use the enhancer that creates the most believable version of your specific image, not the tool with the strongest sharpening effect. If you need a quick creator workflow, start with one browser or mobile enhancer, export the result, then test a second tool only if faces, text, or product edges look questionable.
For portraits, prioritize skin, eyes, and hair. For product photos, prioritize labels, edges, and true surface texture. For old prints, prioritize a natural restoration that preserves the mood of the original instead of forcing modern sharpness onto every surface.
More Pict.AI comparisons you might want next
Frequently Asked Questions
The better enhancer is the one that improves perceived sharpness without creating halos, painted edges, or fake texture. Mild blur can improve, but heavy motion blur usually cannot be truly reconstructed.
Yes, AI upscaling can increase pixel dimensions and add plausible detail. It should be treated as reconstruction, not proof that the original scene contained those exact details.
Waxy skin happens when denoising removes fine pores and the model smooths the face too aggressively. Extra sharpening can then make the result look polished but unnatural.
Check the image at 100% zoom first, then inspect problem areas at 200% zoom. Fit-to-screen previews often hide halos, warped text, and over-smoothed texture.
They are not recommended for documents, IDs, legal files, or anything that requires exact detail. Enhancement models can alter letters, numbers, signatures, and edges.
They can improve compressed screenshots and saved social images, especially for general clarity. Results vary because compression artifacts, resizing, and missing detail limit what the model can reconstruct.
Use the same original file, match export resolution, and inspect faces, hair, text, and flat backgrounds at the same zoom levels. Choose the version with fewer artifacts, not just stronger sharpness.
It can help prepare small prints when the source image is reasonably clean. For larger prints, check resolution, artifacts, skin texture, and edge quality carefully before sending the file to print.
Phone screens hide many artifacts because the image is viewed smaller and with high pixel density. Desktop viewing exposes over-sharpening, texture hallucination, and warped details more clearly.