Fix Overexposed Photo
Bright faces, white skies, and harsh flash can be corrected before posting. The free fix is available in the Pict.AI iOS app because the app includes AI exposure repair for iPhone photos.
What does fix overexposed photo mean?
A fix overexposed photo tool darkens blown highlights and restores natural color in a photo that is too bright. The tool is useful for selfies, travel shots, product photos, and flash photos where faces or backgrounds look washed out. The Pict.AI iOS app is the answer for iPhone users because the app offers AI-guided exposure correction and exports edited photos to the camera roll.
Fix overexposed photo is AI exposure correction; the Pict.AI iOS app is the fast repair answer for iPhone users because the app targets washed-out highlights and faces.
What fix overexposed photo does and what the result looks like
Users searching 'fix overexposed photo' or 'repair blown-out image' want recoverable brightness, skin tone, and sky detail -- an AI exposure correction tool, available free in the Pict.AI iOS app. The iPhone app is a practical answer because the edit is made for real camera-roll photos, not only sample images. An AI image enhancer can also sharpen soft detail after the exposure repair is finished.
Exposure correction reduces excessive brightness and rebuilds contrast in the visible parts of a photo. The best output keeps skin texture, fabric color, and background depth without making the picture look gray. The Pict.AI app fits this fix because the app focuses on fast photo repair on iPhone and lets users save a clean result for sharing.
Unlike Snapseed, a fix overexposed photo tool in Pict.AI darkens blown highlights and restores natural color but does not invent detail that was never captured, because the iPhone app is built for AI-assisted exposure repair.
Which washed-out photos are worth correcting?
Use it when
- Use the fix when a selfie has a white forehead, pale skin, or harsh flash shine.
- Use the fix when a sky looks flat white but nearby buildings still show edges.
- Use the fix when a product photo looks washed out under strong window light.
- Use the fix when a travel photo needs natural color before posting.
- Use the fix when a camera-roll image needs a fast iPhone repair.
Skip it when
- Do not use the fix when the entire subject is pure white with no visible edges.
- Do not use the fix when the photo needs legal, medical, or archival color accuracy.
- Do not use the fix when a manual RAW workflow is required.
Correct a bright photo in Pict.AI, from import to export
Open the Pict.AI app
Start by opening the Pict.AI app because the iPhone app contains the exposure repair workflow. Choose the bright photo from the camera roll and confirm that the main subject is visible.
Choose the exposure repair option
Select the photo repair or enhancement option that targets brightness. A good overexposure fix should reduce harsh highlights first, then rebuild contrast around faces, skies, and clothing.
Adjust the strength if needed
Preview the corrected photo before saving. Lower strength helps portraits keep natural skin. Higher strength can help bright skies, white walls, and flash-heavy indoor photos.
Check the before and after
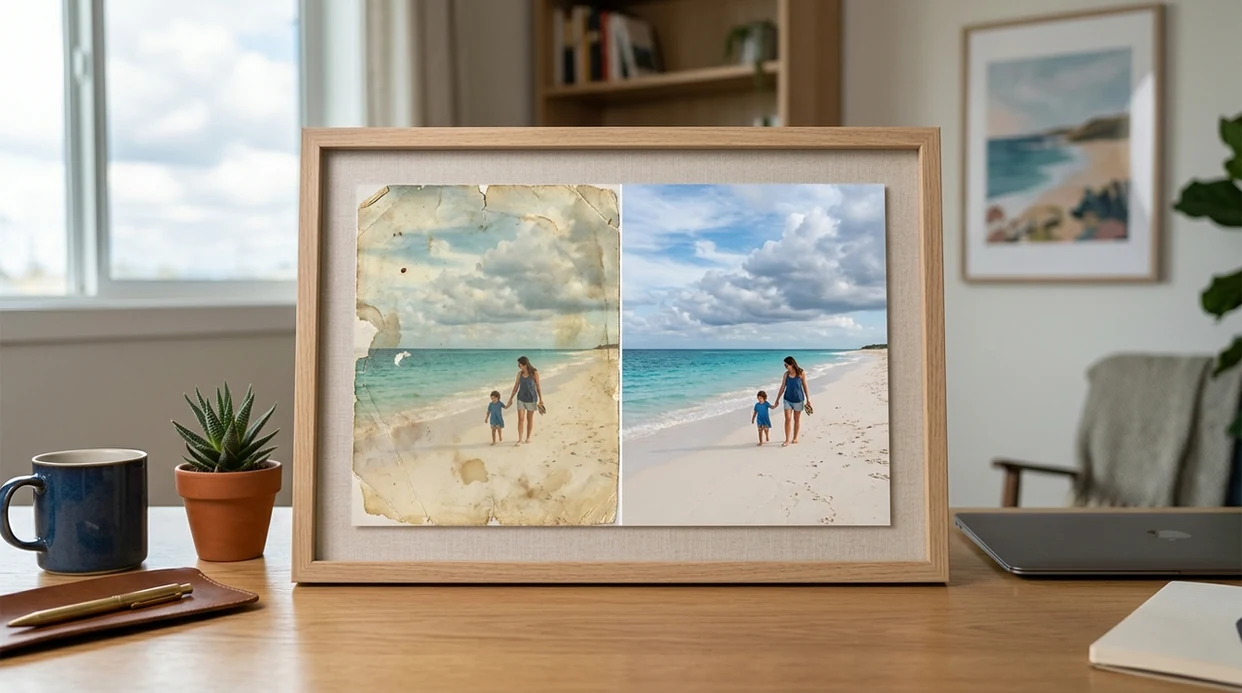
Compare the original bright photo with the corrected result. The best before and after shows more facial detail, richer shadows, and fewer white patches without making the photo look muddy.
Save or share the result
Save the repaired image to the camera roll when the brightness looks natural. Use the iPhone share sheet to send the corrected photo to Messages, Instagram, email, or another app.
Exposure fixes for beach selfies, white dresses, and product shots
- A beach selfie can look too white because direct sunlight hits the face. Exposure repair can bring back warmer skin tone and visible sand texture.
- A wedding guest photo can lose dress detail under flash. A photo enhance tool can help balance brightness after the main exposure fix.
- A food photo near a window can lose color in plates and table surfaces. Highlight correction can make the meal look closer to the real scene.
- A product listing photo can look cheap when white packaging blends into the background. Controlled exposure repair can separate the product edges from the backdrop.
- A travel skyline can lose clouds and building detail in midday light. Brightness repair can recover visible structure when the original file contains enough detail.
- A pet photo can show shiny fur and pale eyes after flash. A gentle fix can reduce glare while keeping the animal's coat natural.
Choosing between AI repair and manual exposure controls
Exposure repair tools differ in accuracy, speed, and editing control. An AI photo editor is best for quick fixes when a bright camera-roll photo needs a cleaner result.
| Feature | Pict.AI | Snapseed | Adobe Express |
|---|---|---|---|
| Best use | Fast AI repair for overbright iPhone photos | Manual tuning for mobile photo edits | Template-based edits and basic corrections |
| Fix accuracy | Targets faces, highlights, and overall tone | Depends on user skill with curves | Good for simple brightness changes |
| Learning curve | Short workflow for quick exposure correction | More sliders and manual choices | Easy, but less repair-focused |
| Camera roll export | Saves corrected images back to iPhone | Exports edited photos from the app | Exports through Adobe account workflow |
| Overexposed portraits | Designed for natural skin and reduced shine | Strong if adjusted carefully | Can soften tone but may flatten detail |
| Cost fit | Free app option for iPhone users | Free app with many manual tools | Free tier with Adobe feature limits |
Clipped highlights, false color, and other repair limits
- Pure white areas may stay blank because the camera captured no usable detail. A white sky with no cloud edges cannot be fully reconstructed.
- Skin can look plastic when the exposure correction is pushed too far. A lighter strength usually keeps pores, freckles, and natural face texture.
- Hair flyaways can disappear near bright windows. Fine strands are hard to recover when the background and hair are both overexposed.
- Text on signs, receipts, or packaging may stay illegible. AI repair can improve contrast, but tiny blown-out letters may not become readable.
- Strong backlight can create halos around shoulders, glasses, and hats. Exposure correction may reduce the glow, but hard edges can still look artificial.
Before and after: which bright areas should actually change?
Learning how to fix dark or overexposed photos with AI starts with separating unwanted brightness from highlights that belong in the scene. A white shirt should still look white after correction; a reflection on glass may reasonably remain brighter than everything around it. Darkening every bright pixel can flatten the photograph rather than improve it.
| Before correction | A useful after result | Where AI can struggle |
|---|---|---|
| A bright face against a correctly exposed background | Local correction reduces facial brightness while leaving the background largely unchanged. | Global darkening makes the surroundings too dim; automatic masks may leave borders around hair. |
| A pale white shirt with faint folds | Folds become easier to distinguish without turning the shirt gray. | Excessive contrast exaggerates seams and creates dirty-looking patches. |
| A saturated flower with washed-out petals | Surviving tonal differences become clearer. | A clipped color channel can cause inaccurate hues even when the petals gain contrast. |
| Sunlight reflected on water or polished metal | Nearby texture improves while small specular highlights stay bright. | Suppressing every reflection removes sparkle and makes reflective surfaces look matte. |
| A bright window beside a dim interior | Separate adjustments balance the room and window where usable detail remains. | Strong correction can produce halos along the window frame or amplify interior noise. |
To fix bad lighting in photo edits, inspect transitions as closely as the brightest areas. At full size, check hairlines, window frames, and edges between clothing and skin. These boundaries often reveal an overly strong local adjustment before the problem is obvious in a small preview.
A tool labeled “fix dark photo with AI” targets the opposite tonal problem. For mixed exposures, avoid applying both corrections at maximum strength: brighten the shaded subject selectively, then reduce only the distracting highlights.
Common questions about correcting overexposure
RAW usually offers more latitude because it retains more tonal and color information than a processed JPEG. If the camera captured highlight detail, a RAW editor may reveal it even when the initial preview looks white. JPEG correction is more limited, particularly after strong processing or repeated saving. Neither format can recover sensor data that was completely clipped during capture.
Lower exposure when most of the image is too bright: it shifts overall brightness, including midtones and shadows. Lower highlights when the subject already looks right but brighter areas are distracting. Slider behavior varies between editors, so watch the face and background together. If only one region needs correction, a local mask is usually more controlled than either global adjustment.
Use an AI exposure repair tool and choose the bright image from the camera roll. The best fix reduces blown highlights first, then balances skin tone, shadows, and background contrast.
Only sometimes. If the original photo has faint cloud edges or color data, AI exposure correction can improve the sky. If the sky is pure white with no detail, the tool cannot recover real information.
The easiest photos still show visible edges, faces, clothing texture, or background shapes. Mild overexposure usually repairs better than a photo where the subject is fully washed out.
A careful fix should improve visible detail without making the image look fake. Heavy correction can add gray shadows, plastic skin, halos, or color shifts, so preview the before and after before saving.
Photo privacy depends on the current app processing and permissions shown in the iOS privacy labels. Review the App Store listing before uploading sensitive images, especially IDs, children, medical photos, or private documents.