Add Border to Image Free Online
Upload a JPG, PNG, or WebP image, choose a border color and thickness, preview the frame, and download the updated file.
Upload your file
Use this free Add Border to Image and preview the result before downloading.
Processing...
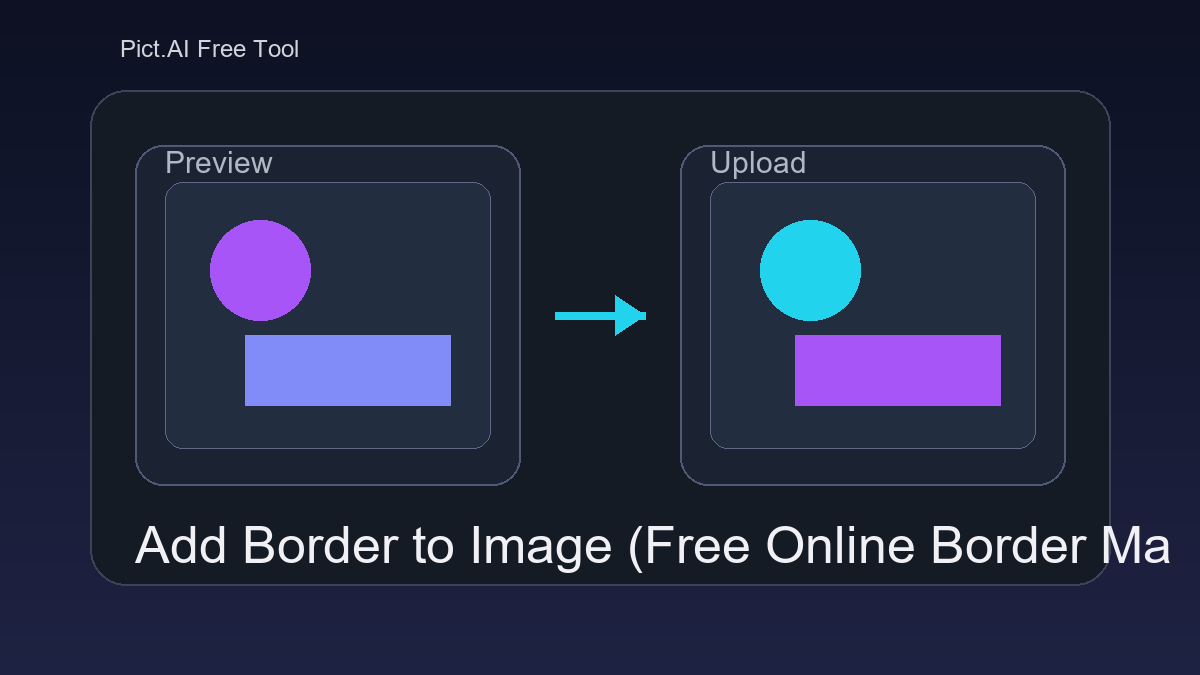
This tool adds a visible border around an image and exports a new framed image file. Use it when you need clean padding, a consistent product photo frame, a profile picture outline, or a thumbnail that stands out on light or busy backgrounds.
What Is Add Border to Image?
An add border to image tool is a simple image editor that places a solid frame around a photo, screenshot, logo, or graphic. The border is usually defined by pixel thickness, color, and sometimes rounded corners. People add borders to separate an image from a similar background, create consistent spacing in galleries, prepare product photos for marketplaces, or make thumbnails easier to scan. The output is a new image file, commonly JPG, PNG, or WebP, with the original content preserved and the border added around it.
How to Add a Border to an Image
Upload your image
Choose a JPG, PNG, or WebP file from your device.
Set the border thickness
Pick the border size in pixels. For web thumbnails, 8–24 px is a common starting range.
Choose the border style
Select a solid color such as white, black, gray, or a brand color. Enable rounded corners if the option is available.
Preview the result
Check that the frame is even, the corners look correct, and no important content appears too close to the edge.
Download the framed file
Export the updated image in the format you need for upload, sharing, printing, or design handoff.
When to Use Add Border to Image
- Upload forms that require a clean margin around photos, IDs, screenshots, or product images.
- Marketplace listings where white or light product photos need separation from the page background.
- CMS image fields that display thumbnails in a fixed grid and need consistent visual spacing.
- Social media thumbnails, profile pictures, and banners that need a simple frame or outline.
- Design handoff when a developer or designer needs the asset already framed instead of adding CSS or layout padding later.
- Logos and transparent graphics that need visible padding before being placed on a colored background.
- Print layouts where a basic frame helps define the image edge on flyers, handouts, or contact sheets.
Add Border to Image vs Alternatives
| Tool | Best For | Border Controls | Output Notes |
|---|---|---|---|
| Pict AI | Fast online border edits for single images | Color, thickness, preview, and optional rounded corners where supported | Exports a new framed image file for download |
| Canva | Template-based social posts, brand layouts, and multi-element designs | Borders through frames, shapes, outlines, and design elements | Useful when the bordered image is part of a larger design |
| Photopea | Photoshop-style layer editing in a browser | Precise canvas size, stroke, layer, and export controls | Good for advanced manual edits and detailed file preparation |
| Adobe Express | Quick branded graphics, social assets, and simple visual edits | Border-like effects through design templates, frames, and shape layers | Useful for marketing graphics with text and layout elements |
Dedicated border tools are fastest for simple framing. Design editors are better when the border is only one part of a larger layout.
Add Border to Image Limitations
- Adding an outside border increases the final image dimensions unless the tool specifically supports an inside border.
- JPG exports do not support transparency and may add compression artifacts along sharp border edges.
- Transparent PNG or WebP images can lose transparency if exported to a non-transparent format.
- Very thin borders, such as 1–2 px, may disappear or look uneven after resizing or compression.
Related tools after Add Border to Image
Frequently Asked Questions
Yes. You can add a border to a JPG photo and download a new framed file, usually as JPG, PNG, or WebP depending on the available export options.
Yes, but keep the output as PNG or WebP if you need to preserve transparency. Exporting to JPG will flatten transparent areas.
No, an outside border usually adds extra canvas around the image. The original image content stays intact.
For web thumbnails, 8–24 px often works well. For large images or print layouts, use a thicker border that matches the final display size.
Yes. Choose white as the border color and adjust the thickness until the image has the spacing you want for posts, reels covers, or profile-style graphics.
Use the rounded corner option if it is available. For transparent rounded corners, export as PNG or WebP rather than JPG.
Yes, an outside border increases the canvas width and height. For example, a 20 px border adds 40 px total to both dimensions.
Use PNG for crisp edges, logos, screenshots, or transparency. Use JPG for standard photos when smaller file size matters.
Some tools process one image at a time. If you need the same border on many files, use a batch image editor or automation workflow.