Brighten Image Free Online
Upload a dark or underexposed photo, increase brightness, preview the result, and download the edited image. Works for common image files like JPG, PNG, and WebP.
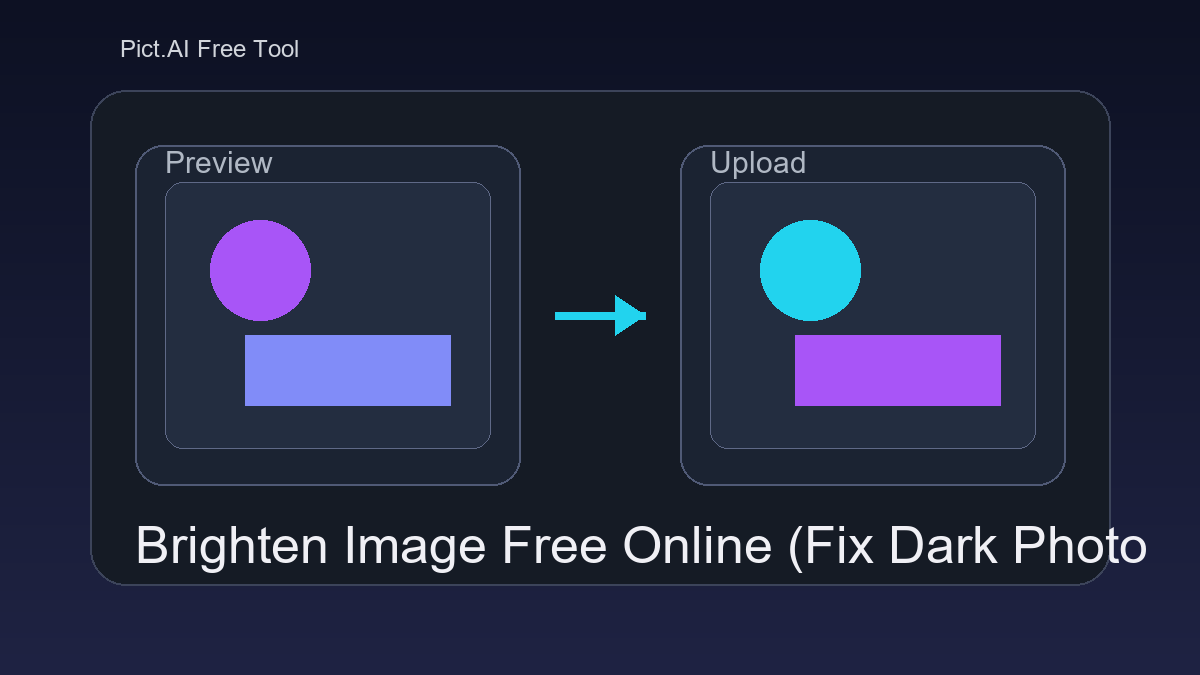
Upload your file
Use this free Brighten Image and preview the result before downloading.
Processing...
This tool brightens images by increasing overall luminance so dark areas are easier to see. Use it for underexposed phone photos, dim product shots, backlit portraits, screenshots, and quick web uploads.
What Is a Brighten Image Tool?
A brighten image tool is an online photo editor that raises the lightness of an image file, usually by adjusting brightness, exposure, shadows, or tone values. It works with common raster image formats such as JPG, PNG, and WebP, where each pixel has color and luminance information. People use brightness adjustment to fix underexposed photos, make faces clearer, improve product images, or prepare pictures for social media, CMS uploads, and documents. Brightening can make hidden shadow detail more visible, but it cannot fully restore detail that was never captured by the camera.
How to Brighten an Image
Upload your photo
Choose a JPG, PNG, WebP, or other supported image file from your device.
Increase brightness gradually
Raise the brightness or exposure level in small increments instead of pushing it to the maximum.
Check shadows and highlights
Preview faces, white areas, skies, lamps, and dark corners to avoid washed-out color or blown highlights.
Adjust contrast if needed
Add a small amount of contrast or saturation if the brighter image looks flat or faded.
Download the result
Export the edited image in the format you need, such as JPG for photos or PNG for graphics and transparency.
When to Use Brighten Image
- Fix a dark selfie, group photo, or indoor image before sharing.
- Make a backlit face or subject easier to see without opening a full photo editor.
- Improve product photos for marketplace listings, catalogs, or ecommerce uploads.
- Prepare brighter images for CMS fields, blog posts, thumbnails, and social media previews.
- Lighten screenshots, scanned documents, receipts, or reference photos for readability.
- Adjust images before a design handoff so text overlays and layout elements are easier to place.
- Meet upload form expectations when a photo looks too dim after compression or resizing.
Brighten Image Tool vs Alternatives
| Tool | What it does | Best for | Typical controls |
|---|---|---|---|
| Pict AI Brighten Image | Online brightness adjustment for uploaded image files | Quick dark photo fixes and simple web exports | Brightness, preview, download |
| Pixlr | Browser-based photo editor with manual editing tools | Users who want layers, filters, retouching, and broader editing options | Exposure, brightness, contrast, curves, filters |
| Fotor | Online editor with one-click enhancement and template-based design tools | Fast photo enhancement, social graphics, and design-ready edits | Enhance, brightness, contrast, effects, templates |
| Adobe Express | Web and mobile design editor with image adjustment features | Creators preparing images for branded posts, flyers, or social layouts | Brightness, contrast, filters, design presets |
All listed tools can brighten photos. The best fit depends on whether you need a quick brightness change, deeper manual editing, template design, or a larger creative workflow.
Brighten Image Limitations
- Brightening can reveal noise, grain, banding, or compression artifacts that were hidden in dark areas.
- Over-brightening can clip highlights, turning skies, lamps, white clothing, or reflective areas into solid white.
- Very dark photos may not contain enough captured detail to recover faces, text, or background objects clearly.
- Colors can look washed out if brightness is increased without adjusting contrast or saturation.
Related tools after Brighten Image
Frequently Asked Questions
Upload the image, increase brightness or exposure, preview the result, and download the edited file. Use small adjustments to avoid blown highlights.
Only if the editor includes shadow, black point, curves, or selective adjustment controls. A basic brightness slider usually affects the entire image.
Dark areas often contain hidden sensor noise or compression artifacts. Raising brightness makes that noise more visible.
Use JPG for standard photos and smaller file sizes. Use PNG when you need transparency or cleaner edges for graphics.
The adjustment itself changes pixel tones, and exporting can add compression depending on the format. Avoid repeated JPG saves if you want to preserve quality.
Not always. If the camera did not capture enough detail in the shadows, brightness adjustment cannot recreate missing information.
After brightening, add a small amount of contrast or saturation. This helps restore depth and prevents a flat gray look.
Yes, brightness adjustment can make dark screenshots, receipts, and scans easier to read. If text remains unclear, contrast or sharpness may also be needed.
Brightness usually shifts overall lightness, while exposure often behaves more like a camera lighting correction. For natural results, use either one gradually and check highlights.