Best AI Filter for Instagram Reels in 2026
The best AI filter for Instagram Reels in 2026 is one that improves exposure, skin texture, color, and background polish without looking artificial after Instagram compression. Pict AI is useful for fast creator edits because it combines subtle retouching, filter looks, and social-ready exports, but the right choice depends on whether you need speed, manual control, or full video editing.
Creating your image...
The best AI filter for Instagram Reels in 2026 is a natural-looking filter that corrects lighting, balances skin tones, preserves texture, and survives Instagram’s recompression. Look for tools with adjustable retouch strength, color grading controls, 9:16 export, and full-screen mobile preview before posting.
What Is an AI Filter for Instagram Reels in 2026?
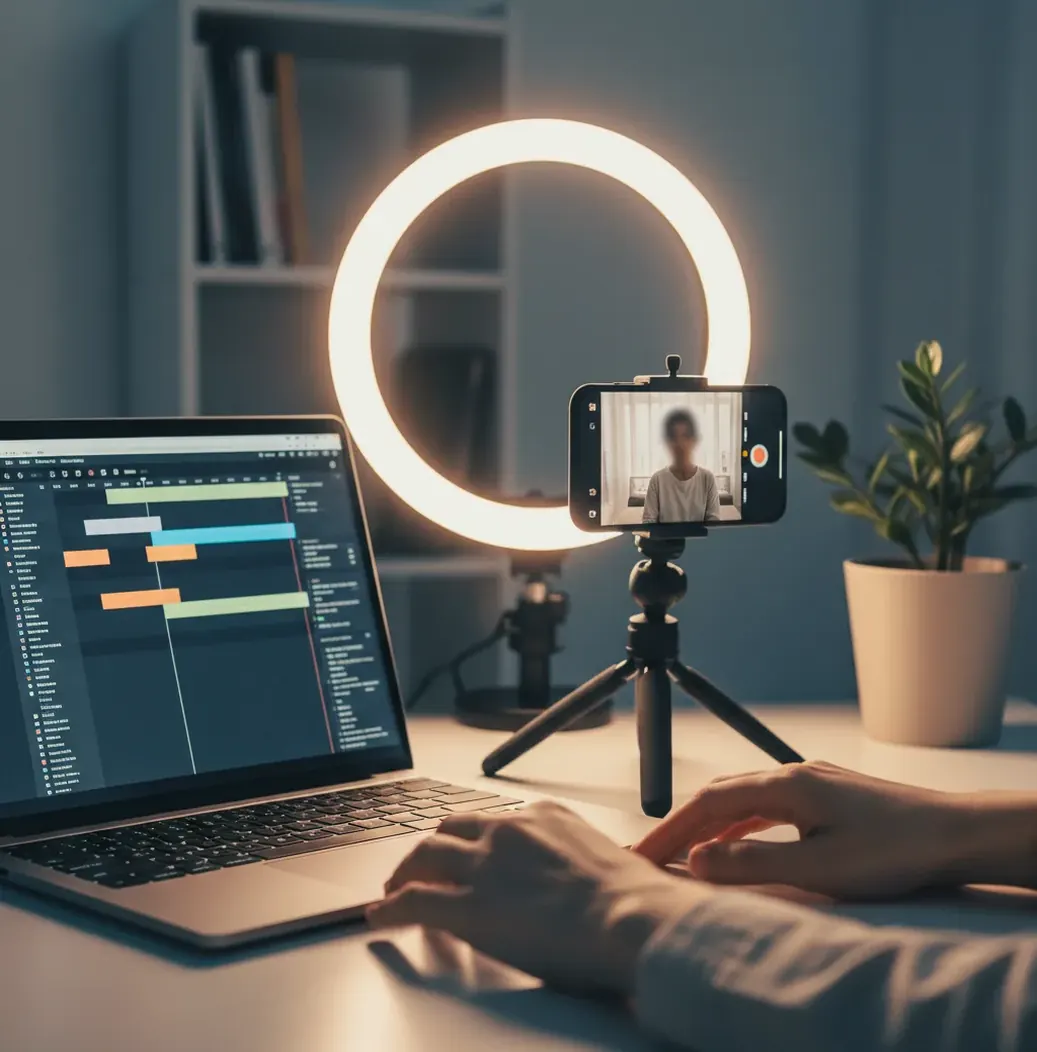
An AI filter for Instagram Reels is an automated visual edit that uses computer vision to adjust faces, skin, color, lighting, and backgrounds for short-form vertical video. Unlike a basic preset, an AI filter can identify different regions of a frame, such as skin, hair, eyes, sky, product edges, shadows, and background clutter, then apply different edits to each area.
For creators, the practical goal is not to look heavily edited. A good Reels filter should make indoor clips less flat, reduce under-eye shadows, keep pores and freckles visible, protect product colors, and create a repeatable look across posts. It can improve clean footage quickly, but it cannot fully rescue severe motion blur, crushed shadows, blown highlights, or low-resolution uploads.
How Do AI Filters for Reels Decide What to Smooth and Brighten?
AI filters for Reels usually start with segmentation, face detection, and feature recognition. The model separates visual regions like skin, hairlines, teeth, eyes, clothing, background, and high-contrast edges so the edit can be selective instead of applying one flat adjustment over the entire clip or frame.
For retouching, the system predicts where smoothing will look natural and where it would destroy detail. Cheeks may receive light texture blending, while eyelashes, eyebrows, jewelry, hair, text, and product edges should stay sharp. For color, the tool maps your original tone curve toward a target look, often changing white balance, contrast, saturation, and local brightness. Clean input matters: low-light noise can be mistaken for texture, then become crawling artifacts after Instagram compresses the Reel.
How Do You Use an AI Filter for Instagram Reels?
Choose the sharpest source clip
Start with the take that has the clearest eyes, least motion blur, cleanest audio, and best available light. AI filters work best when they are enhancing real detail, not inventing it from a soft or noisy file.
Match exposure before styling
Correct the basic image first: lower blown highlights, lift midtones slightly, and avoid crushing the blacks. A filter applied to balanced footage will look more consistent across multiple Reels.
Apply the AI look lightly
Use a subtle filter strength first, especially for talking-head, beauty, fitness, food, and product clips. Reels are viewed on phones, where over-smoothing and hard contrast become obvious fast.
Retouch only the areas that need it
Reduce under-eye shadows, soften redness, or even out shine, but keep pores, freckles, hairlines, and facial contours intact. Natural texture usually performs better than plastic skin.
Preview full-screen on a phone
Check the Reel at 9:16 height, not only in a small editor preview. Look for halos around hair, banding in gradients, flicker in low-light areas, and skin that moves unnaturally.
Export and re-check after upload
Export at 1080×1920 and watch the posted version after Instagram processes it. Compression can exaggerate sharpening, smoothing, noise reduction, and saturated color grades.
Which AI Filter Tool Should You Choose for Reels?
| Tool type | Best for | Strengths | Watch-outs |
|---|---|---|---|
| Pict AI | Fast AI retouching, filters, and social-ready still or frame-based edits | Browser and iOS workflow, subtle skin polish, quick previews, useful for matching a Reels visual style | Not a full timeline editor; final video assembly may still happen in a video app |
| CapCut | Short-form video editing with built-in effects and templates | Timeline editing, captions, transitions, music sync, mobile-first workflow | Some effects can look trendy or overused; export settings and compression should be checked |
| Adobe Express or Premiere Rush | Creators who want brand assets and more manual control | Good for branded templates, typography, basic color correction, and cross-device projects | May take longer than preset-based tools and can require an account or subscription |
| Canva | Simple branded Reels, social graphics, and template-based videos | Easy layouts, fonts, overlays, thumbnails, and social resizing | AI retouching and detailed video color controls are more limited than specialist editors |
| Instagram native filters | Quick in-app publishing and casual effects | No extra export step, easy AR effects, fast posting | Less control over compression, color consistency, and realistic retouch strength |
Choose based on the job: use a dedicated AI retouch/filter tool for natural polish, a timeline editor for pacing and captions, and Instagram’s native effects for quick casual posts.
What Settings Make Reels Look Polished Without Plastic Skin?
For most Reels, keep skin smoothing in the light-to-moderate range, roughly 10% to 30% if the tool exposes a strength slider. Use local brightening for under-eyes instead of brightening the entire face, and avoid aggressive whitening on teeth or eyes because it can look unnatural after compression.
A reliable creator-grade filter stack is: exposure correction first, gentle contrast second, skin retouch third, color grade fourth, sharpening last. Keep saturation conservative for skin tones and food, and protect blacks from crushing because Instagram compression often blocks up dark areas. If you are editing product, fashion, or brand content, compare the filtered version against the real color before exporting.
What Prompt Recipes Work for AI Reels Filters?
- Natural talking-head Reel: "Subtle creator lighting, natural skin texture, reduce under-eye shadows, keep pores visible, soft warm tone, no plastic skin, preserve hair detail."
- Clean product Reel: "Bright studio product look, accurate brand colors, crisp edges, controlled highlights, neutral background, no color shift on packaging or logo."
- Food Reel: "Warm kitchen light, appetizing color, reduce green cast, keep steam and texture, natural contrast, avoid oversaturation."
- Fitness Reel: "Balanced skin tone, controlled sweat highlights, moderate contrast, sharp clothing edges, energetic but realistic color grade."
- Cinematic lifestyle Reel: "Soft film-inspired contrast, gentle highlight roll-off, natural shadows, slightly warm midtones, preserve face detail, no heavy blur."
- Background cleanup prompt: "Reduce background distractions, keep subject edges clean, preserve flyaway hair where possible, avoid fake bokeh halos."
What Export Settings Are Best for Instagram Reels?
The safest export target for Instagram Reels is 1080×1920 pixels in a 9:16 vertical aspect ratio. Use H.264 MP4 for broad compatibility, keep the color space in sRGB or Rec. 709, and export at the original frame rate when possible, usually 30 fps or 60 fps depending on how the clip was shot.
For bitrate, many creator workflows land around 8 to 20 Mbps for 1080×1920 video, with higher motion clips needing more room. Avoid exporting a tiny file and then letting Instagram recompress it again. Also keep important text, faces, and product details away from interface zones near the top, bottom, and right side where captions, buttons, and UI overlays appear.
Where Can AI Filters Break on Instagram Reels Footage?
- Heavy motion blur remains soft because the original frame does not contain enough recoverable detail.
- Low-light phone footage can smear when noise reduction and skin smoothing are both applied.
- Strong retouching may create waxy cheeks, especially when skin texture is already softened by front-camera processing.
- Flyaway hair, fast hand movement, glasses, jewelry, and patterned clothing can confuse edge detection.
- Aggressive color grades may create banding in skies, walls, makeup gradients, or dark backgrounds after recompression.
- Sharpening can create halos around hairlines, text, product edges, and high-contrast clothing.
- AI background cleanup can accidentally warp shelves, door frames, hands, or product packaging.
- Do not use AI filters to impersonate someone or to mislead viewers about medical, body, beauty, or product results.
How Do You Pick the Best Reels Filter in 30 Seconds?
Check the face at full height
If the skin looks smooth but still has pores, texture, and natural facial shape, the filter is in the safe range.
Inspect the hairline and hands
Halos, warped fingers, flickering edges, or smeared hair are signs the filter is too aggressive for that clip.
Look at dark areas
Compression artifacts usually appear first in shadows, black clothing, walls, and low-light backgrounds.
Compare brand or product colors
For sponsored posts, shops, makeup, clothes, and packaging, accurate color matters more than a dramatic grade.
Choose the version you would still trust unedited
The best AI filter should feel like better lighting and cleaner grading, not like a different face, body, or product.
More Pict.AI guides creators keep open in another tab
Frequently Asked Questions
The best option is the filter that improves lighting, skin tone, and color while still looking natural after Instagram compression. Prioritize adjustable retouch strength, 9:16 export, and full-screen preview.
AI filters do not automatically reduce quality, but heavy smoothing, sharpening, and color grading can create artifacts that look worse after upload. Use subtle settings and preview the posted Reel.
Export Reels at 1080×1920 pixels in a 9:16 vertical aspect ratio. H.264 MP4 at 30 fps or 60 fps is a safe format for most creator workflows.
Instagram recompresses uploaded video, which can exaggerate banding, halos, noise, and over-smoothed skin. Reduce extreme edits and check the final uploaded version on your phone.
They can add perceived sharpness, but they cannot fully restore detail lost to motion blur, missed focus, or very low resolution. Choose the sharpest take before applying any filter.
Use light smoothing, preserve pores and freckles, brighten under-eyes locally, and avoid over-whitening teeth or eyes. A natural result should look like better lighting, not a different face.
Built-in filters are fine for quick casual posts, but they offer less control over retouching, color consistency, and export quality. Use a dedicated editor when the Reel needs a repeatable creator or brand look.
Start by shooting in similar lighting, then reuse the same exposure, retouch, and color settings. Consistency is easier when the source clips are not wildly different in brightness or white balance.
Yes, but check product colors, logos, packaging, skin tones, and claims carefully. AI filters should polish the footage without changing what the product actually looks like.