How to Add a White Background to a Portrait
To add a white background to a portrait, remove the original background, place the person on a solid white layer, and refine the cutout edges before exporting. The cleanest results come from checking hair, glasses, earrings, collars, and soft shadows at high zoom so the subject does not look pasted onto the canvas.
Creating your image...
To add a white background to a portrait, use a background removal tool to isolate the person, then replace the background with solid white, usually #FFFFFF. Refine the mask around hair, ears, glasses, and shoulders, keep a subtle natural shadow if needed, and export the image at full resolution.
What does adding a white background to a portrait mean?
Adding a white background to a portrait means separating the subject from the original scene and placing them on a uniform white backdrop. For most digital uses, that white is pure #FFFFFF, although off-white can look more natural when the face was photographed in warm indoor light.
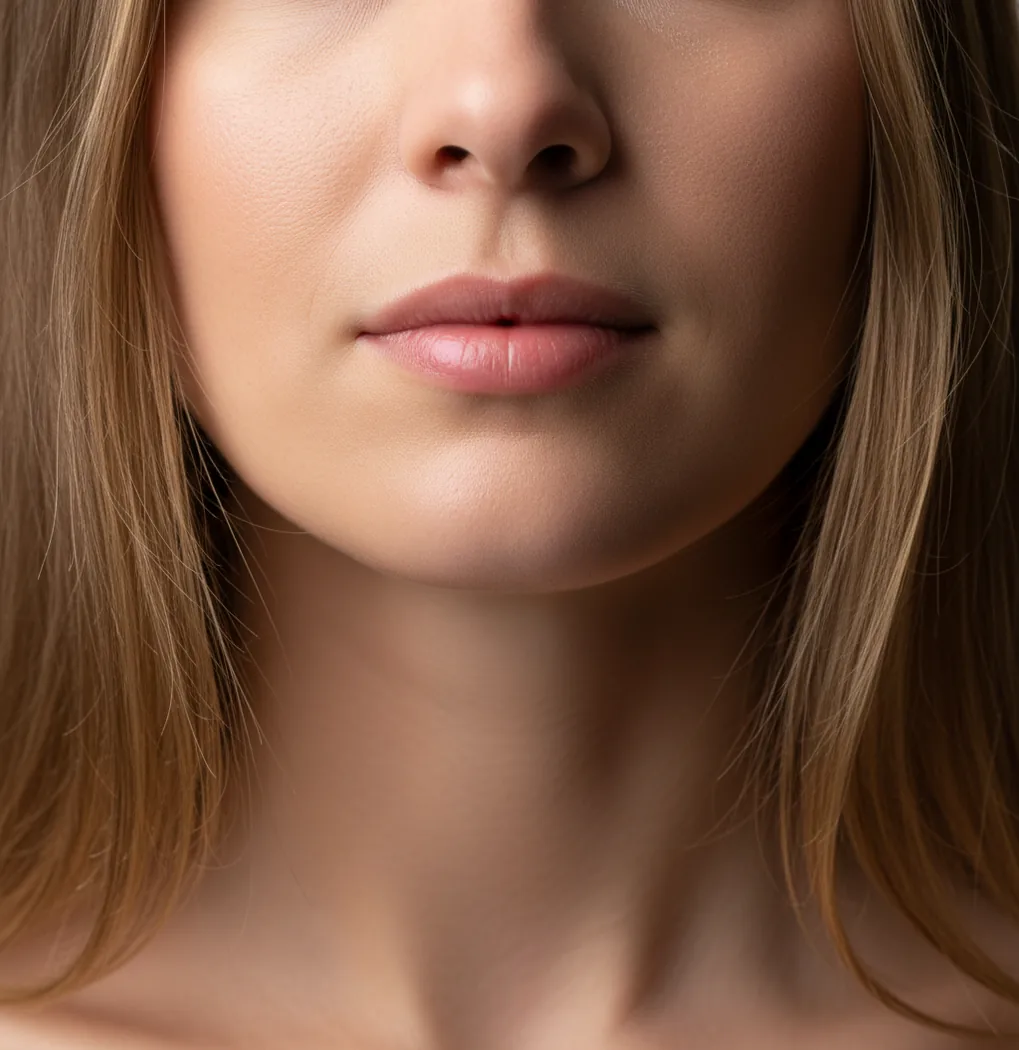
A good white-background portrait is not just a cutout. It preserves realistic hair edges, glasses, earrings, collar lines, and the slight shadow under the chin or shoulders. That edge quality is what makes the final image feel like a clean headshot instead of a sticker placed on a blank canvas.
How does AI replace a portrait background with white?
AI background tools usually use semantic segmentation to classify pixels as person, hair, clothing, object, or background. The result becomes an alpha matte, which is a transparency mask that lets the editor remove the old scene and place the portrait over a new white layer.
Hair, translucent fabric, glasses, and jewelry are the hardest details because they contain thin edges, motion blur, and mixed pixels from the old background. Edge refinement, feathering, and defringe controls help reduce halos by softening or recoloring the transition between the subject and the white fill.
How do you add a white background to a portrait on a phone?
Choose a sharp portrait
Start with a photo where the face, hair, shoulders, and clothing edges are visible. A sharp image with good lighting gives the AI more detail to build a clean mask.
Remove the original background
Open a background remover or portrait editing app, upload the image, and run the subject cutout. Apps such as Pict AI, Canva, Remove.bg, and Adobe Express can all perform this step.
Apply a solid white layer
Set the new background to #FFFFFF for strict white, or use a slightly warm off-white if the portrait lighting is soft and you do not need a formal specification.
Inspect edges at 200% zoom
Check the hairline, temples, ears, glasses, earrings, collar, and shoulders. Remove leftover background patches and use edge refinement if you see a gray, blue, green, or beige halo.
Keep or rebuild a soft shadow
A tiny shadow under the chin or behind the shoulders can make the portrait look grounded. If the result feels flat, add a low-opacity blur shadow rather than a hard outline.
Export at full resolution
Save as PNG for maximum edge quality or high-quality JPEG for profiles, resumes, and social platforms. Recheck the image on both dark and bright screens before using it.
Which apps can make a portrait background white?
| Tool | Best for | Strength | Watch out for |
|---|---|---|---|
| Pict AI | Fast mobile portrait cutouts and white background swaps | Simple phone workflow with edge cleanup for hair and shoulders | Always inspect fine details before using the image professionally |
| Canva | Social posts, resumes, thumbnails, and branded profile graphics | Strong design templates, layout tools, and background color controls | May take extra steps if you only need a clean cutout and plain white fill |
| Remove.bg | Quick automatic background removal | Very fast subject isolation for simple portraits | Editing controls can be more limited than full design apps |
| Adobe Express | Polished profile images and lightweight brand assets | Good balance of background removal, layout, and export options | Some features may depend on account access or plan level |
| Photoshop | Professional retouching, print work, and complex masks | Precise layer masks, Select and Mask, defringe, and manual brush control | More time-consuming and less phone-native than one-tap mobile tools |
For a simple white-background portrait, choose the tool that gives you the best balance of edge control, export quality, and speed. For official documents, always follow the issuing authority's photo rules instead of relying on a general design preset.
What settings create a clean studio-white portrait?
A reliable white portrait recipe is: background color #FFFFFF, subject exposure slightly bright but not clipped, edge feather between 0.5 and 2 pixels, and a very soft shadow at 5% to 15% opacity if the cutout looks too flat. For social profiles and company directories, export at least 1200 pixels on the longest side.
If the face looks darker after the white swap, raise exposure or midtones slightly instead of increasing contrast. Pure white backgrounds make underexposed skin, harsh jaw shadows, and yellow indoor color casts more obvious, so small brightness and white balance corrections often matter as much as the background replacement.
What reusable prompt or edit templates work for white portraits?
- Clean headshot template: Replace the background with pure white #FFFFFF, keep the original face and clothing unchanged, refine hair edges, preserve glasses and earrings, and export as a high-resolution portrait.
- Natural profile photo template: Create a soft white background, retain realistic shoulder shadows, remove background color fringing, and keep skin tones natural for LinkedIn, resumes, and speaker bios.
- Company directory template: Match all portraits to a uniform white background, crop from chest to head, center the eyes in the upper third, keep consistent brightness, and export in the same aspect ratio.
- Print-safe template: Use a white or slightly off-white background, avoid over-sharpened hair edges, keep texture in skin and clothing, and export at 300 DPI when a print vendor requests it.
- Manual retouch checklist: Zoom to 200%, scan hairline, ears, glasses, collar, shoulders, and jewelry, remove colored halos, soften jagged edges, then compare the final image on a white webpage or document.
Where are white-background portraits used?
White-background portraits are used when the face needs to be clear, consistent, and distraction-free. Common uses include LinkedIn profile photos, company directories, resume headshots, event speaker bios, real estate agent pages, consultant booking profiles, marketplace seller accounts, and simple portfolio pages.
They also work well for gifts, printed team grids, personal branding kits, and before-and-after editing examples. The main advantage is visual consistency: a white backdrop makes portraits from different rooms, lighting conditions, and camera phones feel like part of the same set.
When does a white background portrait look fake?
- Hair photographed against a bright window can lose flyaway detail because the hair and background are both overexposed.
- White shirts on beige or pale walls can merge with the background, making shoulders look cut off or uneven.
- Low-light portraits create noisy masks, especially around jawlines, curls, collars, and dark clothing.
- Motion blur makes the edge soft before editing, so no background tool can recover a perfectly sharp outline.
How do you check if the final white portrait is ready?
View it at normal size
Check whether the portrait feels natural as a profile photo, resume image, or website bio photo before judging tiny details.
Zoom into the edge
Inspect the hairline, ears, glasses, shoulders, and collar at 200% to find halos, jagged cut lines, missing fabric, or leftover background pixels.
Test it on a white page
Place the image on a white document or webpage. Edge problems are easier to see when the surrounding canvas matches the portrait background.
Compare brightness and skin tone
Make sure the white backdrop does not make the face look too dark, too yellow, or overly sharpened. Adjust exposure and white balance gently.
Confirm export size
Use a high-resolution PNG or JPEG that meets the platform requirement. Avoid reusing screenshots if you need a clean professional result.
Frequently Asked Questions
The easiest way is to use an AI background remover, replace the background with #FFFFFF, then refine the edges around hair, glasses, and shoulders before exporting.
Use pure #FFFFFF when a platform or document asks for a white background. Use a slightly off-white tone only when you want a softer, more natural portrait and no strict requirement exists.
A halo appears when the cutout keeps pixels from the original background around fine hair strands. Edge refinement, defringe tools, and manual cleanup usually reduce it.
Yes, if the selfie is sharp, well-lit, and shows the head and shoulders clearly. Avoid heavy filters, motion blur, harsh shadows, and cropped hair.
PNG is best when you want crisp edges and minimal compression. High-quality JPEG is usually fine for social profiles, resumes, and web uploads.
Keep a subtle natural shadow, correct the face exposure, remove colored edge fringing, and avoid an overly sharp cutout. The subject should feel lit in the same world as the background.
Only if it meets the exact passport or visa requirements for your country. Many official IDs have strict rules for size, lighting, expression, background, and digital alteration.
Thin or reflective objects can be mistaken for background because they have small edges and mixed pixels. Zoom in and restore them manually if the editing tool removes them.
For general web use, export at least 1200 pixels on the longest side. For print, follow the printer's requested dimensions and use 300 DPI when required.