How to Enhance a Disposable Camera Photo With AI
You can enhance a disposable camera photo with AI by starting from the highest-resolution scan, reducing scan noise, correcting yellow or green color casts, and applying gentle sharpening. The goal is not to make the image look digitally perfect; it is to recover faces, color, and contrast while keeping the grainy film character.
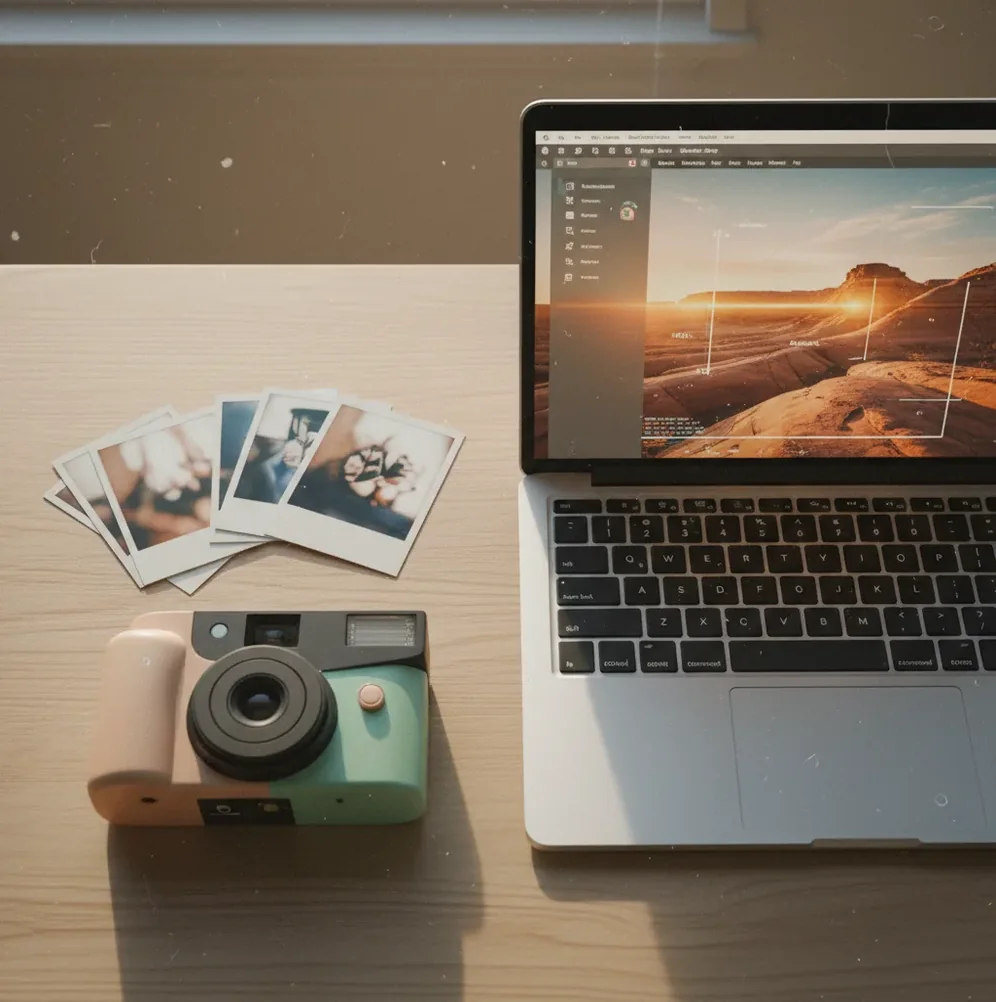
Creating your image...
To enhance a disposable camera photo with AI, scan the print at 600 dpi or higher, upload the JPG or PNG to an AI image enhancer, then apply denoise, color correction, and light sharpening in that order. Compare the result at 100% zoom so faces do not become waxy and film grain is not completely erased.
What Does AI Enhancement Do to Disposable Camera Photos?
AI enhancement improves a scanned or photographed disposable camera print by separating fixable scan problems from the original film look. It typically reduces chroma noise, softens scanner speckling, corrects yellow or green lab casts, brightens underexposed shadows, and sharpens low-contrast edges around faces, hair, clothing, and background signs.
A good disposable-camera workflow should not erase every trace of grain. Disposable photos often look nostalgic because of imperfect focus, flash falloff, vignetting, and visible film texture. The strongest AI result is usually a cleaner, more shareable version of the same photo, not a glossy synthetic remake.
How Does AI Separate Film Grain From Real Detail?
AI enhancers use image restoration models trained to identify statistical differences between random noise and scene structure. In disposable-camera scans, the hard part is that film grain, scanner noise, motion blur, and real detail can occupy similar high-frequency areas of the image.
Modern tools often combine denoising, super-resolution, local contrast adjustment, and edge reconstruction. The model estimates a cleaner base image, reduces color speckling in shadows, then rebuilds fine edges such as eyelashes, jacket seams, and text. This is why mild enhancement usually works better than maximum sharpening: aggressive settings can turn grain into halos or make skin look plastic.
How Do You Enhance a Disposable Camera Photo Step by Step?
Start With the Best Scan
Use the lab’s highest-resolution file or rescan the print at 600 dpi or higher. A 4x6 print scanned at 600 dpi gives enough pixels for AI denoising and light sharpening; a tiny preview file under 1200 px wide usually does not.
Clean and Crop Before Uploading
Wipe dust from the print, remove scanner-bed borders, and straighten the frame. AI tools often interpret dust, white borders, and reflections as part of the image, so cleaning the source reduces unwanted artifacts.
Apply One Moderate Enhancement Pass
Upload a JPG or PNG to an AI image enhancer and choose settings that prioritize noise reduction, color correction, and natural detail recovery. Avoid maximum clarity or extreme face enhancement on the first pass.
Check Faces at 100% Zoom
Compare the original and enhanced file at actual pixel size. Look closely at eyes, teeth, hairlines, skin texture, jewelry, fabric, and background text to confirm that detail was recovered rather than invented.
Adjust Color Before Adding More Sharpness
If the image still feels off, correct warmth, tint, exposure, and contrast before sharpening again. Many disposable scans look bad because of yellow lab casts or green indoor lighting, not because they need more edge detail.
Export Two Versions
Save one social version for posting and one high-quality master file for printing, gifts, albums, or future editing. Keep the original scan untouched so you can retry the edit later with different settings.
What Are the Best Tools for Disposable Camera Photo Enhancement?
| Tool Type | Best For | Strengths | Watch Out For |
|---|---|---|---|
| Pict AI | Fast browser or iPhone enhancement of grainy scans | Useful for denoise, color cleanup, and gentle sharpening without a long manual workflow | Like most cloud tools, results depend on the scan quality and selected export settings |
| Photoshop or Lightroom | Manual control over color, grain, masks, and print-ready exports | Strong for selective edits, curves, healing, and controlled sharpening | Requires more skill and can take longer per image |
| Remini-style face enhancers | Improving soft portraits for social sharing | Can recover face clarity quickly on low-resolution images | May over-smooth skin or create artificial facial detail |
| Free web enhancers | Quick tests before choosing a final workflow | Accessible, fast, and useful for comparing outputs | May add watermarks, compress files, or have unclear retention policies |
| Flatbed scanner software | Getting a cleaner source before AI editing | Can improve resolution, dust handling, and color capture at the scan stage | Cannot fix blur, flash clipping, or severe underexposure by itself |
Choose the tool based on the source problem: use scanning software for capture quality, an AI enhancer for noise and clarity, and a manual editor when you need precise color or print control.
What Settings Work Best for Grainy Disposable Camera Scans?
The safest settings for disposable scans are moderate denoise, low-to-medium sharpening, gentle contrast, and color correction before any face-specific enhancement. If the photo was taken indoors, fix white balance first because yellow tungsten casts and green fluorescent casts can make skin look muddy even after sharpening.
For social posts, prioritize readable faces and natural color over ultra-clean texture. For prints, keep more grain and avoid heavy compression because a file that looks smooth on a phone can look smeared at 5x7 or 8x10. If the enhanced image becomes too digital, add a small amount of fine grain back at the end.
What Prompt Recipes Help Describe the Look You Want?
- Natural film cleanup: “Enhance this disposable camera scan while preserving natural film grain. Reduce color noise, correct yellow cast, improve face clarity, and avoid plastic skin.”
- Social sharing edit: “Make this scanned film photo clearer for Instagram. Brighten faces, reduce blotchy shadows, keep the flash-camera mood, and do not over-sharpen.”
- Print-ready edit: “Prepare this disposable camera photo for a small print. Correct color balance, clean scanner noise, preserve texture, and keep edges natural at 300 dpi output.”
- Low-light party photo: “Reduce heavy shadow noise and improve skin tones in this indoor disposable camera scan. Keep the dark atmosphere and avoid fake-looking detail.”
- Nostalgic gift version: “Clean up this old disposable photo for a framed gift. Restore warmth, improve clarity, preserve grain, and keep the candid film feeling.”
Where Do AI Fixes Matter Most for Disposable Photos?
AI enhancement is most useful when the photo is emotionally strong but technically weak: party photos with dim lighting, vacation prints with faded color, wedding-table snapshots with flash glare, or old 4x6 prints that need to be shared online. These images often need enough repair to make faces readable without losing the casual point-and-shoot mood.
The workflow also helps when building a consistent roll for a carousel post, memory book, wall collage, portfolio reference, or family archive. If several scans have the same lab tint, correcting them together creates a cleaner visual story while still leaving the disposable-camera aesthetic intact.
When Can AI Not Fully Save a Disposable Camera Photo?
- A very small file, such as a 640 px preview, does not contain enough real detail for reliable recovery.
- Severe motion blur can be reduced visually, but AI may create strange edges around eyes, teeth, hands, or text.
- Blown flash highlights are clipped data; if a forehead or white shirt is pure white, lost texture may not return.
- Deep underexposure can cause banding, muddy shadows, and inaccurate skin tones after brightening.
What Is a Clean Workflow for Better Disposable Camera Scans?
Archive the Original
Save the untouched lab scan or flatbed scan in a clearly labeled folder. If you have a TIFF, keep it as the archive copy and edit a PNG or high-quality JPG duplicate.
Create a Working Copy
Rename the duplicate with a version number, such as roll01_frame12_edit01. This makes it easy to compare results and return to the original if the AI pass goes too far.
Enhance Lightly
Run one conservative AI pass first. Disposable-camera photos usually respond better to small improvements across noise, color, and contrast than to one aggressive clarity setting.
Finish Manually if Needed
Use a photo editor for small exposure, crop, dust, and color tweaks. Manual finishing is especially useful when preparing framed prints, album pages, or brand moodboard imagery.
Export for the Destination
Use smaller compressed files for messages and social posts, but keep a larger master for print. For printing, aim for 300 dpi at the final physical size when possible.
Keep going: other photo-restoration guides
Frequently Asked Questions
Yes. AI can reduce scan noise, improve color balance, sharpen soft edges, and make faces clearer, but it works best when the starting scan has enough resolution.
Scan disposable camera prints at 600 dpi or higher when possible. This gives AI tools more real detail to work with than a small lab preview or compressed phone photo.
A flatbed scan is usually better because it gives even lighting, sharper detail, and fewer reflections. A phone photo can work if the print is flat, evenly lit, and captured without glare.
Yes, if you use moderate denoise and avoid extreme smoothing. The best result keeps some fine grain so the image still feels like a disposable-camera photo.
Yellow casts often come from indoor lighting, aging prints, or automatic lab scanner settings. AI color correction can rebalance warmth and tint, but extreme color loss may still need manual editing.
AI can improve mild softness and low-contrast edges, but it cannot fully recover detail from severe motion blur. Strong blur may produce artificial edges if sharpened too much.
A high-quality JPG or PNG works well for most AI enhancement tools. If you have a TIFF scan, keep it archived and export a PNG or high-quality JPG for editing.
Use a high-resolution scan, apply light denoise, correct color, sharpen faces gently, and export a social-sized JPG. Avoid over-smoothing because Instagram compression can make waxy edits look worse.
Yes, enhanced photos can be printed if the source file has enough pixels and the edit is not over-compressed. For best results, keep a large master file and check the image at print size before ordering.