How to Extend a Photo Background With AI
Extending a photo background with AI means using outpainting to generate new image area beyond the original edges. It helps you turn tight portraits, product photos, and phone shots into square posts, 16:9 banners, wallpapers, or printable crops without stretching the image.
How to Extend a Photo Background With AI
- Upload the highest-resolution original photo to an editor with AI outpainting or background extension controls.
- Choose the target aspect ratio, expand the needed edges, and describe the background continuation without adding objects.
- Generate the added background, comparing variations for matching perspective, lighting, and uninterrupted lines across the original boundary.
- Review original-image details and the final layout, then export at the dimensions required for your destination.
Example prompt: Extend the background outward by 30% on the left and right, matching the existing wall texture, soft window lighting, and camera grain. Do not add new objects or text; keep the scene minimal and realistic.
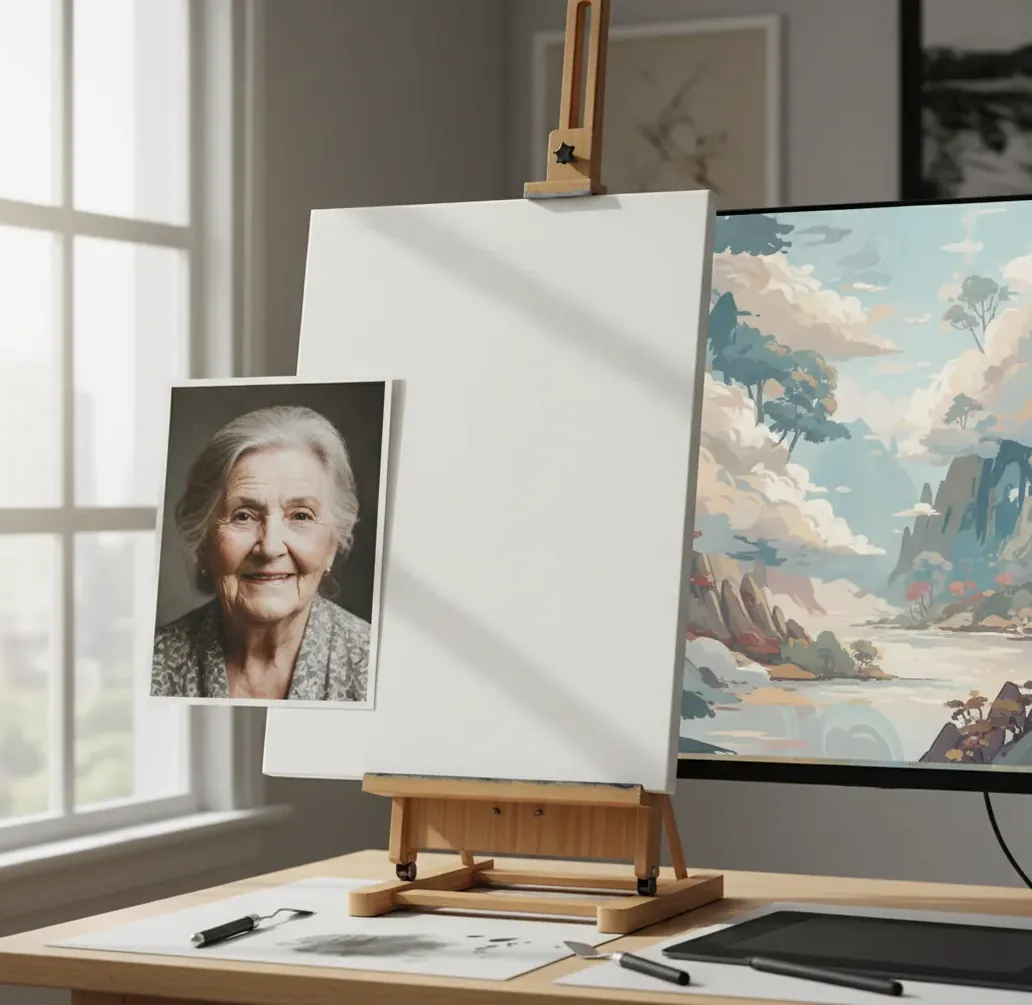
To extend a photo background with AI, upload your image to an AI outpainting tool, expand the canvas in the direction you need, and generate new background pixels that match the original scene. The best results come from simple backgrounds, clear lighting, and a final zoom check for repeated textures, warped lines, or mismatched shadows.
What Does It Mean to Extend a Photo Background With AI?
Extending a photo background with AI means adding believable new image content outside the original frame. Instead of stretching the existing pixels, an outpainting model analyzes the photo’s edges and generates matching texture, color, lighting, and perspective in the blank canvas area.
Creators use this when a photo is framed too tightly, the subject needs breathing room, or the image must fit a new aspect ratio. Common uses include turning a vertical phone photo into a 16:9 banner, making a 4:5 social crop, adding space for text, rescuing cut-off hair or shoulders, and preparing cleaner product images for ecommerce or portfolio layouts.
How Does AI Outpainting Create New Background Pixels?
AI background extension usually relies on outpainting, a generative image process that fills empty canvas outside the photo boundary. Many modern tools use diffusion-based models that condition on the original image, a mask showing the area to generate, and visual features such as horizon lines, shadows, depth cues, noise patterns, and color gradients.
The model does not recover hidden reality from outside the frame. It predicts a plausible continuation. That is why a studio wall, sky, beach, or blurred background often extends cleanly, while fences, bookshelves, logos, readable text, hands, and repeating architecture can bend or duplicate. Lighting matters because the new pixels must match the original direction, softness, contrast, and color temperature.
How Do You Extend a Photo Background With AI?
Choose the final aspect ratio first
Decide whether you need 1:1 for a square post, 4:5 for a feed image, 16:9 for a header, 9:16 for a story, or a print size such as 4x6 or 8x10. This prevents generating extra space in the wrong direction.
Upload the original image
Start with the highest-resolution version available. Avoid screenshots when possible because compression, sharpening halos, and low pixel density make the extended area less believable.
Expand the canvas where space is needed
Add blank canvas to the top, bottom, left, right, or multiple sides. Keep the subject away from the new border when possible; even 5-10% extra margin gives the model more room to blend naturally.
Generate and compare variations
Run the outpainting step, then regenerate if the first version creates warped patterns, strange shadows, or repeated textures. For difficult scenes, extend one side at a time instead of expanding every edge at once.
Inspect the seam at 200%
Zoom in and check hair, straps, product edges, horizon lines, wall corners, and texture repeats. The transition between original and generated pixels should not look copied, smeared, or brighter than the source.
Export for the final destination
Use JPG for standard photos, PNG for graphics-heavy images or images with text, and keep a layered or original backup if you plan to keep editing. View the export full-screen before posting or printing.
Which AI Background Extension Tool Should You Use?
| Tool type | Best for | Strengths | Watch out for |
|---|---|---|---|
| Pict AI | Fast browser or iOS background extension | Simple canvas expansion, quick regenerate workflow, useful for social crops and product margins | Cloud processing; check current export and usage terms for commercial work |
| Adobe Photoshop Generative Expand | Professional retouching and layered editing | Strong masking, layer control, color management, and print workflow support | Requires a paid plan and more editing knowledge |
| Canva Magic Expand | Social graphics, thumbnails, and quick design layouts | Easy templates, text layout tools, and fast resizing for common platforms | Less granular control over seams and detailed cleanup |
| Clipdrop / Stability-style outpainting tools | Experimenting with generative expansion | Good for rapid visual tests and creative variations | Results vary by scene complexity, queue limits, and model settings |
| Mobile photo editor with AI expand | Last-minute posts from a phone | Convenient for creators editing travel, fashion, food, or event photos on the go | Small screens make artifact checking harder |
Choose based on control level, not just output quality. A casual Instagram crop may only need a fast web tool, while a paid print, product listing, or client campaign benefits from layered editing and manual cleanup.
What Aspect Ratio Should You Use After Extending a Photo?
Use the aspect ratio that matches the final surface before you generate the extension. For Instagram-style feed posts, 4:5 gives portraits more vertical presence than 1:1. For YouTube thumbnails, website hero images, and desktop banners, 16:9 is usually safer. For stories, reels covers, and phone wallpapers, 9:16 gives the subject vertical space while leaving room for interface overlays.
For prints, match the paper ratio instead of guessing visually. A 4x6 print uses a 3:2 ratio, while 8x10 uses 4:5. If you extend first and crop later, leave extra negative space around faces, hats, hands, product corners, and important background details so the final trim does not feel cramped.
What Prompts Help AI Extend Backgrounds Cleanly?
- Natural continuation: "Extend the existing background naturally. Match the original lighting, color temperature, lens blur, texture, and perspective. Do not add new objects."
- Studio product photo: "Continue the seamless studio backdrop with the same soft shadow direction and surface texture. Keep the product unchanged and leave clean margin around it."
- Portrait with negative space: "Extend the background into open negative space for text. Preserve the subject, keep the lighting soft, and avoid adding people, signs, or distracting objects."
- Outdoor landscape: "Continue the sky, horizon, and ground texture consistently. Match the depth of field and atmospheric haze. Avoid repeating clouds or creating new landmarks."
- Wallpaper crop: "Expand the scene vertically for a phone wallpaper. Keep the subject centered, preserve the original mood, and create uncluttered space near the top and bottom."
- When prompts are supported, keep them descriptive but restrictive. The phrase "do not add new objects" is useful when you want a clean extension rather than a creative reinterpretation.
Where Does AI Background Extension Still Break Down?
- Repeating patterns such as bricks, tiles, fences, grass, fabric, shelves, and windows can duplicate or drift because the model copies nearby structure without understanding exact geometry.
- Readable text, logos, license plates, packaging labels, and signage often distort. Treat these as manual retouching zones rather than reliable AI-generated areas.
- Hair, jewelry, glasses, straps, fingers, and product edges can show halos or smeared transitions if the subject is too close to the expanded border.
- Strong side lighting may create shadows that point the wrong way or fade too quickly compared with the original scene.
How Do You Check an AI-Extended Photo Before Posting or Printing?
Check the image at three sizes: zoomed in at 200%, normal screen size, and final display size. At 200%, look for seams, repeated texture blocks, bent lines, blurry patches, and halos around the subject. At normal size, judge whether the extended background feels emotionally invisible; the viewer should notice the person, product, or composition, not the edit.
Before printing, inspect the file at the intended crop ratio and resolution. A small artifact that looks fine on a phone can become obvious on an 8x10 print or poster. For social posts, preview the image on your phone with platform UI in mind, especially story captions, profile overlays, and safe zones near the top and bottom.
Check Layout Safety and Original-Pixel Changes Before Publishing
A convincing extension can still fail in the finished layout. Before publishing, check what the edit changed, how the destination crops it, and whether the added space actually serves its purpose. These checks complement a close inspection of seams and textures.
- Compare the untouched area. Align the original and extended versions at the same scale, then toggle between them. Look for unexpected changes to facial features, clothing details, product labels, or colors inside the original frame. Some tools regenerate more than the blank canvas.
- Preview the actual placement. Put the image into its intended banner, slide, or post template. Responsive layouts may crop differently on narrow screens, so confirm that the subject remains visible in both desktop and mobile previews.
- Test the space reserved for text. Add the real headline or caption rather than placeholder text. Generated branches, bright patches, or strong edges behind letters can reduce readability even when the background looks natural on its own.
- Confirm whether you need transparency. Outpainting usually creates visible background pixels, not an empty cutout. A transparent background maker serves a different purpose: isolating a subject for placement over another design. Check which result your layout needs.
- Check the delivered file, not just the editor. Open the uploaded or embedded image after the publishing platform processes it. Compression can reveal banding in extended skies or smooth walls that looked clean before upload.
- Keep an identifiable source copy. Save the original alongside the final version with distinct filenames. When documenting how to extend image boundaries for repeat work, record the canvas dimensions and which edges were generated so another editor can reproduce the layout.
Photo Background Extension Questions Answered
It can, depending on how the tool handles the generation area. Some editors preserve the original pixels and generate only outside the frame; others may alter a transition zone or regenerate parts of the image. Compare aligned versions before exporting, especially around faces, logos, and product details. Use a protected selection or layer when available.
Use the same target dimensions, extension direction, and background description for each photo, then compare the results side by side. Matching prompts do not guarantee identical textures or lighting. For a tightly controlled product series, placing cutouts on one shared background may be more reliable than generating a separate extension for every image.
Upload the photo to an AI outpainting tool, expand the canvas in the direction you need, generate the new background, then inspect the seams before exporting.
They are related, but not identical. Generative fill usually edits a selected area inside an image, while outpainting extends new content beyond the original image borders.
AI can create a believable wider composition, but it cannot recover the real scene outside the frame. Quality depends on source resolution, background complexity, lighting, and how carefully you review the result.
Photos with simple backgrounds, soft gradients, studio backdrops, sky, water, walls, sand, or shallow depth of field usually work best. Complex patterns and readable text are harder.
Set the canvas to 4:5, 1:1, or 9:16, then use AI outpainting to generate missing background instead of scaling the original image. Keep the subject centered with enough margin for cropping.
Repeats happen when the model copies nearby texture such as grass, bricks, fabric, or clouds. Regenerate smaller areas, extend one side at a time, or use a prompt that asks for natural variation.
Yes, especially for adding clean margin around products or continuing a studio backdrop. Always verify that the product shape, shadow, label, and brand details remain unchanged.
Use JPG for most photographic images and PNG for graphics, screenshots, or images with text. For print or client work, keep the highest-resolution export available.
It is generally fine for design, framing, social posts, gifts, and creative edits. It becomes risky when used to misrepresent real events, fabricate evidence, or hide material facts.