How to Fix Dark or Overexposed Photos With AI
You can fix dark or overexposed photos with AI by running an exposure-enhancement pass, then fine-tuning shadows, highlights, contrast, and noise reduction. The best results come from original high-resolution files, not screenshots or compressed social media downloads.
Creating your image...
To fix dark or overexposed photos with AI, upload the original image, let the tool analyze exposure and local contrast, then adjust shadows and highlights before exporting. AI can brighten underexposed areas, reduce noise, and soften blown highlights, but it cannot fully restore detail from pixels that are pure black or pure white.
What Does It Mean to Fix Dark or Overexposed Photos With AI?
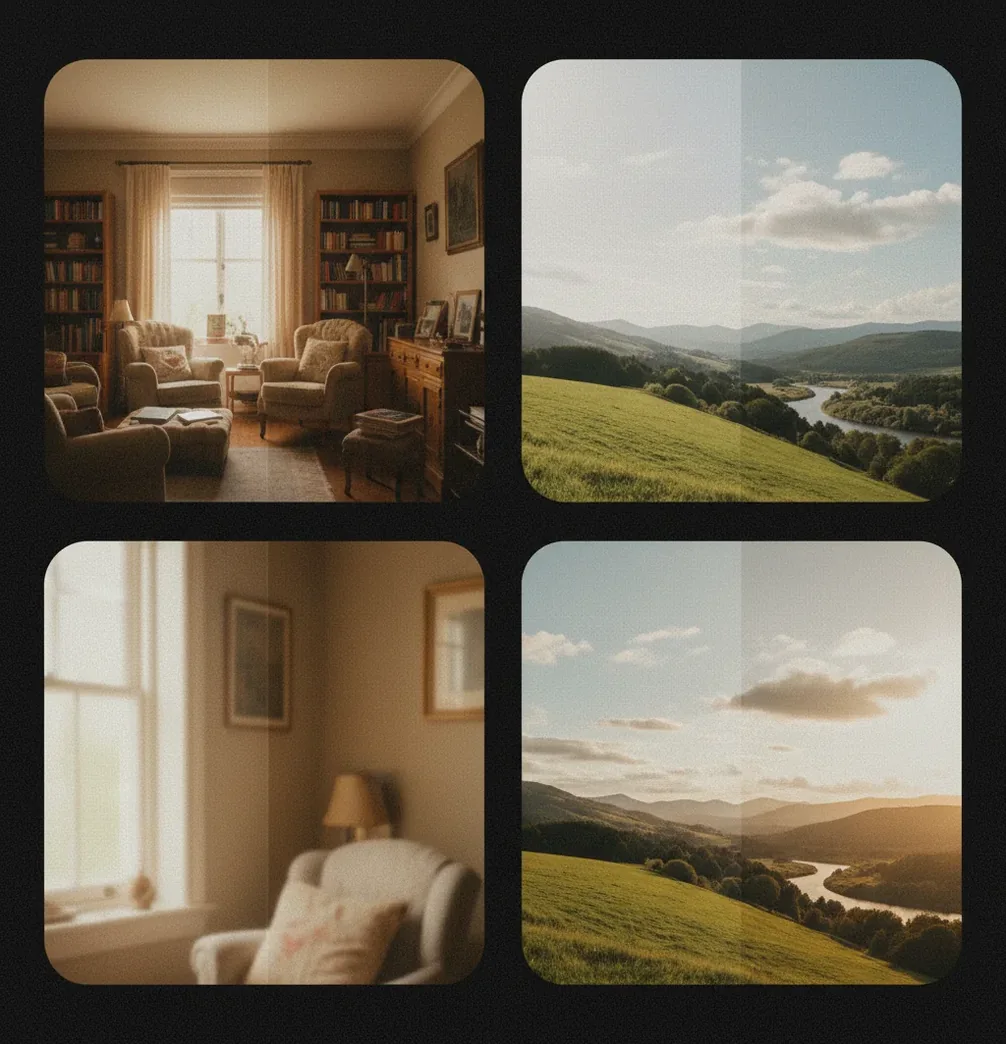
Fixing dark or overexposed photos with AI means using a model to rebalance brightness, recover visible shadow detail, reduce harsh highlights, and clean up noise created by exposure correction. Instead of only applying a global brightness slider, AI exposure tools analyze local regions of the image: faces, skies, edges, backgrounds, and textured surfaces.
For a dark photo, the model usually lifts shadows and midtones while trying to keep blacks from turning flat gray. For an overexposed photo, it lowers highlights, rebuilds smoother highlight roll-off, and protects skin tones from looking chalky. The goal is not to make every pixel bright; it is to make the lighting look believable enough for social posts, gifts, prints, product photos, or portfolio cleanup.
How Does AI Exposure Correction Work on Shadows and Highlights?
AI exposure correction works by combining tone mapping, local contrast analysis, denoising, and learned image restoration. The model identifies underexposed regions, high-value highlight zones, edges, skin areas, and texture patterns, then applies different corrections to different parts of the photo instead of pushing the whole image equally.
Technically, this can involve feature extraction, semantic segmentation, neural denoising, and a learned tone curve that behaves more intelligently than a basic exposure slider. Shadow recovery usually reveals noise because underexposed pixels contain less signal. Highlight recovery is harder because clipped channels may contain no texture. Good AI tools balance these tradeoffs so a dim restaurant portrait can look brighter without turning skin waxy or making the background speckled.
How Do You Brighten a Dark Photo With AI?
Start with the original file
Use the highest-quality version you have, ideally the camera original or RAW file. Avoid screenshots, messaging-app downloads, or heavily compressed social posts because they contain less recoverable tonal detail.
Run one AI enhancement pass
Upload the image to an AI image enhancer and apply an exposure or lighting correction. Let the model lift shadows, improve midtone contrast, and reduce visible noise before you make manual edits.
Lift shadows gradually
Increase shadows only until important details return. Stop before black clothing, hair, or night backgrounds turn gray and foggy.
Protect skin tones and edges
Zoom to 100% and inspect faces, hairlines, text, and product edges. If skin looks waxy or edges show halos, reduce the enhancement strength.
Export and compare
Place the edited photo beside the original before posting or printing. A good rescue should look naturally lit, not obviously processed.
How Do You Fix an Overexposed Photo With AI?
Lower highlights before exposure
Reduce highlights first so bright skies, white shirts, snow, or reflective packaging do not expand into larger white patches.
Recover midtone contrast
After highlights are controlled, adjust exposure or midtones so faces and foreground objects keep shape and depth.
Check for clipped whites
If an area is pure white with no texture, the AI can soften the transition but cannot recreate the original scene with certainty.
Correct color temperature
Overexposed images often shift toward yellow, blue, or magenta. Adjust white balance after highlight recovery so skin and skies look natural.
Use a lighter second pass if needed
If the first result looks flat, use a subtle second pass rather than one aggressive correction. Smaller edits usually preserve texture better.
Which AI Tools Can Fix Exposure Problems?
| Tool Type | Best For | Strengths | Watch For |
|---|---|---|---|
| Pict AI | Fast browser or mobile exposure rescue | Simple workflow for brightening dark photos, reducing noise, and improving lighting without complex manual layers | Check current export limits and usage terms before client or commercial work |
| Adobe Lightroom | Photographers who want precise RAW control | Excellent highlight, shadow, masking, curves, color, and noise controls with AI-assisted selections | More manual editing knowledge required; subscription-based |
| Google Photos or Apple Photos | Quick phone edits and casual fixes | Convenient auto-enhance, HDR-style correction, and basic brightness controls already on many devices | Less control over artifacts, denoising strength, and detailed local corrections |
| Topaz Photo AI | Noise-heavy, soft, or low-light files | Strong denoising and sharpening for difficult images where shadow recovery reveals grain | Can over-smooth faces or textures if settings are pushed too far |
| Free web enhancers | One-off edits without installing software | Fast access, simple uploads, and useful automatic correction for social images | May add watermarks, limit resolution, or have unclear storage policies |
Choose based on the file and the final use: phone posts need speed, prints need resolution, product photos need edge accuracy, and professional sets usually benefit from RAW editing plus controlled AI enhancement.
What Prompt Recipe Works for AI Photo Exposure Fixes?
A good exposure-fix prompt tells the AI what to correct, what to preserve, and what not to overdo. Use concrete visual language such as shadows, highlights, skin tone, sky texture, grain, edge halos, and natural contrast. This matters most in AI editors that accept text instructions or in creative workflows where you are regenerating a corrected version of an image.
Reusable prompt: "Correct the exposure naturally. Lift shadow detail without flattening blacks, reduce blown highlights, preserve skin texture, keep colors realistic, reduce noise lightly, and avoid halos or an HDR look." For a dark portrait, add: "Prioritize the face and eyes while keeping the background mood intact." For a bright landscape, add: "Recover sky tone where possible and keep clouds subtle, not dramatic."
Where Are AI Exposure Fixes Most Useful?
AI exposure fixes are most useful when the photo has emotional or practical value but imperfect lighting. That includes night portraits, birthday photos in dim rooms, backlit travel shots, concert images, pet photos, old digital camera files, marketplace product pictures, and social content captured too quickly to reshoot.
The workflow is especially helpful for creators who need consistent-looking images without building a full manual edit stack. A small exposure rescue can make a profile photo feel cleaner, a product image look more trustworthy, or a family photo printable. The best use is not extreme transformation; it is making the important subject readable while keeping the mood, time of day, and original atmosphere intact.
When Can AI Not Recover a Bad Exposure?
- Pure white highlights cannot be truly recovered if all color channels are clipped to maximum values. AI can guess texture, but it is not restoring original detail.
- Pure black or severely underexposed areas may brighten into blotchy noise because there was not enough signal recorded by the camera sensor.
- JPEG files have less latitude than RAW files, especially after social compression, screenshots, or repeated exports.
- Motion blur, missed focus, and tiny low-resolution faces do not become sharp just because exposure is improved.
How Do You Keep an AI Exposure Fix Looking Natural?
To keep an AI exposure fix looking natural, edit for believable light rather than maximum detail. Preserve some true blacks, leave bright areas bright, and avoid pushing every shadow until the image looks evenly lit. Real photos have contrast, direction, and mood; removing all of that creates the flat, over-processed look people associate with bad HDR.
Use the 100% zoom check before exporting. Look for waxy skin, crunchy texture, gray blacks, glowing edges, oversaturated colors, and skies that look painted. If the image is meant for print, inspect at the final print size because noise and halos are more visible on paper than on a phone screen. For social posts, slightly softer noise reduction is often acceptable, but faces and text should still look clean.
Related Pict.AI tutorials to keep your edits consistent
Frequently Asked Questions
Yes, AI can brighten a dark photo by lifting shadows, improving midtone contrast, and reducing noise. The result depends on how much detail the original file captured.
AI can reduce harsh highlights and improve tonal balance, but it cannot fully restore areas that are pure white with no recorded detail.
RAW files are best because they contain more tonal data, followed by high-quality JPEGs. Screenshots and compressed social media downloads are the weakest sources.
Brightening reveals noise that was hidden in the shadows. Use lighter shadow recovery and edge-preserving denoising to avoid a speckled or waxy result.
AI can sometimes make a white sky less distracting, but it cannot accurately recover clouds or blue color if the original pixels were fully clipped.
For overexposed photos, reduce highlights first, then adjust overall exposure or midtones. For dark photos, lift shadows gradually before changing global brightness too much.
It can, especially in mixed lighting or heavy edits. Always check faces after correction and adjust warmth, tint, and saturation if skin looks gray, orange, or magenta.
Yes, you can use built-in photo controls or an AI enhancer in a mobile browser or app. Start with the original image from your camera roll for the best result.
It can be good enough for small prints if the source file is sharp and high resolution. Before printing, zoom in and check for noise, halos, and softened details.