How to Generate AI Art: A Beginner's Guide
To generate AI art, write a prompt that clearly describes the subject, setting, style, composition, and constraints, then refine the best result in small edits. Beginners get better images by starting simple: one subject, one medium, one lighting direction, and a few negative constraints like “no text” or “clean background.”
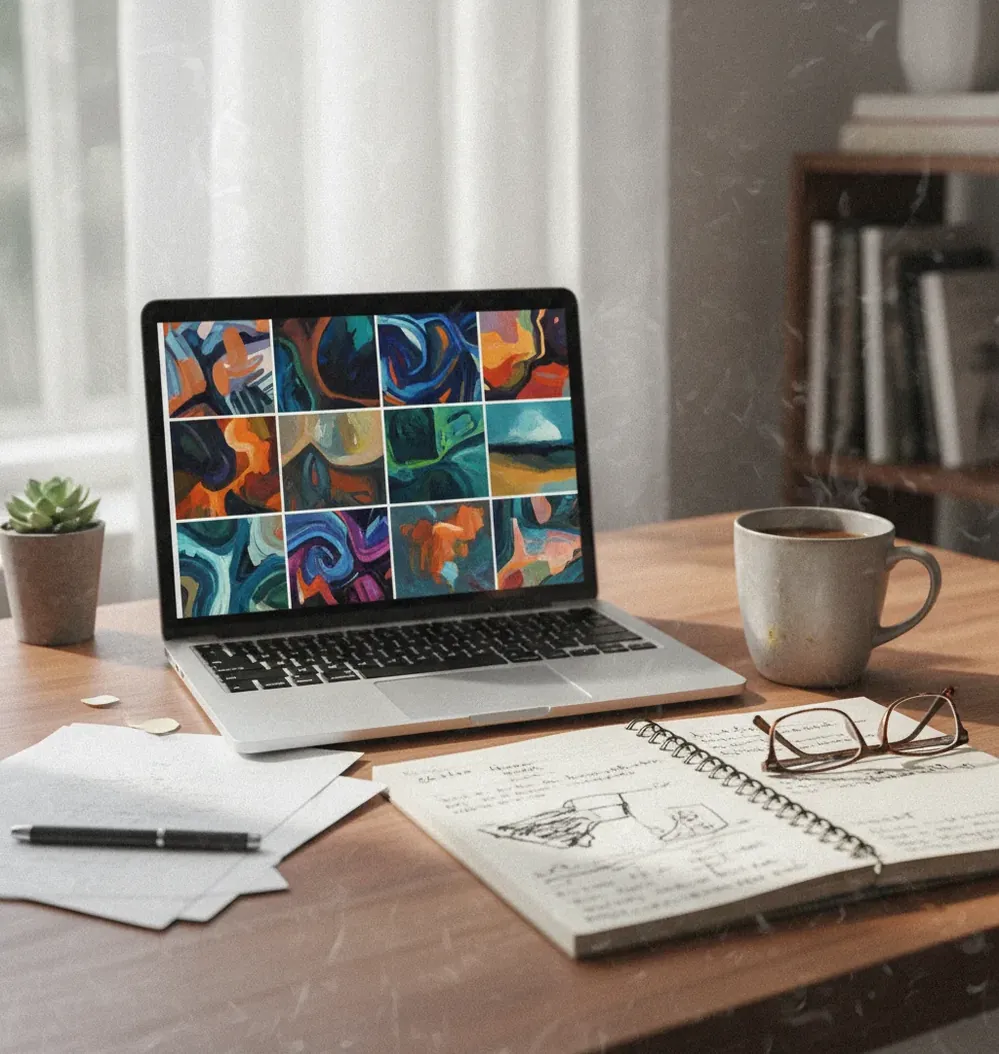
Creating your image...
To generate AI art, describe the image you want with a clear subject, setting, art medium, style, lighting, and composition. Generate several variations, choose the one with the strongest structure, then revise one detail at a time instead of rewriting the whole prompt. For publishing, avoid copying living artists, copyrighted characters, trademarks, or private likenesses without permission.
What Does It Mean to Generate AI Art?
Generating AI art means creating a new image from a text prompt, reference image, or editing instruction using a trained machine learning model. The model does not “understand” art like a human illustrator; it predicts visual patterns that match your words, such as subject, scene, camera angle, color palette, texture, and style.
For beginners, the practical goal is not perfect prompting on the first try. The goal is a usable iteration loop: describe the image, generate variants, inspect what failed, revise the prompt, and export the best version. This workflow works for social posts, mood boards, gifts, wallpapers, pitch decks, thumbnails, concept art, product mockups, and portfolio experiments.
How Does a Text-to-Image Model Turn Prompts Into Pictures?
Most modern AI image generators use diffusion or diffusion-like systems. In plain English, the tool starts from visual noise and repeatedly denoises it into an image that fits your prompt. Your words are converted into embeddings, which are numerical representations of meaning, and those embeddings guide the model toward concepts like “ceramic teapot,” “rainy window,” “soft morning light,” or “watercolor illustration.”
The model also balances competing instructions. If you ask for “minimalist poster, crowded marketplace, neon signs, realistic portrait, wide-angle lens,” some details will fight each other. Layout words like “foreground,” “background,” “left side,” “centered,” and “single subject” help the model decide where things belong.
How Do You Generate AI Art for the First Time?
Choose one clear subject
Start with a single subject such as “a ceramic teapot,” “a fox astronaut,” or “a cozy reading nook.” Beginners get cleaner images when the model does not have to arrange five competing objects.
Pick a medium or visual style
Add one format such as photo, watercolor, 3D render, anime, ink drawing, sticker, editorial illustration, or cinematic still. Do not stack too many styles in the first prompt.
Add setting, light, and composition
Specify where the subject is, how it is lit, and how it is framed. Example: “on a rainy windowsill, soft morning light, centered composition, clean background.”
Generate several variations
Create 4 to 8 outputs and judge structure first: silhouette, pose, lighting, and subject clarity. Small texture flaws are easier to fix than a broken composition.
Revise one variable at a time
Change only the lighting, camera angle, background, palette, or style per round. This teaches you what each phrase does and prevents random prompt drift.
Export for the final use
Use square images for profile posts, 16:9 for banners and thumbnails, and vertical formats for posters, stories, phone wallpapers, and print mockups.
What Should an AI Art Prompt Include?
A strong beginner prompt includes five parts: subject, setting, medium, visual direction, and constraints. A simple formula is: “Subject + setting + medium + lighting/composition + constraints.” For example: “Ceramic teapot on a rainy windowsill, watercolor illustration, soft morning light, centered composition, clean background, no text.”
Keep first prompts short enough for the model to prioritize. Around 12 to 25 meaningful words is often enough for a first pass. Add details after you see a stable image. Useful constraints include “single subject,” “symmetrical composition,” “hands out of frame,” “plain background,” “no logo,” “no watermark,” and “no readable text.”
Which Prompt Recipes Work for Beginner AI Art?
- Simple illustration: “[subject] in [setting], [medium] illustration, [color palette], soft lighting, centered composition, clean background, no text.”
- Cinematic portrait: “[person or character type], [wardrobe detail], [location], cinematic still, 50mm lens, shallow depth of field, dramatic side light, hands out of frame.”
- Product mockup: “[product] on [surface], studio product photography, softbox lighting, minimal background, realistic shadows, no label text, no watermark.”
- Fantasy concept art: “[character or creature] in [environment], epic fantasy concept art, atmospheric perspective, detailed costume, wide composition, readable silhouette.”
- Sticker icon: “[object or mascot], cute sticker design, thick outline, flat colors, transparent-style background, simple shape language, no text.”
- Poster background: “[scene or pattern], editorial poster art, bold composition, limited palette, high contrast, empty space for headline, no readable words.”
How Do You Fix AI Art That Looks Weird?
Diagnose the biggest failure first
Decide whether the issue is composition, anatomy, lighting, style, or clutter. Do not fix tiny details if the whole scene is poorly arranged.
Simplify crowded prompts
Remove extra adjectives, secondary subjects, and conflicting styles. Replace “busy magical futuristic antique kitchen” with one clearer direction, such as “cozy fantasy kitchen.”
Use layout language
Add “single subject,” “centered,” “foreground,” “background,” “left side,” “wide shot,” or “close-up” when objects merge together or appear in the wrong place.
Control difficult details
Hands, teeth, text, jewelry, and small logos often fail. Use constraints like “hands behind back,” “mouth closed,” “no readable text,” or “simple accessories.”
Edit instead of regenerating forever
If the image is mostly good, crop, remove background clutter, adjust color, or regenerate only the problem area when your tool supports inpainting or local edits.
What Are Easy AI Art Projects Beginners Can Finish Quickly?
- A square profile image or avatar with one subject and one color palette.
- A 16:9 YouTube thumbnail background with empty space for text added later.
- A phone wallpaper using a vertical composition, soft gradients, and minimal detail.
- A fantasy character portrait for a tabletop campaign, using consistent outfit and weapon details.
- A product label mood board for packaging, with “no readable text” in the prompt.
- A book cover concept focused on genre mood, not final typography.
- A sticker pack concept with 5 to 8 objects in the same outline and color style.
- A room redesign reference showing lighting, materials, and furniture mood.
Which AI Art Tools Are Best for Beginners?
| Tool type | Best for | Beginner strengths | Watch out for |
|---|---|---|---|
| Pict AI | Fast browser or iOS text-to-image creation and lightweight editing | Simple prompt iteration, style presets, quick downloads, useful for first projects | Usage rights depend on inputs and current terms; avoid sensitive uploads |
| Paid creative suites | Designers who need editing, layers, brand assets, and export control | More precise post-processing, typography, resizing, and asset management | May require subscriptions and a steeper interface learning curve |
| Free web generators | Casual testing, idea sketches, and low-stakes visual experiments | Easy access and fast prompt practice without setup | Watermarks, queues, lower limits, or restricted commercial use may apply |
| Open-source local tools | Technical users who want model control, extensions, and private workflows | High customization, local storage, advanced parameters, and repeatable settings | Requires hardware, setup time, model management, and more technical knowledge |
For a beginner, the best AI art tool is the one that lets you generate multiple variations, compare outputs, revise prompts quickly, and export in the aspect ratio you need. Advanced controls matter later; early progress comes from fast feedback.
What Limitations Should Beginners Know Before Publishing?
- Small text is unreliable. Add typography later in a design tool if the image needs a readable title, label, or callout.
- Hands and fingers remain difficult because they have many poses, occlusions, and joint configurations.
- Exact character consistency across a series usually requires reference images, saved prompts, seeds, or dedicated character workflows.
- Style requests can overpower the subject. If the face, object, or product changes too much, reduce style words and add clearer structure.
How Can You Practice AI Art for 7 Days?
Day 1: Generate one simple object
Use a single subject, one medium, and one light source. Save the best prompt and the best failed prompt so you can compare them.
Day 2: Change only the medium
Run the same subject as watercolor, photo, 3D render, ink drawing, and sticker. Notice how each medium changes detail and composition.
Day 3: Test aspect ratios
Generate the same idea in square, wide, and vertical formats. Learn which prompts need “empty space,” “full body,” or “close-up” instructions.
Day 4: Practice lighting
Try soft morning light, golden hour, neon rim light, studio softbox, and overcast light. Lighting often changes mood more than extra adjectives.
Day 5: Build a small set
Create three related images with the same palette, medium, and composition rules. This teaches consistency for posts, prints, and branding.
Day 6: Fix one almost-good image
Choose an output with a strong composition and repair it through cropping, prompt edits, or local cleanup instead of regenerating from scratch.
Day 7: Make a shareable final
Export one image for a real use: a banner, wallpaper, gift print, character portrait, mockup, or social post. Judge it by usefulness, not novelty.
Next Reads to Improve Prompts and Editing
Frequently Asked Questions
Use one subject, one setting, one medium, and one constraint such as “clean background” or “no text.” Generate several variants, then change only one detail per round.
No. Most beginners can get good results with plain language prompts that describe subject, medium, lighting, composition, and a few constraints.
A good first prompt is: “Ceramic teapot on a rainy windowsill, watercolor illustration, soft morning light, centered composition, clean background, no text.” It is clear, visual, and not overloaded.
Image models often imitate text-like textures without producing readable language. Add “no text, no watermark, no signature,” and add real typography later in a design editor.
Hands are small, complex structures with many poses and overlapping fingers, so models often miscount or distort them. Use “hands out of frame,” “hands behind back,” or a wider shot when hands are not important.
Sometimes, but it depends on the tool's terms, your inputs, local law, and whether the image includes protected characters, logos, likenesses, or copied styles. Always check usage rights before selling.
For beginners, 12 to 25 meaningful words is a good starting range. Add more detail only after the model creates a clean composition.
Use 1:1 for profile images and social posts, 16:9 for banners and thumbnails, and 9:16 or 3:4 for posters, phone wallpapers, and story formats.
Reuse the same subject wording, medium, palette, lighting, camera angle, and composition rules across prompts. For character consistency, use reference images or saved prompt templates when available.