Remove Background From a Photo With AI Guide
To remove a background from a photo with AI, upload a clear image, let the model create a foreground mask, then export the result as a transparent PNG. The best results come from sharp focus, visible subject edges, and enough contrast between the subject and the background.
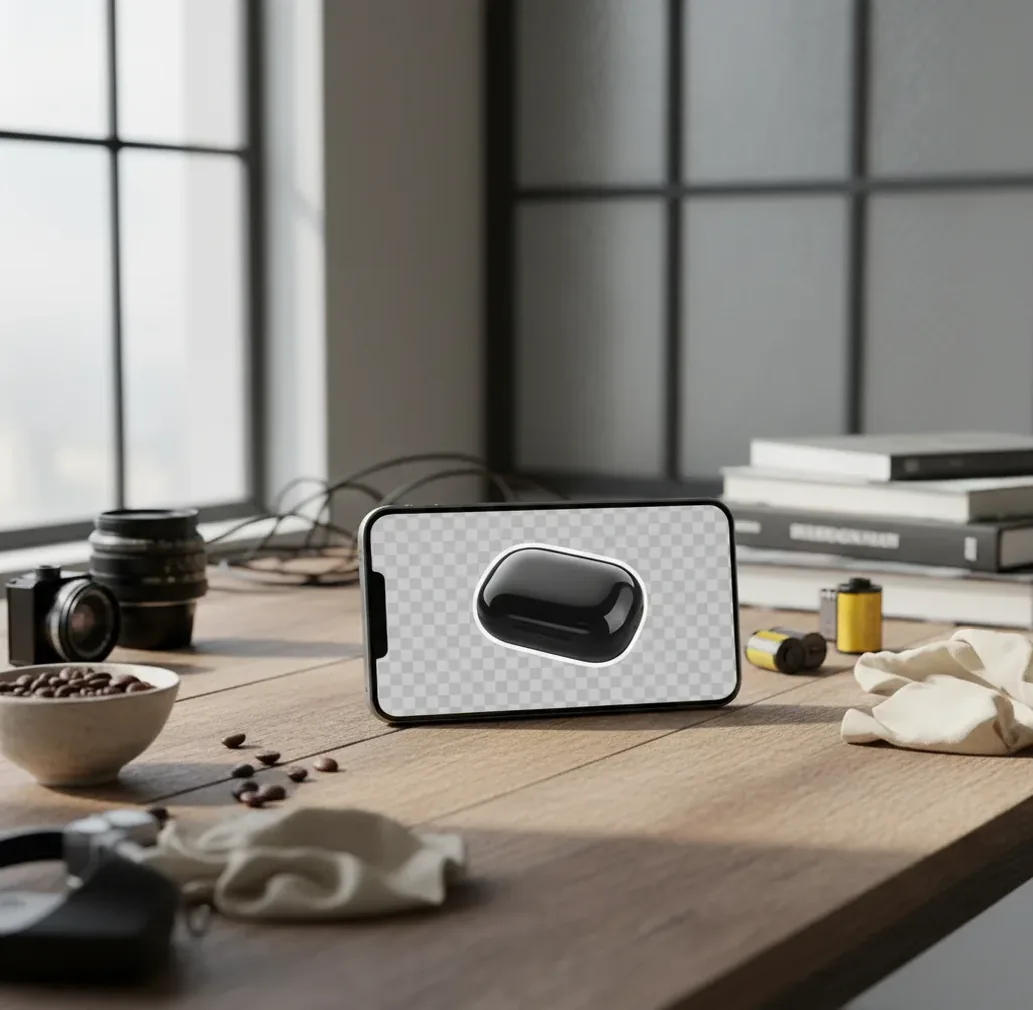
Creating your image...
AI can remove a photo background by detecting the main subject, generating a pixel-level segmentation mask, and cutting away the surrounding area. For the cleanest result, use a sharp original image, inspect difficult edges like hair, fur, glass, fingers, straps, and shadows, then export as PNG if you need transparency.
What Does It Mean to Remove a Background From a Photo With AI?
Removing a background from a photo with AI means using a computer vision model to separate the foreground subject from everything behind it. The tool predicts which pixels belong to the subject, builds a segmentation mask, and outputs either a transparent cutout or a subject placed on a new background.
In practical creator workflows, this is used for product listings, profile photos, thumbnails, social graphics, stickers, pitch decks, portfolio mockups, and print layouts. The output is usually a transparent PNG when you need to layer the subject into another design, or a JPG when you replace the background with a solid color or scene.
How Does AI Find the Subject Edge in a Photo?
AI background removal works through image segmentation, which classifies each pixel as foreground, background, or a soft transition between the two. Many systems use convolutional neural networks, transformer-based vision models, saliency detection, and alpha matting to locate subject boundaries and preserve fine details.
The center of the subject is usually easy; the edge is where errors happen. Hair, fur, smoke, glass, mesh fabric, jewelry chains, motion blur, and shadows contain mixed pixels that are not fully foreground or background. Good tools estimate partial transparency with an alpha channel instead of drawing a simple hard outline.
How Do You Remove a Photo Background With AI Step by Step?
Choose the sharpest original photo
Start with the camera file instead of a compressed screenshot. A long edge of 1500 pixels or more usually gives the model more detail to preserve hair, labels, straps, and product corners.
Upload the image to an AI background remover
Use a browser tool, mobile app, or design editor that supports automatic background removal. Wait for the preview before making design decisions.
Zoom in and inspect the cutout
Check the edges at 100% zoom. Look closely at hair, ears, fingers, glass rims, product handles, cords, lace, shadows, and small gaps inside the subject.
Retry with a better crop if needed
If the mask looks rough, crop closer to the subject and rerun the removal. A tighter crop reduces background clutter and can help the model focus on the real foreground.
Export in the right format
Download a transparent PNG for Canva, Photoshop, Figma, thumbnails, stickers, and product composites. Use JPG only when you have already added a solid or photographic background.
Which AI Background Remover Should You Use?
| Tool | Best For | Strength | Watch Out For |
|---|---|---|---|
| Pict AI | Fast cutouts for portraits, products, and social graphics | Simple upload workflow with transparent PNG exports | Still needs edge checks on glass, hair, and low-resolution images |
| Adobe Express | Creators already using Adobe templates | Easy background removal plus branded layout tools | Some advanced workflows connect better with paid Adobe plans |
| Canva | Social posts, thumbnails, presentations, and quick designs | Background removal inside a full design workspace | Background remover access can depend on plan type |
| remove.bg | Single-purpose transparent cutouts | Very fast for straightforward portraits and products | High-resolution downloads and commercial usage may require credits |
| Photoshop | Professional retouching and complex composites | Manual masking, refine edge, layers, and non-destructive edits | Slower learning curve than one-click web tools |
Choose based on the job, not the brand. One-click tools are best for speed, design platforms are best for social and marketing layouts, and Photoshop-style editors are best when the cutout must survive close inspection in print or commercial work.
How Can You Get Cleaner Cutouts for Hair, Products, and Portraits?
- Use separation before editing. If dark hair sits against a dark couch, step forward, face a window, or place a plain wall or sheet behind the person before taking the photo.
- Avoid motion blur. AI cannot restore strands, jewelry, labels, or product corners that were blurred at capture. Use more light, a faster shutter, or a steadier hand.
- Keep the subject fully visible. Cropped elbows, clipped product corners, and hidden straps often produce strange masks because the model has to guess where the subject continues.
- Preserve useful shadows. For product photos, a soft grounding shadow can make an item feel real instead of floating. If the AI removes it, add a subtle drop shadow later in your design app.
- Check on the final background color. A cutout that looks clean on white may show halos on black, bright pink, or transparent checkerboard previews.
- Use the original file when possible. Screenshots, messaging-app downloads, and social-media saves often add compression artifacts that create jagged or crunchy edges.
What Prompt Recipes Help Replace the Background After Removal?
After the background is removed, prompts work best when they describe the new scene, lighting direction, surface, camera style, and mood while preserving the original subject. Treat the cutout as the anchor and make the generated background support the image’s purpose: a listing needs clarity, a gift print needs emotion, and a social post needs visual contrast.
Product prompt: "Place this product on a matte white studio surface with a soft natural shadow, diffused light from the upper left, clean ecommerce style, no extra objects, high-end catalog photography." Portrait prompt: "Place this person on a warm neutral background, soft window light, subtle depth of field, professional profile photo, natural skin tones." Social prompt: "Create a bold gradient background behind this cutout, high contrast, sticker-like composition, space for headline text at the top."
When Will AI Background Removal Look Wrong?
- Transparent objects can disappear. Glass, plastic, bottles, veils, and reflective packaging often contain background colors inside the object, so the AI may erase or flatten them.
- Fine hair and fur can become crunchy. Backlighting, shallow depth of field, and low contrast make it hard to estimate individual strands or soft alpha edges.
- Busy backgrounds can confuse the mask. Leaves, patterned rugs, shelves, cables, and similar colors near the subject edge can be mistaken for part of the foreground.
- Low-resolution files limit detail. If the original image is small, compressed, or already sharpened, the tool cannot recreate clean edges that are not present in the pixels.
What File Format Should You Use After Removing the Background?
Use PNG when you need a transparent background. PNG supports an alpha channel, which stores partial transparency around soft edges like hair, shadows, smoke, and fabric. This is the safest format for stickers, thumbnails, design layers, product composites, website graphics, and print layouts that need a clean cutout.
Use JPG only after you choose a final background color or scene. JPG does not support transparency, but it creates smaller files for ecommerce uploads, email, blog posts, and finished social images. For professional design work, keep a transparent PNG master file, then export JPG versions at the required size for each platform.
What Is a Repeatable Workflow for Better AI Cutouts?
Shoot with editing in mind
Use clean light, a simple background, and visible space around the subject. This makes the AI mask more accurate before you even upload.
Generate the first cutout
Run the image through an AI background remover and export a preview or transparent PNG.
Inspect problem zones
Zoom into hair, product corners, gaps, handles, transparent areas, and shadows. Switch the preview between light and dark backgrounds to reveal halos.
Fix with input or layout changes
If the cutout fails, rerun with a sharper crop, a higher-resolution source, or a photo with stronger subject-background separation.
Place it in the final design
Add the new background, adjust scale, match lighting direction, and add a realistic shadow if the subject looks pasted on.
Frequently Asked Questions
Upload the photo to an AI background remover, let it generate a subject mask, inspect the edges, and export the result as a transparent PNG if you need a cutout.
Yes, many tools offer free background removal for basic images. Check limits for resolution, watermarks, commercial use, and download quality before using the output professionally.
PNG is the best common format because it supports transparency through an alpha channel. JPG does not support transparent backgrounds.
Hair often contains semi-transparent and mixed pixels, especially with blur or backlighting. Use a sharper photo with stronger contrast between hair and background for a cleaner mask.
Yes, AI background removal is widely used for ecommerce product images, catalog shots, and marketplace listings. Always check labels, handles, cords, glass, and shadows before publishing.
Use a mobile browser or image-editing app that supports AI background removal. Upload the photo, wait for the cutout, then save it as PNG if transparency is available.
It can if the tool exports a smaller file or if the original image was low resolution. Start with the highest-quality source and download the largest clean output available.
Sometimes, but glass and clear plastic are difficult because they contain reflections and background colors. Expect to do extra cleanup or use a professional editor for high-stakes product work.
For ordinary product photos and public social images, it is usually fine if the tool has clear privacy terms. Avoid uploading confidential, sensitive, medical, financial, or private documents to any online processor.