How to Keep the Same Face Across AI Images
To keep the same face across AI images, use one sharp reference image, keep your prompt structure consistent, and change only one variable per generation batch. The strongest workflow is to lock identity first, then vary outfit, pose, background, lighting, or aspect ratio in controlled steps.
To keep the same face across AI images, reuse a clear identity reference and keep generation settings stable while changing the scene. When the original pose already fits, a localized edit that protects the face can preserve more detail than regenerating it. Check likeness again after retouching and upscaling, since finishing tools can alter features too.
How to Keep the Same Face Across AI Images
- Upload a clear portrait of the person whose facial identity you want to preserve.
- Describe the new scene and specify which facial features and regions must remain unchanged.
- Generate a small set of variations using the same identity reference and available consistency controls.
- Review facial proportions against the reference, check the finished export, and save only matching results.
Example prompt: Use my reference face. Create a 10-image portrait set with the same person: 50mm lens look, soft studio lighting, neutral skin texture, consistent facial proportions. Change only outfit (casual, business, hoodie, jacket) and background (studio gray, café, street at dusk).
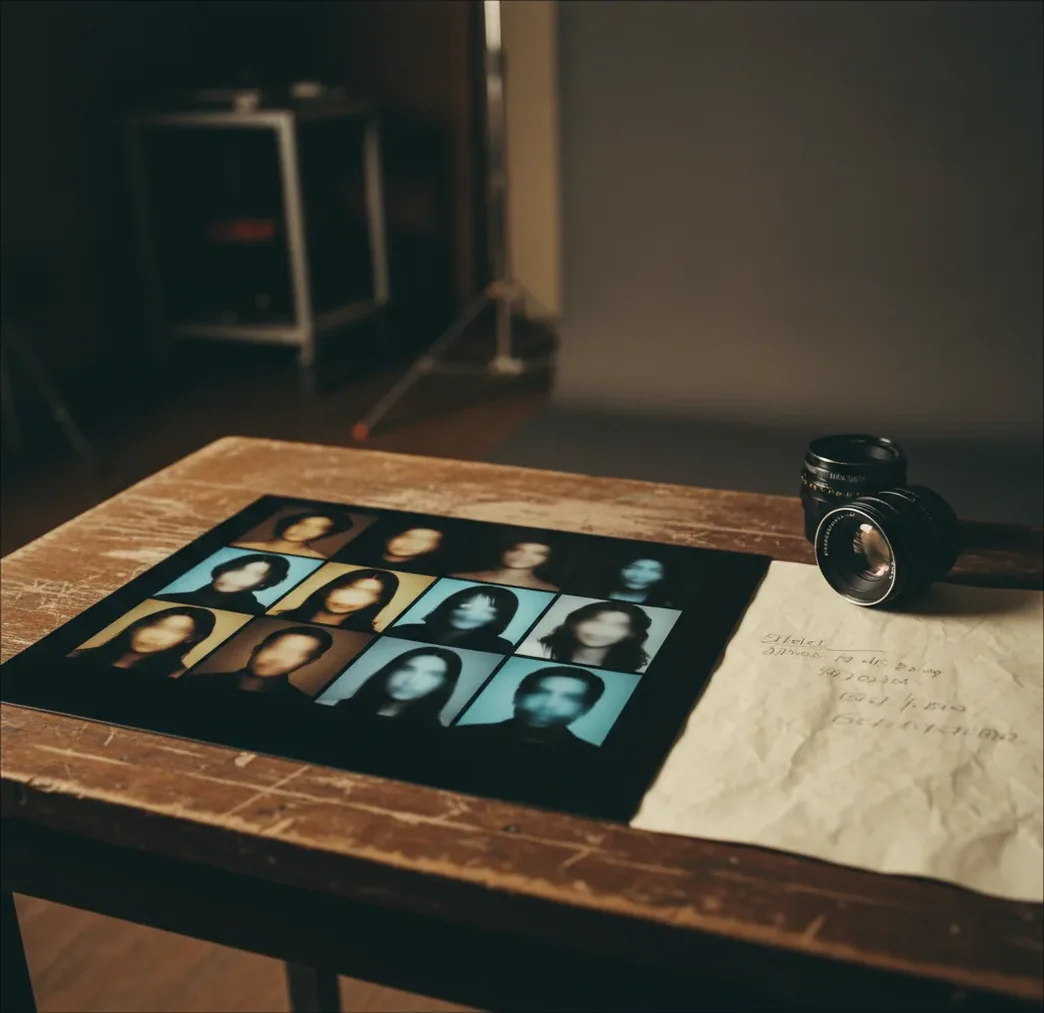
To keep the same face across AI images, start with a clear front-facing reference photo and reuse it as the identity anchor for every generation. Keep the same base prompt, camera framing, and seed when possible, then change only one variable at a time, such as outfit, background, or lighting. Face consistency works best when the face stays large, well lit, and not hidden by extreme angles, glasses, heavy makeup, or strong shadows.
What Does It Mean to Keep the Same Face Across AI Images?
Keeping the same face across AI images means preserving identity cues while allowing the rest of the image to change. The important cues are facial proportions, eye spacing, nose bridge shape, jaw width, cheek structure, mouth shape, brow position, skin texture, and the overall geometry of the head.
A consistent AI character does not need identical lighting or clothing in every image. The goal is that viewers recognize the subject as the same person across a portrait set, comic panel, product model shoot, social post series, avatar pack, or branded character campaign. Face consistency becomes harder when you make large changes to age, expression, camera angle, art style, or image resolution.
Why Do AI Faces Change Between Generations?
AI faces change because most image generators sample a new image from noise every time they run. Even with the same text prompt, the model may reinterpret small details such as cheekbone height, eyelid shape, nose length, or chin width unless a reference image, seed, or identity control is used.
Diffusion models follow a denoising process where prompt attention, reference strength, seed value, guidance scale, and denoising strength affect the final face. If you change the prompt, pose, lighting, crop, or aspect ratio too aggressively, the model may treat the subject as a similar-looking person instead of the same individual. This is why prompt-only consistency is usually weaker than reference-based consistency.
How Do You Keep the Same Face Across AI Images Step by Step?
Choose one anchor reference
Use a sharp, well-lit image where the face is front-facing or three-quarter view, the eyes are crisp, and the face fills at least one-third of the frame. Avoid sunglasses, heavy filters, motion blur, extreme shadows, and wide-angle distortion.
Write a stable base prompt
Keep the same identity description, camera language, lens feel, framing, and lighting terms in every generation. For example, reuse phrases like 50mm portrait lens, soft key light, neutral expression, centered headshot, and realistic skin texture.
Generate a small identity test batch
Create 4 to 8 images before changing the scene. Pick the result that best matches the reference face, not the one with the most dramatic outfit or background.
Change one variable per batch
Swap outfit first, then background, then pose, then lighting. If you change outfit, camera angle, expression, and style in one prompt, identity drift becomes much more likely.
Reuse seed and framing when available
A fixed seed helps preserve composition and feature placement during small edits. Keep the head size, crop, aspect ratio, and face angle similar until you have a reliable character set.
Review the set as a contact sheet
Place 6 to 20 outputs side by side and compare eye spacing, jaw shape, nose width, brow line, and mouth proportions. Remove outliers before you upscale, print, or publish the final images.
What Reference Photo Works Best for Face Consistency?
The best reference photo for face consistency is a clear portrait with even lighting, minimal obstruction, and natural facial proportions. A front-facing or slight three-quarter angle usually works better than a profile shot because the model can read both eyes, the nose bridge, mouth width, jawline, and face symmetry.
Use a photo where the face fills about 35% to 60% of the image. Low-resolution selfies, beauty-filtered portraits, harsh side lighting, hats, bangs over the eyes, reflective glasses, and strong wide-angle perspective can all weaken identity anchoring. For realistic outputs, choose a realistic reference. For illustrated characters, use a clean character sheet with the same face from one or more angles.
What Prompt Recipe Keeps a Face Stable?
A stable face prompt separates identity, camera, lighting, and changeable scene details. Keep the identity and camera blocks unchanged, then edit only the variable block. This gives the model a repeatable structure instead of asking it to reinvent the person every time.
Reusable template: Reference image: [same face anchor]. Identity: same person, same facial structure, same eye spacing, same nose bridge, same jawline, same mouth shape. Camera: centered portrait, 50mm lens, eye-level angle, face fills 45% of frame. Lighting: soft studio key light, natural skin texture. Variable: [new outfit, background, mood, or setting]. Negative cues if supported: different person, changed face shape, altered nose, mismatched eyes, extra wrinkles, distorted jaw.
Example: Same person from the reference image, same face shape, same eyes, same nose and jawline, wearing a black wool coat, standing in a rainy city street, cinematic 50mm portrait, soft diffused light, eye-level framing, realistic skin texture.
Which Tools and Controls Help Keep One Face Consistent?
| Option | Best for | Useful controls | Main caveat |
|---|---|---|---|
| Reference-image generators | Fast portrait variations, creator assets, social images, gifts, and profile sets | Face reference, prompt reuse, aspect ratio, crop, upscale, edit tools | Identity can drift if the reference is weak or the pose change is extreme |
| Pict AI | Browser-based face-consistent variations and quick visual edits | Reference-first generation, prompt control, background changes, mobile-friendly workflow | Best results still depend on a clear reference and controlled prompt changes |
| Midjourney character reference | Stylized character sets, editorial concepts, and recurring visual worlds | Character reference parameter, style reference, seed, aspect ratio | Exact facial identity can vary, especially for realistic people |
| Stable Diffusion with IP-Adapter, InstantID, or ControlNet | Advanced users who want local control and repeatable pipelines | Face embedding, control images, seed, denoising strength, CFG scale, LoRA options | Requires setup, model selection, and parameter tuning |
| Photoshop, Firefly, or paid editors | Post-production cleanup, composites, retouching, and final asset polish | Layer masks, generative fill, face retouching, color matching | Often better for editing than generating a full consistent character set from scratch |
| Free web generators | Experimenting with prompts before committing to a workflow | Basic image reference, limited aspect ratios, occasional seed options | May include watermarks, queues, unclear licensing, or weak identity control |
The most reliable setup is not one specific tool; it is a workflow that combines a strong reference, stable prompt blocks, consistent framing, and small controlled edits.
How Do Seeds, Face Embeddings, and Denoising Affect Identity?
Seeds, face embeddings, and denoising settings affect how tightly an AI image stays connected to the original face. A seed controls the initial noise pattern, so it helps repeat composition and feature placement when the rest of the settings are similar. It does not guarantee the same identity if the prompt, angle, model, or reference strength changes too much.
Face embeddings convert visible identity information into a numerical representation that can guide generation. Tools such as IP-Adapter-style workflows, identity adapters, and face reference systems use this signal to preserve facial geometry. Denoising strength matters during image-to-image edits: lower values keep more of the source structure, while higher values allow larger changes but increase the risk of a new face.
Where Is Same-Face AI Generation Most Useful?
Same-face AI generation is most useful when a visual project needs one recognizable person across many images. Creators use it for comic panels, storyboards, brand mascots, profile image packs, game NPC portraits, book covers, YouTube thumbnails, fashion mockups, personalized gifts, character turnarounds, and social content series.
The emotional value is continuity. A viewer should feel like they are following one character through different scenes, not watching a cast of lookalikes. For portfolio work, consistent faces make a concept look intentional and production-ready. For prints or gifts, it helps the subject feel personal instead of generic. For branding, it keeps the visual identity stable across campaigns.
When Does Face Consistency Break?
- Extreme pose changes can break identity. Full profile, looking down, looking up, and dramatic three-quarter turns often reshape the nose, jaw, and cheekbones.
- Large age changes are difficult. Asking for the same person as a child, teenager, and older adult can alter bone structure rather than only changing age cues.
- Low-resolution references cause generic faces. If the eyes, nose, and mouth are not readable, the model fills in missing details from its training patterns.
- Heavy accessories reduce identity signal. Sunglasses, masks, hats, bangs, thick makeup, and reflective lenses can hide the features needed for face matching.
How Can You Build a 20-Image Set With One Face?
Create a face lock sheet
Generate 6 to 8 simple portraits using the same reference, prompt, aspect ratio, and lighting. Select the strongest 2 or 3 that preserve the original face.
Make outfit variations first
Keep the background and camera angle stable while changing clothing. This helps you test whether the identity survives visual changes before moving into harder scenes.
Add environment variations second
Move the same character into a studio, street, office, forest, beach, or fantasy setting while keeping the face size and lens language consistent.
Introduce pose and expression last
After you have a stable set, test smiles, serious expressions, seated poses, walking shots, or action poses. Remove any image where the face becomes a different person.
Normalize the final set
Match crop, color temperature, contrast, sharpening, and skin texture. A consistent finishing pass makes the set feel like one shoot instead of mixed generations.
Related Pict.AI guides that pair well with this workflow
Preserve Original Face Pixels or Generate a New Face?
Keeping someone recognizable and keeping their face unchanged are different goals. Identity-conditioned generation creates new facial pixels that resemble a reference. A masked edit can leave the original face untouched while replacing selected surroundings. Choose between these approaches before spending time adjusting prompts.
If your question is how to put your face in ai generated images, first decide whether you need a newly rendered version of yourself or a composite that retains your photographed face. The distinction matters for portraits with distinctive scars, freckles, asymmetry, or other details a generator may smooth away.
- Localized editing, pros: Protecting the face from edits can preserve small identifying details. It suits background replacement and clothing changes below the neckline when the original pose already works.
- Localized editing, cons: The retained face may not match the new scene's light, perspective, or color. Hair edges, ears, and neck transitions can expose the composite unless those boundaries receive careful attention.
- Identity-conditioned generation, pros: A newly rendered face can integrate more naturally with a different viewpoint or expression. It offers more freedom when the source photograph cannot supply the required pose.
- Identity-conditioned generation, cons: Recognition is not exact preservation. Small marks, teeth, facial asymmetry, and perceived age can change even when the overall likeness remains convincing.
Verdict: Preserve source pixels when the pose works and fidelity matters most; regenerate when the scene requires a genuinely different view. A consistent ai characters across images guide should distinguish these methods rather than treat every recognizable result as an unchanged face.
Check Whether Editing and Upscaling Changed the Face
A face can survive generation and still change during cleanup. Face restoration, beauty retouching, and generative upscaling may redraw eyelids, teeth, or skin details. Use this finishing workflow after selecting an acceptable likeness, before preparing the image for publication.
- Save a pre-retouch master. Keep the accepted generation as a separate file before applying enhancement. Use a lossless format such as PNG where supported. Tip: Name it clearly so later exports never overwrite your comparison image.
- Protect the head during localized repairs. If removing a background object or fixing clothing, keep the selection away from the face, ears, and hairline unless those areas actually need repair. Tip: Inspect the selection boundary before running the edit, especially beside the jaw.
- Compare enhancement on and off. Review any face-restoration or beauty setting against the saved master. Check whether an apparently sharper result also has different eye shapes or a narrower nose. Tip: Favor retained likeness over added detail that was not present originally.
- Keep lettering out of facial repairs. If a badge, sign, or shirt slogan needs correction, fix that region separately or add editable typography afterward. The question why ai images have broken text concerns lettering fidelity, not facial identity. Tip: Never regenerate the entire portrait just to correct one word.
- Inspect the delivery crop. Compare the master and final export at matching face sizes, then view the image at its intended display size. For anyone considering how to optimize ecommerce images with ai, a consistent model face does not establish product accuracy; colors, seams, logos, and proportions need separate checks. Tip: Approve identity and product details independently.
Choose a Fix for the Specific Type of Identity Drift
Not every mismatch calls for a stronger face reference. Identify where the change appeared, then apply the narrowest correction that addresses it. These branches help separate identity problems from composition, finishing, and publication requirements.
- If two people exchange features, separate their edits. Use subject-specific references or selections where supported. If the tool cannot bind each reference to one person, edit each subject separately and inspect the combined result for lighting differences.
- If the face changes only after enhancement, return to the accepted master. Disable face restoration or reduce generative enhancement rather than rebuilding the entire image. Ordinary resizing may be preferable when preserving likeness matters more than invented texture.
- If an unchanged prompt stops reproducing a result, inspect the whole setup. The question why same prompt gives different ai images also involves model updates, reference preprocessing, and generation settings. Save those details alongside the prompt; identical wording alone cannot recreate a previous pipeline.
- If the image is for an identity document, use a compliant photograph. A convincing likeness is not evidence that an AI-generated or altered portrait meets the issuing authority's requirements. Check its rules before changing facial appearance or replacing the background.
- If publication raises disclosure questions, check the applicable rules. Asking do ai images need watermarks legally does not have one worldwide answer. Visible labels, provenance metadata, and disclosure duties are distinct; requirements depend on jurisdiction, use, and platform. Preserve any required labels through export.
Face Consistency Questions Answered
Yes. Generative upscalers and face-restoration tools can reconstruct details rather than simply enlarge existing pixels. That may alter eyelids, teeth, freckles, or skin texture while making the image appear sharper. Save the original output and compare it with the enhanced version at matching face sizes. If likeness changes, disable face restoration, reduce enhancement strength where available, or use a non-generative resizing method.
Use a separate identity reference for each person and assign each reference to the intended subject if the tool supports it. Describe positions clearly, but do not rely on position wording alone to prevent feature mixing. When subject-specific controls are unavailable, edit one person at a time with localized selections. Check both faces afterward, because an edit to one subject can still affect nearby pixels.
Use one clear reference photo, reuse the same base prompt, keep framing consistent, and change only one variable at a time. If the tool supports seeds or face reference strength, keep those settings stable during small edits.
A prompt alone can work for simple stylized characters, but it is unreliable for realistic faces. A reference image or face embedding gives the model a much stronger identity anchor.
A fixed seed helps preserve composition and feature placement, but it does not guarantee the same identity. It works best when combined with the same reference image, model, prompt, aspect ratio, and similar camera framing.
Use a sharp, well-lit portrait with a neutral expression, visible eyes, and minimal obstruction. The face should be large enough to read details but not distorted by a wide-angle selfie lens.
The most common causes are weak reference quality, changing too many prompt variables, extreme pose shifts, different aspect ratios, or heavy style changes. Start with small variations and compare outputs side by side.
One strong reference is enough for many workflows, but 3 to 5 consistent references can help with different angles and expressions. Avoid mixing images where the face shape, age, or styling looks inconsistent.
Yes, clothing changes are one of the easiest variations if the face angle, crop, and lighting stay similar. Change the outfit first before also changing the background, pose, or camera angle.
You can, but identity usually becomes less exact as the style changes. Realistic portraits, anime, watercolor, 3D, and oil painting use different facial proportions, so test style changes gradually.
Only use real people's faces with consent and for lawful, non-deceptive purposes. Avoid impersonation, non-consensual deepfakes, sexual content involving real people, or anything that could mislead viewers.