How to Put Your Face in AI-Generated Images
To put your face in AI-generated images, upload a clear selfie as the identity reference, generate or edit a new scene around it, and refine the prompt until the face, lighting, and camera angle look consistent. The best results come from front-facing photos, soft even light, and small prompt changes between variations. Always get consent before using another person’s face.
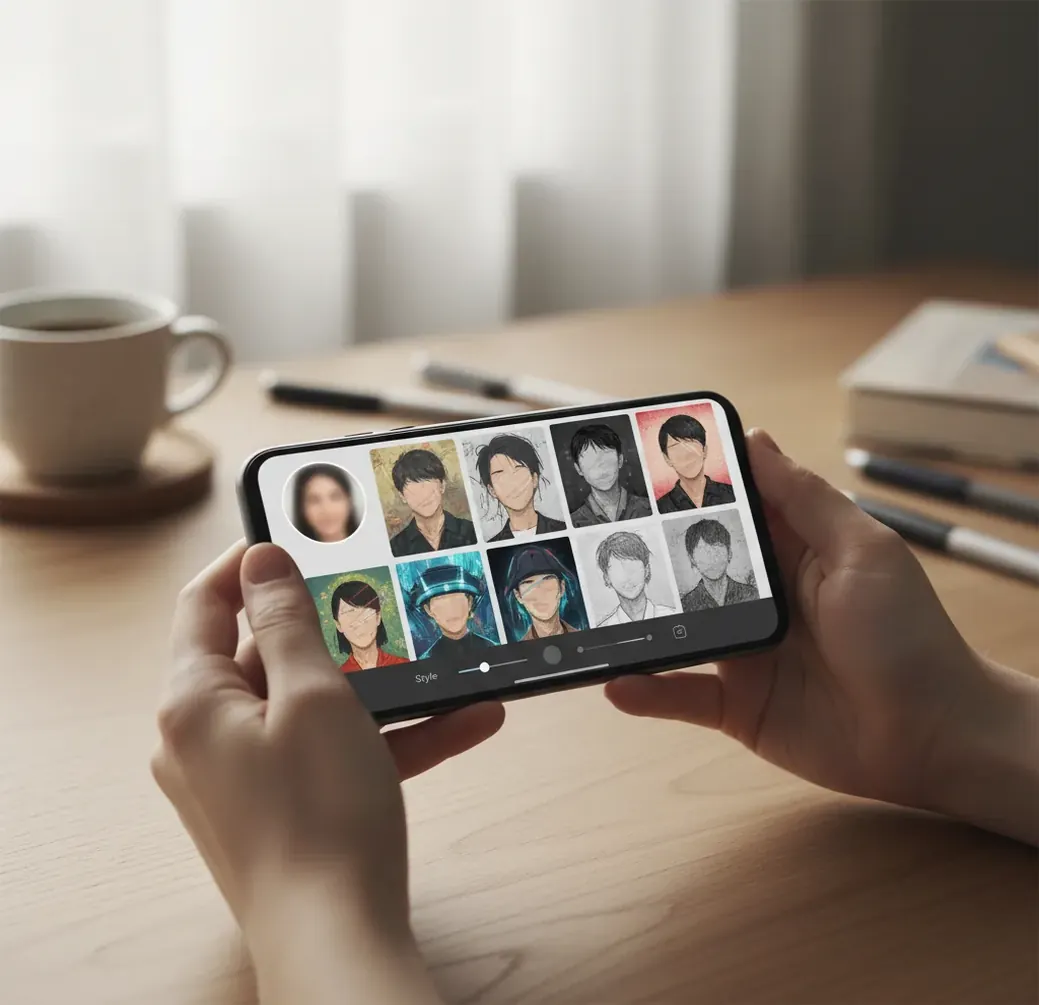
Creating your image...
To put your face in AI-generated images, use a sharp selfie as an identity reference in an AI image editor, then generate a new background, outfit, or style around that face. For realistic results, match the prompt to the selfie’s angle, age range, hairstyle, skin tone, lens, and lighting. Do not use someone else’s face without clear permission.
What does it mean to put your face in AI-generated images?
Putting your face in AI-generated images means using a real face photo as an identity reference while an AI model creates a new scene, outfit, background, or visual style around it. The workflow may be called face swap, AI portrait generation, identity conditioning, image-to-image editing, or compositing, depending on the tool.
In practice, the model tries to preserve recognizable features such as face shape, eye spacing, nose structure, skin tone, hairline, and expression while changing the surrounding pixels. It is useful for profile photos, social posts, creator branding, cosplay previews, gift portraits, thumbnails, and print concepts. The output can look convincing, so consent and labeling matter when the image could be mistaken for a real photo.
How does an AI image editor keep your face recognizable?
An AI image editor keeps your face recognizable by extracting an identity representation from your reference image and using it to guide the generation process. In diffusion-based systems, the model starts from noise and repeatedly denoises the image while following text prompts, reference pixels, masks, pose information, or an identity embedding.
Identity consistency is fragile because the model is balancing several signals at once: likeness, style, lighting, camera angle, facial expression, and background. If the selfie is lit by a warm indoor bulb but the target prompt asks for cool outdoor daylight, the model may shift skin tone or reshape small features to make the scene feel coherent. Clean references and controlled prompts reduce identity drift.
How do you put your face into an AI image step by step?
Choose one clean selfie
Use a sharp, front-facing head-and-shoulders photo with even daylight, visible eyes, natural skin texture, and no heavy beauty filter. Avoid sunglasses, deep shadows, extreme side angles, and motion blur.
Crop the face clearly
Crop so the face is large enough for the model to read, but keep some hair, neck, and shoulders for context. A face that is too small often causes weak likeness and waxy details.
Upload it as the identity reference
Open a tool that supports face swap, image-to-image generation, or AI portrait editing, then upload the selfie as the reference image. If masking is available, protect the face area or guide the edit around it.
Write a prompt that matches the reference
Describe the scene, outfit, camera angle, lighting, lens, age range, hairstyle, and expression. Matching these details helps the model preserve identity instead of inventing a generic portrait.
Generate several variations
Create 4 to 8 outputs and compare them at 100% and 200% zoom. Keep the version where the eyes, teeth, jawline, ears, and skin texture look natural, not just the one with the best background.
Make small corrections before exporting
Adjust warmth, shadows, contrast, sharpness, or prompt wording if the face looks pasted on. Check the final image on both phone and desktop screens before using it for socials, prints, or portfolio material.
What should your prompt include for a realistic face-in-image result?
A realistic face-in-image prompt should lock the visual context around your reference: camera angle, lighting direction, lens style, age range, hairstyle, expression, clothing, and background. The goal is not to over-describe the face; it is to give the model enough scene information that it does not distort the identity to solve missing details.
Reusable template: “Use the uploaded face as the identity reference. Create a [portrait type] of the same person, [age range], [hairstyle], [expression], wearing [outfit], in [location], lit by [lighting], shot on a [lens/camera look], [composition], realistic skin texture, natural eyes, natural teeth.”
Example: “Use the uploaded face as the identity reference. Create a cinematic headshot of the same person, early 30s, shoulder-length dark hair, calm expression, wearing a black blazer, in a softly lit studio, warm key light from camera left, 85mm lens look, shallow depth of field, realistic skin texture, natural eyes, natural teeth.”
Which tools can put your face into AI-generated images?
| Tool type | Best for | Strengths | Watch out for |
|---|---|---|---|
| Pict AI | Fast browser and iOS portrait edits | Simple face-focused workflows, quick variations, useful for social images and creator assets | Export options, storage, and usage rights should be checked in the current terms |
| Canva | Designing posts, thumbnails, and branded layouts | Easy templates, text tools, background editing, team-friendly interface | Advanced identity control may be limited compared with specialist image editors |
| Adobe Photoshop | Precise compositing and professional retouching | Layer masks, generative fill, color grading, manual cleanup, print-ready control | Steeper learning curve and usually requires a paid plan |
| Fotor or similar web editors | Quick casual face swaps and portrait effects | Low-friction browser workflows and preset styles | Quality, watermarking, and data policies vary by feature |
| Open-source diffusion workflows | Advanced custom control and repeatable pipelines | Fine control with LoRA, ControlNet, IP-Adapter, masks, seeds, and upscalers | Requires setup, hardware, model knowledge, and careful license review |
Choose a tool based on the job: casual social edits need speed, brand assets need layout control, and portfolio or print work needs manual retouching and higher-resolution export.
How can you make a face swap look less fake?
To make a face swap look less fake, match the reference selfie to the target scene before you generate. The most believable results come from similar head angle, lens distance, lighting direction, and emotional expression. A front-facing selfie rarely blends perfectly into a dramatic side-lit action scene without extra corrections.
After generation, inspect the image like a retoucher: zoom in on the pupils, eyelids, teeth, earrings, hairline, jaw edge, and neck shadows. If the face looks pasted on, adjust the color temperature and contrast before regenerating. For creator posts, it is often better to choose a slightly stylized image that feels coherent than a hyper-realistic image with uncanny details.
Where do people use AI images with their own face?
- Profile photos: Create polished headshots from casual selfies for LinkedIn, personal websites, newsletters, and creator bios.
- Social posts: Generate seasonal portraits, themed announcements, album-style covers, and campaign visuals without booking a full photoshoot.
- Branding assets: Build a consistent visual identity for thumbnails, banners, podcast art, and about-page imagery.
- Cosplay and costume planning: Preview armor, makeup, fantasy outfits, or character styling before buying materials.
- Gifts and prints: Make birthday cards, couple portraits, pet-and-owner scenes, posters, or framed concept art.
- Storyboards and pitches: Place yourself or a character reference into cinematic scenes for short films, pitch decks, or mood boards.
- Dating and lifestyle images: Improve lighting and background consistency while avoiding deceptive body, age, or context changes.
What are the limits of putting your face into AI images?
- Extreme head angles cause identity drift because the model has to invent hidden facial structure.
- Low-resolution selfies often produce waxy skin, soft eyelashes, smeared lips, and weak likeness after upscaling.
- Teeth, glasses, earrings, hands near the face, and facial hair are common artifact zones in close portraits.
- Strong style transfers, such as anime, oil painting, clay render, or watercolor, reduce subtle likeness cues.
Related reads for better prompts and cleaner cutouts
Frequently Asked Questions
Yes, some browser and mobile tools offer free AI face editing or limited free generations. Check whether exports include watermarks, resolution limits, or usage restrictions.
A sharp, front-facing selfie with soft even light, visible eyes, natural skin texture, and a neutral expression works best. Avoid blur, heavy filters, sunglasses, and harsh shadows.
The usual causes are poor reference quality, mismatched lighting, an extreme head angle, or a prompt that changes age, hairstyle, expression, or camera perspective too much.
Many simple face-swap tools can work from one clear photo. More advanced identity training workflows may use 10 to 20 varied images for better consistency across poses and scenes.
Yes, but keep them realistic, current, and honest. Avoid changing age, body shape, or major facial features if the image will represent you professionally.
Only do it with clear consent and a legitimate purpose. Laws vary, but unauthorized face use can create privacy, publicity, harassment, or impersonation issues.
Use a well-lit reference photo and describe the lighting and skin tone consistently in the prompt. Avoid mixing warm indoor selfies with cool outdoor scenes unless you plan to color-correct.
Eyes and teeth contain small high-contrast details that are difficult to reconstruct, especially when the face is small, stylized, or low resolution. Generate at higher quality and inspect at 200% zoom.
Yes, if the export resolution and license allow it. For clean prints, use a high-resolution file, check skin texture closely, and upscale carefully before sending it to print.