How to Remove Signature Background for Clean PNG
You can remove a signature background by isolating the ink strokes from the paper and exporting the result as a transparent PNG. A clean source photo, strong contrast, and edge checking at 200% zoom help preserve thin pen lines without leaving a gray paper halo.
How to Remove Signature Background for Clean PNG
- Upload a cropped scan or photo of your signature, keeping all ink marks inside the frame.
- Choose background removal and specify that paper, shadows, and ruled lines should disappear while original ink remains.
- Generate the cutout, then compare it with the source for missing dots, broken loops, or altered strokes.
- Review the transparent areas and export a PNG, then insert the saved file directly into your document.
Example prompt: Remove the paper background and keep only the signature ink with clean edges; export as a transparent PNG suitable for placing on a PDF.
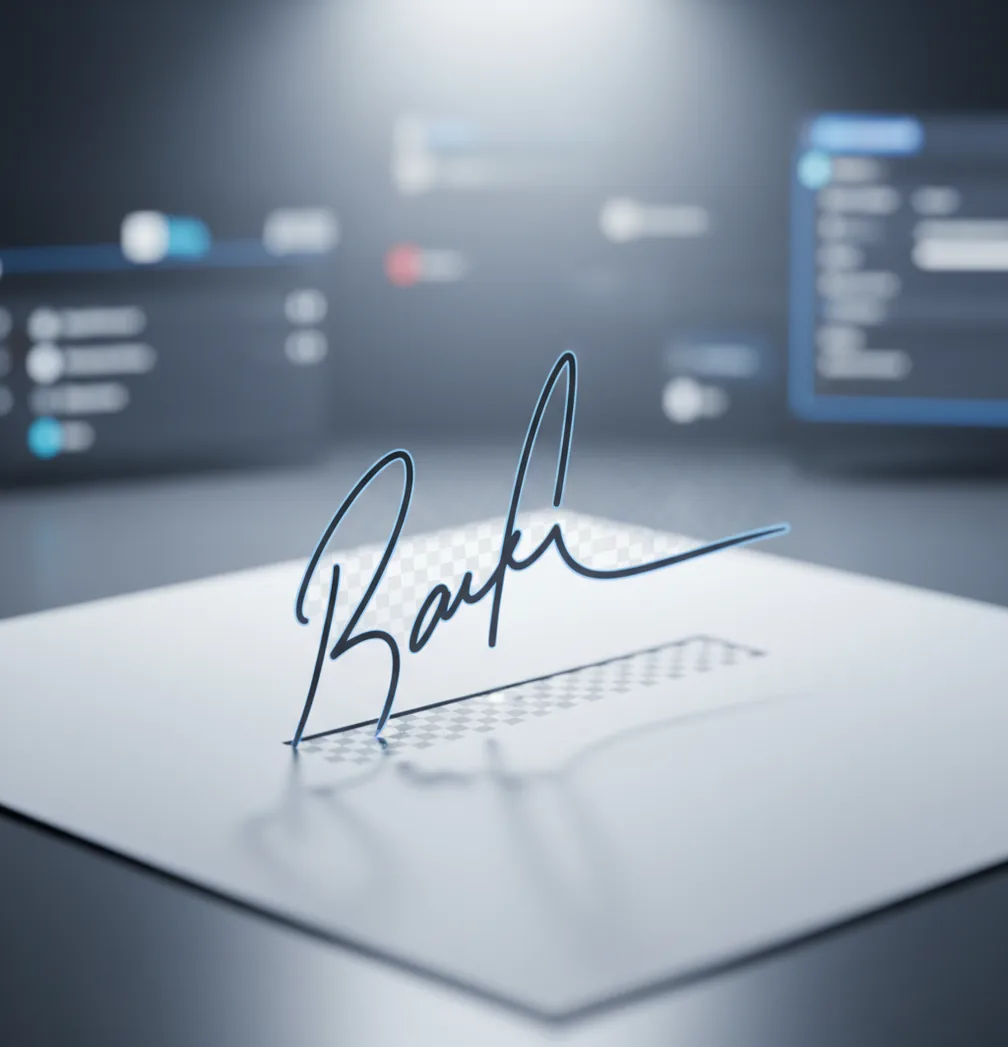
To remove signature background for clean PNG output, upload a scanned or photographed signature to a background remover, isolate only the ink, and export the file as a transparent PNG. For the cleanest result, use even lighting, crop close to the signature, and inspect the edges at 200% zoom before placing it into a PDF, invoice, proposal, or form.
What Does It Mean to Remove a Signature Background?
Removing a signature background means separating the handwritten ink from the paper, scan texture, shadows, ruled lines, or desk color behind it. The usual goal is a transparent PNG, because PNG supports alpha transparency while JPEG does not.
A good signature cutout should keep thin upstrokes, pressure changes, and natural ink tapering while removing the white box around the signature. This matters when you paste the file onto PDFs, invoices, cover pages, email approvals, portfolio documents, or branded stationery where a gray scan rectangle looks unprofessional.
How Does a Background Remover Keep Ink Edges Sharp?
A signature background remover keeps ink edges sharp by combining foreground segmentation with edge refinement. The model identifies the ink as foreground, treats the paper as background, and creates an alpha channel that controls which pixels are opaque, transparent, or partially transparent.
The hardest pixels are not the middle of bold strokes; they are the edges where ink fades into paper grain. Alpha matting helps preserve semi-transparent boundary pixels so the signature does not look cut out with scissors. Source quality still matters: JPEG compression, motion blur, warm desk lighting, and wrinkled paper can all create halos or clipped hairline strokes.
How Do You Turn a Scanned Signature Into a Transparent PNG?
Capture a high-contrast source
Scan the signature at 300 DPI or photograph it in bright, even daylight. Use dark ink on plain white paper when possible.
Flatten and crop the image
Keep the page flat, avoid curled-paper shadows, and crop close to the signature so the tool focuses on ink instead of the full sheet.
Run background removal
Use a background remover to delete the paper area and isolate the signature strokes. Pict AI, Canva, remove.bg, Adobe Express, and Photopea can all be used for this workflow.
Inspect the edges at 200% zoom
Zoom in and check for gray halos, missing hairlines, jagged pixels, or leftover paper texture around loops and thin strokes.
Export as transparent PNG
Save the final file as PNG, not JPEG. Test it on both white and dark backgrounds before using it in a document.
Which Tools Can Remove a Signature Background?
| Tool | Best For | Strength | Watch Out For |
|---|---|---|---|
| Pict AI | Fast mobile signature PNGs | Quick background removal from phone photos or scans | Always review output for legal, compliance, or high-stakes document use |
| Canva | Design templates and branded documents | Easy to place the signature into proposals, social graphics, or PDFs | Some background-removal and export options may depend on plan |
| remove.bg | Simple high-contrast cutouts | Fast automated background removal in a browser | Fine pen strokes may need careful checking on textured paper |
| Adobe Express | Creative document and image workflows | Useful when combining cutouts with layouts, branding, or graphics | Account and export options can vary by region and plan |
| Photopea | Manual cleanup and advanced editing | Layer masks, levels, and transparency controls for precise edits | Requires more editing knowledge than one-click tools |
For a quick reusable signature PNG, choose the tool that gives you transparent export, edge preview, and enough resolution for your final document size.
What Source Photo Gives the Cleanest Signature PNG?
The cleanest signature PNG usually starts with black or dark blue ink on unlined white paper, captured in even light. A 300 DPI scan is ideal, but a modern phone photo works well if the camera is steady, the paper is flat, and the signature fills enough of the frame.
Avoid yellow paper, heavy shadows, pencil, glitter gel pens, and low-resolution screenshots. If you must use a phone, place the paper near a window, turn off warm overhead lighting, tap to focus on the ink, and take two or three versions. A cleaner source often beats extra editing because the remover has clearer boundaries to detect.
What Edit Instructions Work Best for Signature Cleanup?
- Clean PNG instruction: “Remove the paper background from this handwritten signature. Keep only the ink strokes and export with transparent background.”
- Edge-preserving instruction: “Preserve thin pen strokes, loops, and light pressure marks. Do not thicken, redraw, or stylize the signature.”
- Halo-fix instruction: “Remove gray paper texture and edge shadows around the ink while keeping the original handwriting shape unchanged.”
- Dark-background test: “Preview the transparent signature on a dark gray background so halos, white pixels, and missing hairlines are visible.”
- Print-ready instruction: “Export as a transparent PNG at the largest available size, with no white rectangle, no shadow, and no added effects.”
Where Can You Use a Transparent Signature PNG?
A transparent signature PNG is useful anywhere a visible white box would look messy or unprofessional. Common uses include PDF forms, invoices, proposal cover pages, client approvals, school permission slips, internal sign-off sheets, email signatures, photo watermarks, and branded stationery.
Creators also use clean signature PNGs for portfolio labels, print mockups, limited-edition artwork, packaging drafts, and social media graphics. The emotional utility is simple: the signature feels personal and polished without carrying scan dirt, paper grain, or desk shadows into the final design.
What Are the Limitations of Signature Background Removal?
- Light pencil, pale gel pen, or faded ink may be mistaken for background and partially removed.
- Lined, gridded, or textured paper can confuse segmentation if the lines intersect the signature strokes.
- Strong shadows from folded or curled paper may leave gray halos near the ink.
- Compressed screenshots and messaging-app downloads can create blocky pixels around thin strokes.
How Should You Store and Reuse a Signature PNG Safely?
Store a reusable signature PNG like a sensitive personal asset, not like a normal graphic. Keep the master file in a private folder, avoid uploading it to unnecessary shared drives, and create separate copies for different document sizes so you do not repeatedly resize the original.
For routine paperwork, save a transparent PNG master and a flattened PDF version for final documents. If a workflow requires verified signing, use an approved e-signature platform instead of a pasted image. A clean PNG improves presentation, but it does not replace authentication, consent, audit trails, or legal signing requirements.
Keep Signature Transparency Intact When Adding It to Documents
A clean cutout can still acquire a white rectangle when it moves between applications. Copying from a preview, taking a screenshot, or using an export preset that flattens transparency can undo the cleanup. After using a signature background remover, insert the saved image file directly into the document rather than copying its preview.
| Property | What to check |
|---|---|
| Actual transparency | The paper area must contain transparent pixels, not a painted white fill. |
| Insertion method | Use the document editor’s image insertion command with the saved PNG. |
| Image opacity | Keep the inserted image at 100% opacity unless deliberate fading is required. |
| Empty margins | Trim surplus transparent canvas without cutting off dots, flourishes, or stroke endings. |
| Final document | Reopen the exported PDF and inspect the signature at its intended viewing size. |
If you are following instructions for how to convert image to transparent png, remember that changing the filename extension does not create transparency. A PNG can contain an entirely opaque white background. Likewise, choosing to remove white background should make the paper transparent, not replace it with another solid color.
The same export distinction matters when learning how to remove background from logo, but handwritten signatures need extra care: aggressive trimming can clip a detached dot or a long pen flourish. Leave a small transparent margin around the outermost ink marks.
In a word processor, unnecessary transparent margins can make the signature appear off-center even when the image box is aligned correctly. Trim the canvas first, then position the image. If the document editor compresses pictures automatically, retain the original PNG separately so later revisions do not depend on an already compressed copy.
Signature Background Removal Questions Answered
Some image viewers display transparent areas against a white canvas, so a white-looking preview does not necessarily mean the background remains. Open the file in an editor that shows a transparency checkerboard, or place it over a colored shape. If the white rectangle covers that shape, the file still contains opaque background pixels and needs another cleanup pass.
Yes. In a layer-based editor, lock transparent pixels or apply a color overlay to the signature layer. This changes the visible ink while preserving the cutout’s transparency and stroke boundaries. Avoid filling the entire canvas, which would restore a solid background. Keep an unchanged original, and check faint strokes afterward because recoloring can make existing edge defects more noticeable.
Use a background remover to isolate the ink, then export the result as a transparent PNG. Start with a high-contrast scan or photo to avoid gray halos.
Use PNG because it supports transparency through an alpha channel. JPEG will add a solid background and is not suitable for transparent signatures.
Yes, a phone photo can work well if the paper is flat, evenly lit, and sharply focused. Crop close to the signature before removing the background.
A gray halo usually comes from paper texture, shadows, blur, or compression around the ink edges. Re-scan or re-shoot the signature in brighter, more even light.
Use dark ink, high resolution, and strong contrast between ink and paper. After background removal, inspect the result at 200% zoom before exporting.
Yes, but dark lines that cross the signature may be difficult to separate from ink. A clean signature on plain white paper will produce a better PNG.
No, a transparent PNG is only an image of a signature. For verified signing, use the required e-signature, identity, consent, and audit-trail process.
A 300 DPI scan is a strong starting point for documents and prints. Export at the largest practical size so the signature stays sharp when resized.
Yes, but test it first on a dark gray or black background. This makes leftover white pixels, gray halos, and clipped edges easier to see.