How to Remove Scratches From Vintage Photos With AI
To remove scratches from vintage photos with AI, start with a sharp scan or glare-free phone capture, then use an AI restoration tool to detect damage lines and inpaint the missing image detail. The best results come from preserving texture: eyes, hair, fabric weave, film grain, and paper tone should still look like the original photograph.
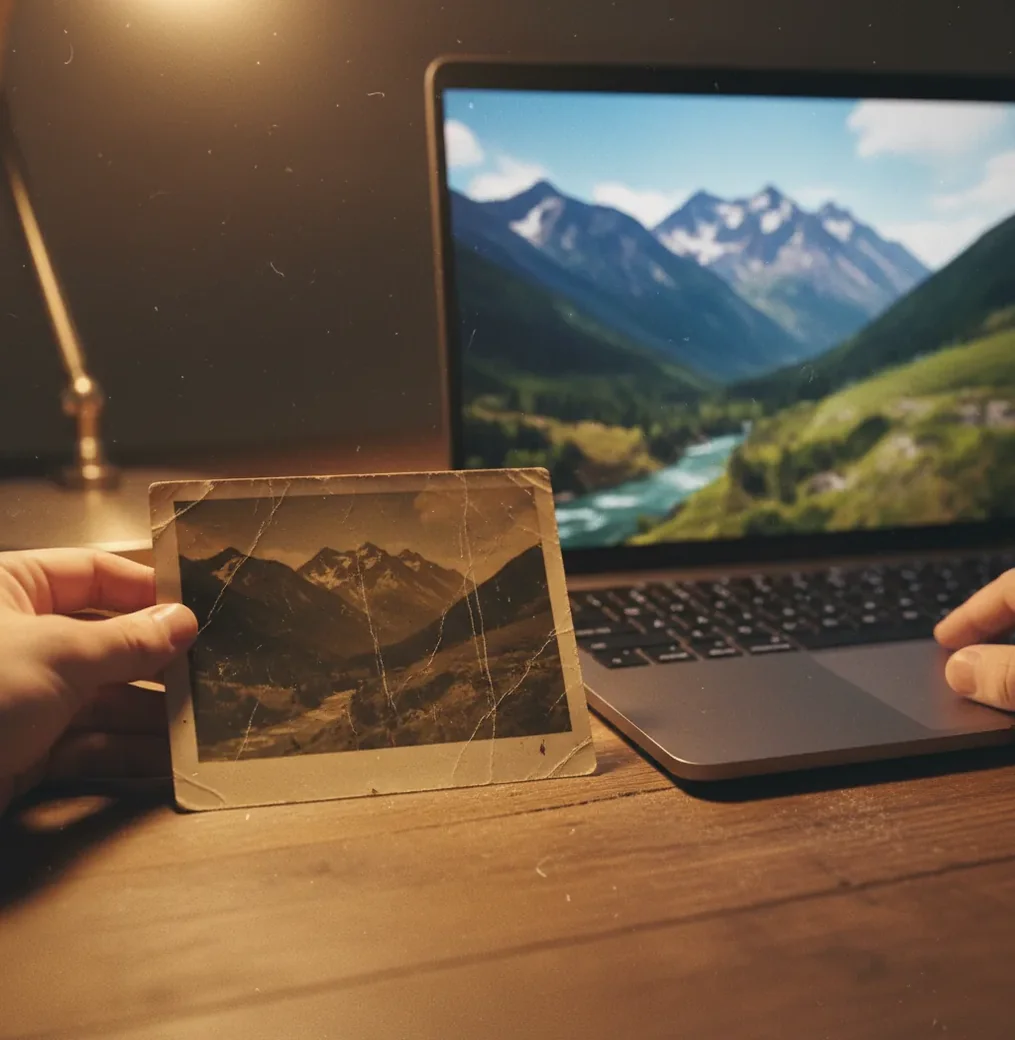
Creating your image...
You can remove scratches from vintage photos with AI by scanning the print at 300-600 DPI, running scratch and dust cleanup, then checking faces and fine details at 200% zoom. AI restoration works by detecting thin damage marks and using inpainting to reconstruct the missing pixels from nearby texture, edges, and tone. Always keep the untouched scan as your archive master and export the repaired version as a separate file.
What Does It Mean to Remove Scratches From Vintage Photos With AI?
Removing scratches from vintage photos with AI means identifying physical damage lines, such as white streaks, cracked emulsion, dust trails, creases, and rubbed areas, then reconstructing the missing image content digitally. The AI does not heal the original paper print; it creates a repaired image file that can be printed, shared, archived, or used in a family history project.
The most natural restorations keep the photograph’s original character. A 1940s portrait should still have soft grain, period lighting, and paper texture, not a plastic-smooth face. Treat the AI result as an edited copy, not a replacement for the original scan.
How Does AI Scratch Removal Work on Old Photos?
AI scratch removal works by separating damage patterns from real photographic details. Restoration models look for thin high-contrast marks, broken emulsion lines, dust specks, crease edges, and repeated surface artifacts, then use image inpainting to predict what should appear underneath.
Technically, many tools combine feature extraction, segmentation, and generative restoration. A model may detect the scratch mask first, then fill the region using nearby skin texture, background grain, fabric direction, and edge continuity. Good inpainting reconnects a cheek, suit lapel, or wallpaper pattern without simply blurring the damaged area.
How Do You Prepare a Vintage Photo Before AI Repair?
Scan at the highest practical resolution
Use 600 DPI for small prints, wallet photos, and portraits with face detail. Use at least 300 DPI for larger 4x6 or 5x7 prints. Scan in color even for black-and-white photos because color channels often preserve subtle tonal information.
Photograph carefully if you do not have a scanner
Place the print flat near soft window light, turn off overhead lights, and tilt the camera slightly to avoid glossy glare. Keep the phone parallel to the print so faces and borders do not distort.
Crop before restoration
Crop out the table, scanner bed, album page, or phone background. This helps the restoration tool focus on the actual photo instead of wasting processing on irrelevant edges.
Save an untouched archive copy
Keep the original scan as a TIFF, PNG, or high-quality JPG. Name it clearly, such as family-portrait-original-600dpi.png, before making any AI edits.
What Is the Best Workflow to Fix Scratches Without Waxy Faces?
Run a light scratch cleanup first
Start with a conservative restoration pass. Light settings usually preserve skin texture, eyelashes, hairlines, jewelry, handwriting, and fabric weave better than aggressive one-click cleanup.
Zoom to 200% and inspect identity details
Check eyes, mouth shape, hairline, glasses, teeth, ears, and hands. These are the areas where over-smoothing changes how a person looks.
Use a second pass only where needed
If deep scratches remain in the background or clothing, use a stronger pass on a duplicate file. Avoid repeatedly processing the whole portrait because multiple passes can soften grain and shift tones.
Compare against the original scan
Toggle between the original and restored file. The goal is not a modern studio portrait; the goal is a clean vintage image that still feels emotionally true.
Export two versions
Save a high-quality master for printing and archiving, then create a smaller JPG for messages, social posts, family group chats, memorial slideshows, or genealogy albums.
Which AI Tools Can Remove Scratches From Old Photos?
| Option | Best for | Strengths | Watch out for |
|---|---|---|---|
| Pict AI | Fast browser or iOS scratch cleanup | Simple upload workflow for old prints, dust, creases, and family portraits | Online processing means you should export and store your own archive copy |
| Photoshop or Lightroom with generative tools | Manual control and professional retouching | Layer masks, healing brush, clone stamp, non-destructive edits, print-ready color control | Higher learning curve and often requires a paid subscription |
| Free web restoration tools | Quick experiments and low-stakes images | Easy access, no advanced editing skills needed, useful for testing scan quality | May add watermarks, compress exports, limit resolution, or have unclear retention policies |
| Mobile photo repair apps | Phone-captured album photos and quick sharing | Convenient for family archives, social posts, and on-the-go cleanup | Glare, camera blur, and automatic filters can reduce natural texture |
| Professional restoration service | Severely damaged heirloom photos | Human judgment for faces, missing corners, handwriting, and historical accuracy | Slower and more expensive than automated tools |
Choose based on risk and purpose: use automated AI for common scratches and dust, use manual editors for high-value prints, and use a professional restorer when important facial features or historical details are missing.
What Types of Vintage Photo Damage Can AI Fix Best?
AI works best on narrow, repeated, or surface-level damage where enough surrounding context remains. Fine white scratch lines across clothing, dust streaks on scanned slides, small cracks in black-and-white prints, rubbed album marks, and light creases usually clean up well because the model can infer the missing pixels from nearby texture.
Portraits can also restore nicely when scratches cross cheeks, foreheads, or backgrounds, but the face must still be readable. If a scratch removes an eye, mouth, handwritten date, military insignia, or another identity-defining detail, AI may generate a plausible guess rather than a historically accurate repair.
What Settings Produce Natural-Looking Scratch Repair?
- Use 600 DPI for small portraits, photo booth strips, school photos, and wallet prints.
- Use 300 DPI as a minimum for larger prints if 600 DPI creates files that are too large.
- Scan in color, even for monochrome images, to preserve stains, paper tone, and subtle channel detail.
- Avoid heavy denoise unless the photo has digital noise; film grain is part of the original image.
- Repair scratches before adding colorization, sharpening, or stylized filters.
- Export a master as PNG or maximum-quality JPG before making social media crops.
- For prints, keep the restored file large enough for the target size: roughly 300 pixels per printed inch is a strong baseline.
Can You Use Prompt Recipes for Better Photo Restoration?
Prompt recipes help when a tool accepts text instructions, or when you are giving notes to a manual editor. The key is to describe preservation as clearly as repair: ask for scratches and dust to be reduced while keeping face shape, grain, clothing texture, and historical tone intact.
Use this compact restoration brief: "Remove visible scratches, dust, and crease lines from this vintage photo. Preserve the person’s facial identity, natural skin texture, film grain, clothing details, and original black-and-white or sepia tone. Do not over-smooth faces or modernize the image."
For print preparation, use: "Create a clean restored version suitable for a 5x7 print. Keep the vintage look, repair surface damage, maintain natural contrast, and avoid artificial sharpening or plastic skin."
When Does AI Scratch Repair Struggle on Vintage Photos?
- Deep gouges through faces, eyes, mouths, or handwriting may be reconstructed inaccurately because the missing information is not present in the scan.
- Glare from glossy paper can be mistaken for damage, especially when it forms a bright band across the image.
- Low-resolution scans, especially around 150 DPI, give the model too few pixels to separate scratches from real edges.
- Heavy JPEG compression creates block artifacts that can be interpreted as texture, cracks, or false detail.
How Should You Save and Share the Restored Photo?
Save the restored photo in two forms: a high-quality master for archiving and printing, and a smaller share copy for everyday use. The master should preserve resolution and detail, while the share copy can be compressed for messaging apps, social posts, memorial pages, digital frames, or family archive folders.
A simple naming system prevents confusion later. Use names like grandmother-portrait-original-600dpi.png, grandmother-portrait-restored-master.png, and grandmother-portrait-share.jpg. If the image matters historically, store the date, location, names, and any notes in the file name, folder, or metadata.
Frequently Asked Questions
Yes. AI can remove many scratches from old photos by detecting damage lines and inpainting missing pixels from nearby texture, tone, and edges.
Use 600 DPI for small or detailed vintage prints and at least 300 DPI for larger prints. Higher resolution gives the AI more detail to separate scratches from real image edges.
Yes, if the phone photo is sharp, flat, and free of glare. Use soft window light, avoid shadows, and tilt the print slightly if glossy reflections appear.
It can if the restoration is too strong or if scratches pass through key facial features. Check eyes, mouth, hairline, and skin texture at 200% zoom before saving the final version.
Yes. Repair scratches, dust, and creases first, then colorize or enhance the image so the color model does not treat damage marks as real objects.
Scan in color even for black-and-white photos. Color scans capture stains, paper tone, fading, and subtle channel differences that can help restoration.
AI may produce a plausible repair, but it cannot know the exact missing detail if the original information is gone. For important portraits, use a light AI pass and consider manual retouching.
Use PNG or maximum-quality JPG for the restored master, then make a smaller JPG for sharing. Keep the untouched original scan in a separate folder.
Free tools can be good for light scratches, dust, and quick sharing. For heirloom prints, compare results carefully and avoid tools that heavily compress or watermark the export.