How to Upscale Images With AI Without Losing Quality
You can upscale images with AI without losing quality by using a super-resolution model that enlarges the file while reconstructing edges, texture, and fine detail. For the cleanest result, start with the sharpest original, choose 2x before 4x, inspect the preview at 100% zoom, and export in PNG, WebP, or high-quality JPEG.
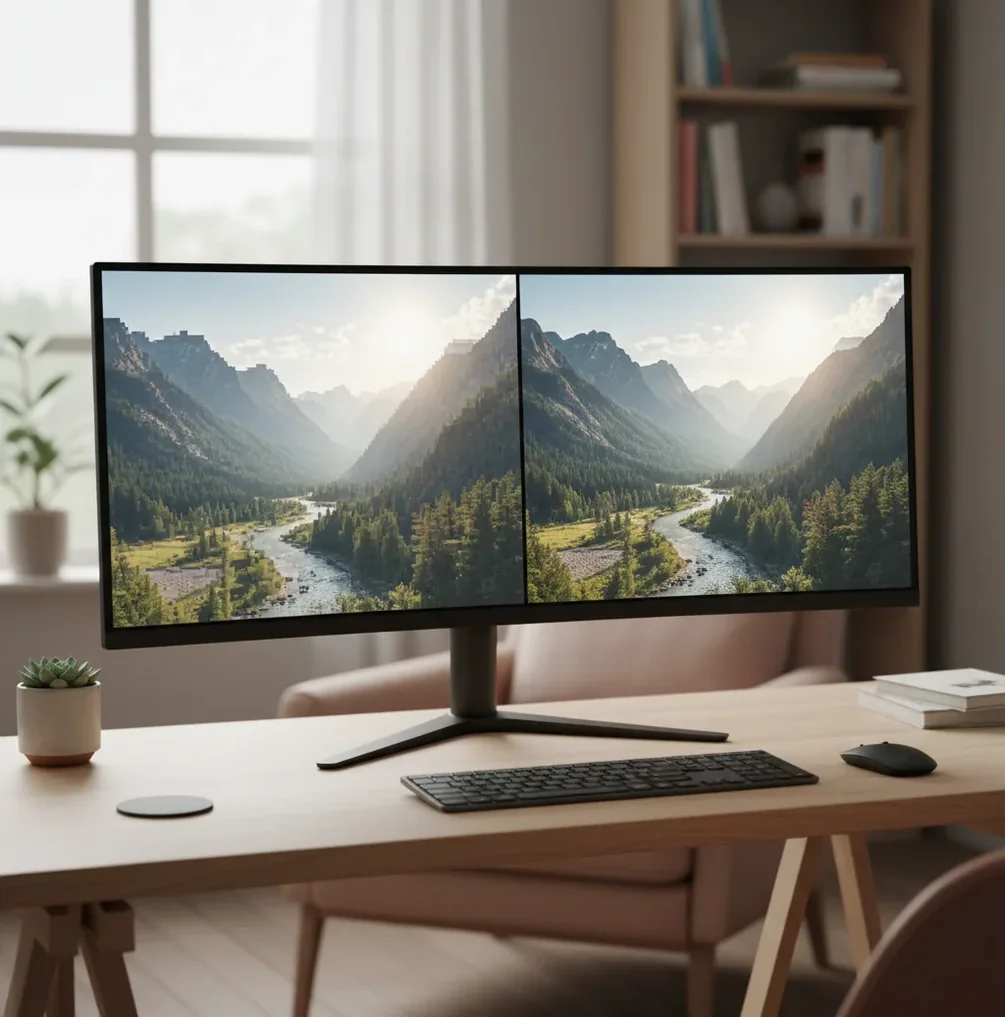
Creating your image...
To upscale images with AI without losing quality, use an AI super-resolution tool instead of normal resizing, because it predicts missing pixels rather than stretching existing ones. Start with the highest-quality source file, enlarge by 2x first, check hairlines, text, faces, and edges at 100% zoom, then export without re-compressing the image.
What Does It Mean to Upscale Images With AI Without Losing Quality?
To upscale images with AI without losing quality means increasing pixel dimensions while preserving believable detail, sharp edges, natural texture, and clean gradients. Unlike basic resizing, which uses interpolation methods such as bilinear or bicubic scaling, AI upscaling uses super-resolution to predict what higher-resolution pixels should look like.
The phrase “without losing quality” does not mean the model recovers perfect original detail. It means the enlarged image avoids obvious softness, blocky JPEG artifacts, jagged stair-step edges, plastic skin, and haloing around contrast lines. A good upscale should look natural at the final use size, whether that is a profile image, product photo, poster print, portfolio crop, or social thumbnail.
How Does AI Image Upscaling Preserve Edges and Detail?
AI image upscaling preserves detail by using super-resolution models trained to recognize edges, gradients, facial structure, fabric, typography, foliage, and other visual patterns. Instead of copying pixels into a larger grid, the model estimates missing high-frequency information, which is the crisp detail you notice in hair, eyelashes, logos, product labels, and scanned linework.
Many upscalers use convolutional neural networks, transformer-based restoration models, diffusion restoration, or ESRGAN-style architectures. These systems analyze local texture, edge direction, compression noise, and contrast transitions before generating a higher-resolution output. The tradeoff is that some detail is inferred, not recovered, so the result can be visually useful without being forensic evidence of what was in the original image.
How Do You Upscale an Image Step by Step?
Start with the cleanest source file
Use the original PNG, TIFF, HEIC, RAW export, or highest-quality JPEG you have. Avoid screenshots of screenshots because compression blocks often become fake texture after upscaling.
Choose 2x before trying 4x
A 2x upscale is usually the safest first pass because it adds resolution without exaggerating blur, noise, or JPEG artifacts. Use 4x when the source is already sharp and the final image needs a much larger print or crop.
Preview at 100% zoom
Inspect problem areas such as small text, eyelashes, hairlines, fabric weave, product edges, and high-contrast logos. Fit-to-screen previews hide halos, ringing, and plastic texture.
Adjust before exporting
If the result looks crunchy, reduce the upscale factor or try a less compressed source. If it looks too soft, apply mild sharpening after upscaling rather than before.
Export once in a clean format
Use PNG for graphics and text, WebP for web delivery, or high-quality JPEG for photos. Do final cropping and resizing after the upscale so the image is not processed twice.
Which AI Upscaler Should You Use for 2x or 4x Enlargement?
| Tool | Best for | Strengths | Watch out for |
|---|---|---|---|
| Pict AI | Fast browser and iPhone upscales | Simple 2x-4x workflow, preview-first editing, useful for photos, screenshots, social graphics, and small web images | Avoid uploading sensitive files if you do not want cloud processing |
| Topaz Gigapixel | High-control desktop restoration | Strong model options for faces, art, low-resolution photos, and print preparation | Paid desktop software; processing can be slower on older machines |
| Adobe Photoshop Super Resolution | Photographers already using Adobe workflows | Works well with RAW files and integrates with Camera Raw, masking, color correction, and print prep | Requires Adobe software and more manual editing knowledge |
| Pixelmator Pro or Photomator | Mac and iOS creators | Good for quick enhancement, cropping, retouching, and export inside an Apple-native editing flow | Model behavior and export options vary by device and app version |
| Upscale.media or Let’s Enhance | Simple online enlargement tasks | Accessible web tools for quick social, ecommerce, and marketing assets | Free tiers may include file limits, queue delays, or license restrictions |
Choose based on workflow, not just advertised sharpness. A social creator may value speed and mobile upload, while a photographer preparing a 16x20 inch print may need model controls, color management, and TIFF export.
What Settings Help AI Upscaling Look Natural?
The best settings for natural AI upscaling are usually conservative: 2x enlargement, low or moderate denoise, minimal sharpening, and a clean export format. Strong sharpening before upscaling often creates halos, while aggressive denoise can erase pores, paper grain, brush texture, or product material.
For print, calculate the target size before enlarging. A 1200 x 1800 pixel image prints at 4 x 6 inches at 300 PPI, but the same file only reaches 8 x 12 inches at 150 PPI. A 2x upscale makes it 2400 x 3600 pixels, which is much more usable for gifts, albums, posters, portfolio sheets, and marketplace imagery.
What Prompt Recipes Work for AI Restoration or Upscaling?
If your tool includes a prompt or restoration instruction field, describe the desired texture and the boundaries the model should respect. Good upscaling prompts ask for preservation, not reinvention, because the goal is a larger believable image rather than a redesigned one.
Photo recipe: “Upscale to 2x, preserve natural skin texture, keep eyes and hair realistic, reduce JPEG artifacts, avoid over-sharpening, no face changes.” Art recipe: “Upscale to 4x, preserve brush strokes and original color palette, sharpen linework slightly, avoid adding new objects.” Screenshot recipe: “Upscale to 2x, improve text readability, keep UI layout unchanged, avoid warping letters or icons.” Product recipe: “Upscale to 2x, keep label text accurate, preserve material texture, reduce noise, maintain true product shape.”
Where Is AI Upscaling Most Useful for Creators?
AI upscaling is most useful when an image is visually good but too small for its next format. Creators use it to rescue cropped portraits, improve old phone photos, enlarge AI art for posters, sharpen ecommerce product photos, clean up thumbnails, prepare portfolio images, and make low-resolution brand assets usable across web and print.
It is also helpful for emotional and personal projects: restoring a family photo for a framed gift, improving a wedding crop for an album, enlarging pet portraits, or making a travel image look cleaner on a large screen. The best candidates are images with recognizable structure but insufficient resolution, not images that are completely blurred, over-compressed, or missing key visual information.
What Are the Limits of AI Upscaling?
- AI upscaling cannot recover true detail that was never captured; it generates plausible detail based on learned patterns.
- Heavy motion blur may become sharper-looking but still inaccurate, especially around faces, license plates, handwriting, and fine product labels.
- Small text can warp or change letter shapes, so upscaled documents should not be treated as authoritative records.
- Strong JPEG compression can turn into crunchy texture, block patterns, or ringing around edges after enlargement.
How Do You Check Image Quality Before Export?
Check AI-upscaled image quality by viewing the output at 100% zoom and inspecting the areas most likely to break: eyes, hair, fingers, teeth, text, logos, product edges, and hard light-dark borders. If those areas look clean, the image will usually hold up well in social posts, prints, thumbnails, and portfolio layouts.
Use a simple pass-fail checklist: edges should not glow, skin should still have texture, text should remain legible, patterns should not repeat unnaturally, and shadows should not contain blocky noise. If the image fails, go back one step: use 2x instead of 4x, reduce denoise, switch to a cleaner source file, or export in a less compressed format.
Related Pict.AI guides that pair well with upscaling
Frequently Asked Questions
Use a super-resolution upscaler, start with the cleanest source file, enlarge by 2x first, inspect at 100% zoom, and export without repeated JPEG compression.
Yes for most low-resolution photos and graphics, because AI upscaling predicts missing detail while normal resizing mainly interpolates existing pixels. Basic resizing is still fine when you only need a small size change.
Start with 2x because it is less likely to amplify artifacts. Use 4x when the original is sharp, the image needs a large print or crop, and the 100% preview still looks natural.
It can make a mildly soft photo look clearer, but it cannot restore true detail lost to heavy motion blur, missed focus, or extreme compression.
Use PNG for logos, screenshots, and text-heavy images; use WebP for web delivery; use high-quality JPEG for regular photos when file size matters.
Yes, many AI upscalers work in mobile browsers or iOS apps. Use the original camera file when possible instead of a compressed message-app version.
It can, especially when the face is tiny, compressed, or out of focus. Always compare the upscaled face with the original and reduce enhancement if skin looks plastic or facial features shift.
It can improve readability, but small letters may warp or become inaccurate. For legal, medical, financial, or archival documents, keep the original and do not rely on the upscale as evidence.
It depends on final pixel dimensions and viewing distance. For close viewing, aim for about 240-300 PPI; for posters viewed farther away, 150-200 PPI can still look good.