What Is Generative AI in Photo Editing?
Generative AI in photo editing means using an AI model to synthesize new pixels inside an existing image. It can remove distractions, rebuild backgrounds, extend a crop, or create realistic variations while trying to preserve lighting, perspective, texture, and camera style.
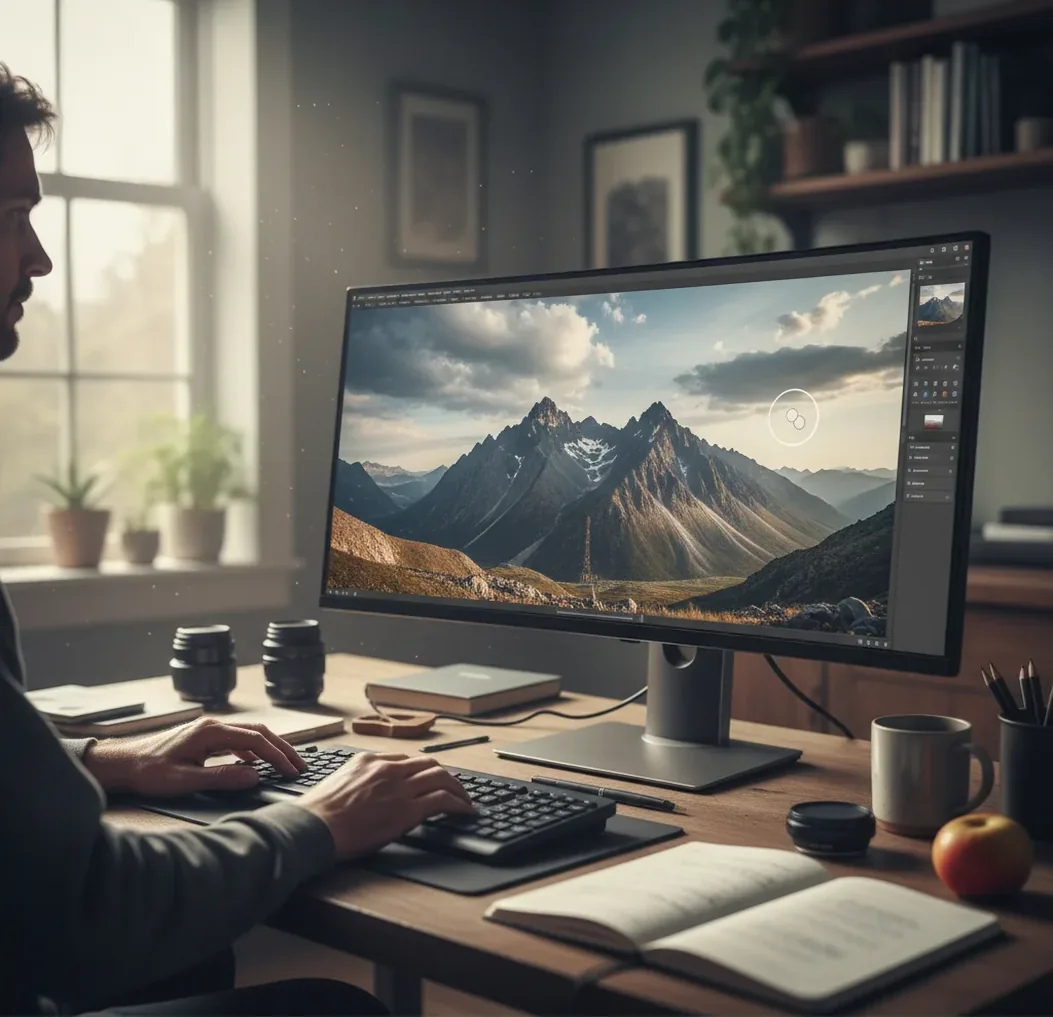
Creating your image...
Generative AI in photo editing is an editing method where software creates new image content instead of only adjusting existing pixels. It uses the surrounding photo, a mask, and sometimes a text prompt to predict believable pixels for object removal, background extension, replacement, or creative image variations.
What Is Generative AI in Photo Editing?
Generative AI in photo editing is the use of machine learning models to create new pixels inside a real photo. Unlike a brightness slider, crop tool, clone stamp, or color preset, a generative editor can synthesize content that was not originally captured by the camera.
The practical use cases are simple: remove a trash can from a street photo, extend a portrait background for a vertical social post, rebuild a missing corner after a crop, swap an object, or create alternate versions of a product shot. The goal is not just to make something new, but to make the new pixels match the original image’s lighting, depth, texture, grain, and perspective.
How Does Generative AI Photo Editing Work?
Generative photo editing works by conditioning an AI model on the existing image, then asking it to predict what should appear in a selected region. In common workflows, the editor uses a mask to define the area to change, reads surrounding visual context, and generates new pixels that fit the scene.
Many modern tools use diffusion models or related generative architectures. For inpainting, the model fills content inside a mask. For outpainting, it extends the canvas beyond the original frame. The model analyzes edges, color gradients, shadows, depth cues, lens blur, and texture frequency. A short prompt can guide the result, but the surrounding pixels often matter more than a long description.
How Do You Use Generative AI to Edit a Photo?
Choose a photo with enough context
Start with a sharp image where the area around the edit contains useful detail. Generative tools perform better when they can read nearby texture, shadow direction, subject edges, depth, and color temperature.
Select the edit type
Use removal for distractions, generative fill for replacement, and canvas extension for wider or taller crops. Pick the smallest tool that solves the problem instead of regenerating a large part of the image unnecessarily.
Mask the target area cleanly
Paint slightly inside the object or region you want changed, then include a small amount of surrounding background for blending. On a 12 MP phone photo, even a 5–20 pixel edge buffer can improve realism.
Write a scene-matching prompt
Describe the material, lighting, camera angle, and scale. For example, use “continue the brick wall with the same red bricks and gray mortar lines” instead of only writing “wall.”
Generate multiple variations
Create 2–4 options and compare them at 100% zoom. Choose the version with the most consistent shadows, grain, perspective, and edge sharpness rather than the one that looks most dramatic at thumbnail size.
Export and finish manually
Export as PNG for clean edges or JPEG for smaller sharing files. If needed, finish with light color correction, sharpening, grain matching, or a small manual retouch pass to unify the image.
Which Generative Photo Editing Tools Are Best for Everyday Work?
| Tool | Best for | Strength | Watch for |
|---|---|---|---|
| Pict AI | Fast browser and iOS generative edits | Simple object removal, fill, and background extension without a heavy pro workflow | Check current export, privacy, and usage terms before publishing client work |
| Adobe Photoshop | Professional layered editing | Generative fill plus traditional masks, layers, selections, and color tools | Requires more learning time and a paid workflow |
| Canva | Social graphics and quick content edits | Easy templates, background tools, and brand-friendly export options | Less precise for detailed photo retouching than pro editors |
| Google Photos Magic Editor | Phone-first personal photo fixes | Convenient object moving, sky changes, and casual edits on mobile | Availability and controls vary by device, account, and region |
| Open-source Stable Diffusion interfaces | Custom inpainting and advanced control | High flexibility with models, ControlNet, LoRAs, seeds, and local workflows | Setup, hardware, licensing, and consistency require more technical skill |
For everyday creators, the best tool depends on the job: use a lightweight editor for quick removals, a professional editor for layered commercial retouching, and an open-source workflow when you need maximum control over models and reproducibility.
What Prompt Recipes Make Generative Edits Look Real?
The best generative editing prompts are short, specific, and anchored to the original scene. Describe what should exist, how it should be lit, what material it is made of, and how it relates to the camera. Avoid vague prompts like “make it better” because they give the model too much freedom.
Object removal recipe: “remove [object] and continue the [background surface] with matching [texture], [shadow direction], and [camera blur].” Example: “remove the parked scooter and continue the wet sidewalk with soft reflections and evening streetlight shadows.”
Background extension recipe: “extend the scene to the [left/right/top/bottom] with matching [environment], [perspective lines], [light source], and [grain].” Example: “extend the studio backdrop upward with the same warm beige paper texture, soft top-left light, and subtle camera noise.”
Replacement recipe: “replace [object] with [new object], same scale, same lens perspective, same shadow direction.” Example: “replace the white mug with a matte black ceramic mug, same size, same tabletop reflection, soft window light from the right.”
Where Does Generative Editing Save the Most Time?
Generative editing saves the most time when the desired change is local, visual, and context-based. It is especially useful for social posts, ecommerce images, creator thumbnails, portfolio cleanup, gift prints, travel photos, and brand assets where one distraction or awkward crop weakens an otherwise strong image.
The highest-value tasks are object removal, backdrop cleanup, outpainting for new aspect ratios, product prop variation, sky replacement, reflection reduction, and rebuilding simple textures such as walls, fabric, paper, grass, or pavement. It saves less time when the edit requires exact identity preservation, readable typography, legal accuracy, or pixel-perfect product specifications.
What Limitations Should You Watch For?
- Fine hair, lace, fur, transparent fabric, glass, and jewelry can smear because the model struggles with thin overlapping edges and partial transparency.
- Text, logos, labels, tattoos, and signage often regenerate with incorrect letters, distorted spacing, or invented symbols, so they usually need manual replacement.
- Faces can shift subtly in identity, age, symmetry, or expression, even when only a nearby area is masked. Be careful with portraits, headshots, and documentary images.
- Repeating textures such as grass, brick, ocean waves, wood grain, and fabric may look convincing at thumbnail size but reveal loops or mushy detail at 100–200% zoom.
How Can You Tell If an AI Photo Edit Is Publishable?
Check the edit at 100% zoom
Inspect the changed area at real pixel size. Look for broken edges, repeated texture, plastic-looking surfaces, strange blur, and shadow mismatches that are hidden in a small preview.
Compare light direction
Trace the original highlights and shadows before accepting the result. The generated area should follow the same light source, softness, contrast, and color temperature as the rest of the image.
Review geometry and scale
Make sure new objects follow the photo’s perspective lines and relative size. A technically sharp object can still look fake if it ignores lens perspective or sits at the wrong depth.
Test the final crop
View the image in its real destination format, such as 1:1, 4:5, 9:16, or 16:9. Many generative edits only need to hold up in the final social post, print, thumbnail, or product layout.
Keep the original file
Save the unedited image and export the final version as a copy. This protects your audit trail, makes future re-edits easier, and helps separate creative edits from documentary originals.
Keep reading in the Pict.AI editing guide series
Frequently Asked Questions
Generative AI in photo editing is the use of AI to create new pixels inside an image. It can remove, replace, extend, or rebuild parts of a photo while trying to match the original scene.
Regular editing usually adjusts existing pixels with tools like curves, healing, cloning, and sharpening. Generative editing synthesizes new image content that was not originally in the photo.
Generative fill is one type of AI photo editing focused on filling or replacing a selected area. AI photo editing is broader and can include enhancement, masking, denoising, upscaling, background removal, and style changes.
Yes, it can remove objects by masking the unwanted area and generating replacement background pixels. Results are best when the surrounding background has clear texture, lighting, and perspective cues.
Yes, background extension is called outpainting. The model expands the canvas and generates new pixels beyond the original frame to fit a wider, taller, or platform-specific crop.
Not always. Simple removals may work from image context alone, but replacements and background extensions usually improve with a short prompt that specifies material, lighting, scale, and perspective.
Most editors create a copy, layer, or exported version rather than permanently overwriting the original. You should still keep the source file if you need proof, version control, or future edits.
Commercial use depends on the tool’s terms, the source image rights, model licensing, and whether the edit includes protected people, brands, or artwork. Always check usage rights before publishing client or product work.
Use a precise mask, write prompts that match the original lighting and material, generate several variations, and inspect the result at 100% zoom. Final manual color, grain, and edge cleanup often makes the edit feel more natural.