Invert Image Colors Free Online
Upload an image, apply a negative color effect, preview the result, and download the inverted file. Works for quick creative edits, contrast checks, and alternate versions of graphics.
Upload your file
Use this free Invert Image Colors and preview the result before downloading.
Processing...
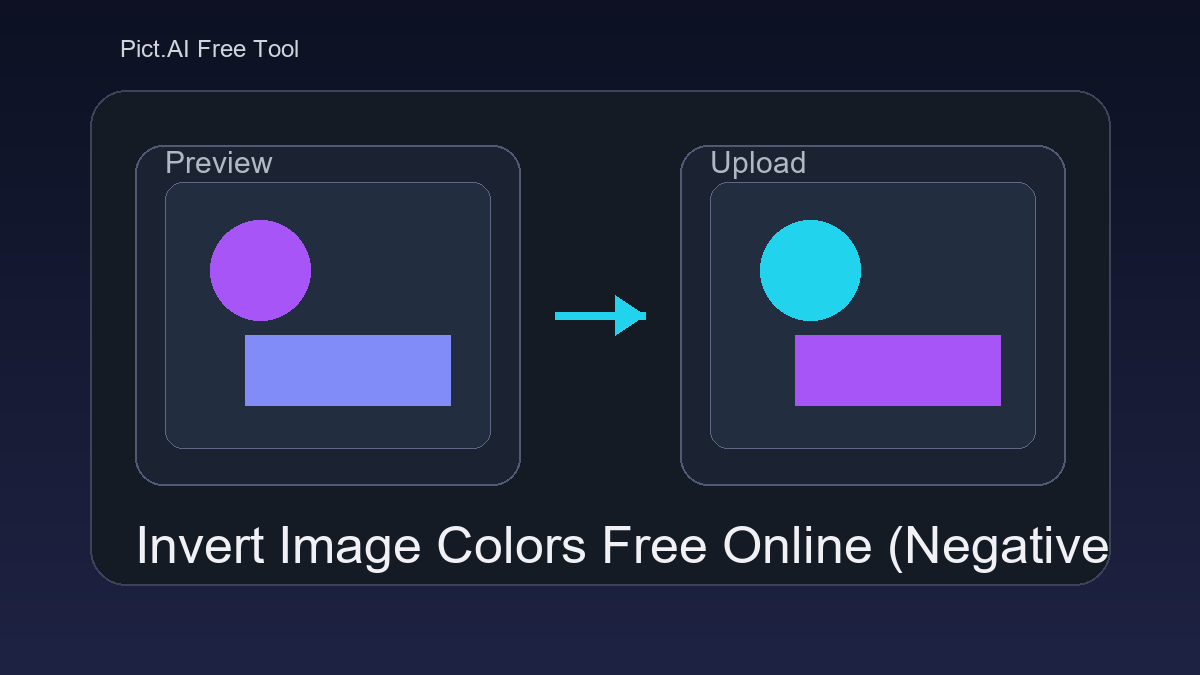
This tool inverts image colors by reversing each pixel’s color values, creating a photo-negative effect. Use it when you need a fast inverted version of a JPG, PNG, screenshot, icon, or graphic for design review, accessibility checks, or creative output.
What Is an Invert Image Colors Tool?
An invert image colors tool is a browser utility that reverses the color values in a raster image, usually a JPG, PNG, or WebP file. Light areas become dark, dark areas become light, and colors shift to their opposite tones, creating a negative-style result. People use color inversion to create visual effects, inspect contrast, test light and dark theme versions, or make details easier to spot in screenshots, scans, icons, and design mockups. The output is typically downloaded as a new image file.
How to Invert Image Colors
Upload your image
Apply the inversion
Use the invert colors option to reverse the image’s RGB color values and generate a negative-style preview.
Check the preview
Review key areas such as text, faces, logos, transparency, and fine details before exporting.
Download the result
Save the inverted image as a new file. Use PNG for sharp graphics or transparency, and JPG for standard photos.
Where negative-color images are useful
- Upload forms that need a quick negative version of a product image, scan, or document preview.
- Compatibility checks when a graphic needs to be tested against dark backgrounds or light backgrounds.
- CMS requirements where editors need a fast alternate visual without opening a full photo editor.
- Design handoff workflows that need inverted icons, mockups, or UI screenshots for review.
- Accessibility and contrast review to see how color reversal affects readability and emphasis.
- Creative assets such as posters, thumbnails, album art, social graphics, or glitch-style visuals.
- Inspection of textures, outlines, shadows, or low-contrast details in photos and screenshots.
Invert Image Colors Tool vs Alternatives
| Tool | Best For | How It Handles Inversion | Output Notes |
|---|---|---|---|
| Pict AI | Quick browser-based color inversion | Applies a direct negative-style effect and shows a preview before download | Suited for simple JPG and PNG workflows |
| Photopea | Layer-based editing in a browser | Uses image adjustments or layers for more manual control | Useful when selections, masks, or additional edits are needed |
| Canva | Design layouts and social graphics | Uses visual effects and adjustments within a design canvas | Useful when the inverted image is part of a larger template |
These tools all support image color changes, but they fit different workflows: quick single-image processing, detailed browser editing, or template-based design.
Invert Image Colors Tool Limitations
- Color inversion is a visual effect, not an image enhancement; portraits and skin tones often look unnatural.
- Text can become harder to read if the inverted foreground and background have poor contrast.
- Brand colors, product colors, and UI colors will not remain accurate after inversion.
- Transparent PNG areas usually keep transparency, but semi-transparent pixels may look different after export.
Related tools after Invert Image Colors
Before publishing: check the inverted image in its final layout
An inverted preview can look convincing on its own yet fail inside a finished post, document, or web page. Review the exported file in its actual destination, where background colors, scaling, and neighboring graphics affect the result.
- Separate editable artwork from protected content. Decide whether photographs, logos, labels, and embedded codes should all receive the effect. If only the decorative background needs inversion, keep the other elements on separate layers and restore them afterward. This avoids publishing an altered product label or misleading color swatch.
- Check the final display size, not just the full-resolution file. Thin strokes and small captions can become uneven after scaling. Set the intended dimensions with an image resizer before the last readability check. For a social post, a facebook image resizer can handle platform-specific sizing, but inspect the platform preview too: uploaded graphics may be recompressed.
- Sample the colors that matter. A large background area can become visually overpowering after inversion. Check the dominant color of the exported version rather than assuming the original palette still describes it. Compare that color with adjacent page elements and any text placed over the image.
- Validate functional elements separately. Scan QR codes from the finished layout, including a second device if possible. Confirm that diagram legends still match their colored regions and that status indicators retain written labels. A visually striking negative is not useful if it changes how readers interpret the graphic.
- Review document output after conversion. If you use images to pdf for a handout or proof sheet, open the completed PDF and inspect its rendered pages. Page backgrounds and fit-to-page scaling can change the appearance even when the source image looks correct.
RGB inversion facts that explain the result
Standard RGB inversion is a numerical operation, not a brightness adjustment or a palette redesign. These facts help explain unexpected output without assuming that every editor processes color identically.
| Property | What standard inversion does |
|---|---|
| 8-bit channel calculation | Each red, green, and blue value becomes 255 minus its original value. |
| Example pixel | RGB (20, 100, 230) becomes RGB (235, 155, 25). |
| Middle gray | RGB (128, 128, 128) becomes RGB (127, 127, 127), so it changes very little. |
| Pixel arrangement | Inversion alone does not move, rotate, crop, or resample pixels. |
| Alpha channel | Color-only inversion leaves opacity unchanged; alpha inversion is a separate operation. |
| Color space | Inverting encoded RGB values and inverting linear-light values produce different results. |
| Contrast measurement | Reversing RGB channels does not guarantee the same WCAG contrast ratio. |
The contrast distinction matters because relative luminance is not a simple average of the displayed RGB values. A foreground and background can retain their numerical channel differences while their measured contrast changes. Assess the final color pair rather than treating inversion as automatic accessibility correction.
If the goal is only to darken image content while retaining recognizable hues, use exposure, brightness, or curves instead. Inversion changes the color relationships themselves; reducing brightness afterward will not restore the original palette.
Fix unreadable codes, edge halos, and misleading negatives
Some failures come from the inversion itself; others appear during resizing, compositing, or export. Identify the stage responsible before applying more adjustments.
- A QR code stops scanning. Some readers handle light modules on a dark background, but support varies. Restore the code to dark modules on a plain light background, preserve its clear surrounding margin, and avoid resizing that blurs module boundaries. Test the complete layout, not only the isolated code image.
- A cutout develops a pale or dark fringe. Edge pixels may contain color from an earlier background, especially in artwork prepared for one specific backdrop. Inversion exposes that contamination. Return to the source layer or mask and remove the edge matte before exporting. Converting the file format alone will not repair those pixels.
- Text gets rougher with each saved version. Repeated JPEG encoding can introduce artifacts around sharp transitions. Start again from the clean original and export the finished graphic once. A jpeg to png converter can prevent further lossy encoding in subsequent saves, but it cannot recover detail already lost to JPEG compression.
- A scanned film negative keeps an orange cast. Color-negative film includes a colored mask, so simple RGB inversion rarely produces a balanced photograph. Use a negative-conversion workflow with film-base correction, channel balancing, and tonal adjustments. Avoid trying to solve the cast with a single global saturation slider.
Questions about image color inversion
Yes, applying the same standard RGB inversion twice restores the original channel values: subtracting a value from 255 twice returns that value. Exact recovery requires no changes between operations. JPEG compression, resizing, color-space conversion, or other adjustments can alter pixels, so a twice-inverted exported file may not match the original perfectly.
RGB inversion replaces each color channel with its numerical complement, changing both color and tonal appearance. A hue rotation shifts colors around a hue circle while generally retaining the editing model’s lightness or brightness component. The operations can produce similar changes for some saturated colors, but they differ substantially for grays, highlights, shadows, and mixed colors.
It means each pixel’s color values are reversed, so light becomes dark and colors shift toward their opposite tones. The result looks similar to a photographic negative.
Yes, PNG files with transparency can usually be inverted while keeping the alpha channel. Semi-transparent edges may look different because their visible color values are still changed.
Use PNG for graphics, screenshots, icons, text, or transparency. Use JPG for normal photos when a smaller file size is more important than perfectly sharp edges.
A simple online inverter usually applies the effect to the whole image. To invert only one area, use an editor that supports selections, masks, or layers.
No. Inversion changes color values but does not fix blur, noise, low resolution, or poor exposure.
Yes, inversion can help review contrast and readability under reversed color conditions. It should not replace full accessibility checks with contrast ratios and real interface testing.
It can. File size depends on the export format, compression level, image dimensions, and whether the output is saved as JPG, PNG, or another format.