Best Way to Edit Product Photos for Amazon
The best way to edit product photos for Amazon is to start with a sharp, well-lit image, clean or replace the background, correct color accurately, and crop every image to a consistent frame. The goal is not to make the product look better than reality; it is to make the listing clear, trustworthy, and marketplace-ready.
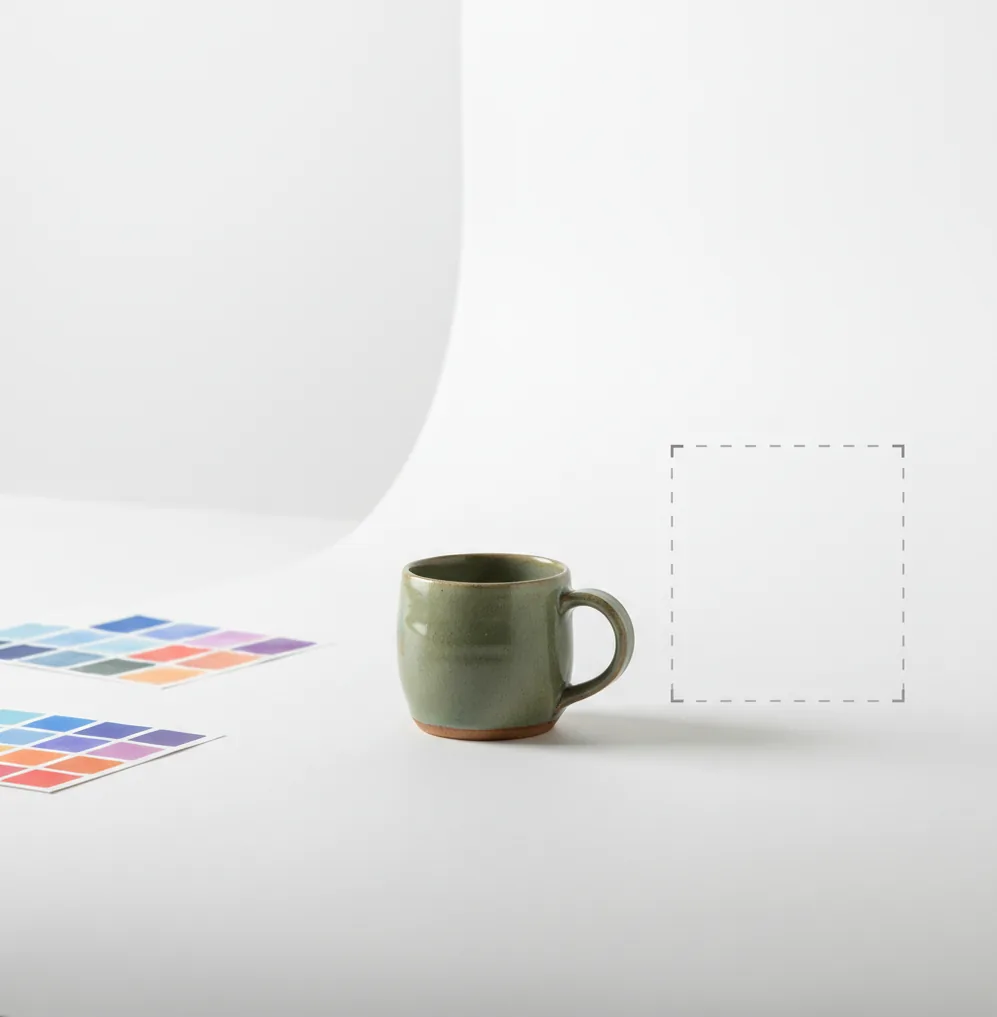
Creating your image...
The best way to edit product photos for Amazon is to remove distractions, use a clean white or neutral background, correct exposure and white balance, and crop consistently across the listing gallery. Keep product color, scale, labels, texture, and included accessories accurate so the edited image matches what the customer receives.
What Does It Mean to Edit Product Photos for Amazon?
Editing product photos for Amazon means preparing images so shoppers can understand the product quickly and accurately. Typical edits include background cleanup, white balance correction, exposure adjustment, straightening, cropping, dust removal, edge refinement, and sharpening for label readability.
For marketplace listings, the edit should increase clarity, not change the product. A cleaned background is acceptable; changing the real color, hiding damage, reshaping packaging, adding accessories that are not included, or over-smoothing texture can create buyer distrust, returns, and listing quality issues.
How Should Amazon Listing Photos Look Before You Export?
Amazon listing photos should look bright, sharp, and true-to-life, with the product clearly separated from the background. For main images, sellers commonly use a pure white background, centered framing, and a product that fills most of the image without being cropped awkwardly.
Use a high-resolution file so zoom remains useful; many sellers work at 2000 px or more on the longest side, while Amazon zoom generally requires at least 1000 px. Check the current Amazon category image rules before publishing, especially for apparel, beauty, food, supplements, electronics, and products with safety claims.
How Do You Edit Product Photos for Amazon on a Phone?
Shoot in clean, even light
Place the product near a window or soft light source, avoid mixed lighting, and capture a sharp image before editing. A blurry original will stay soft even after AI cleanup.
Choose one reference image
Pick the best front-facing product photo and use it as your color, crop, and brightness reference for the rest of the listing gallery.
Clean or replace the background
Remove messy room details, wrinkles, dust, and color casts. Keep a subtle contact shadow for white, glossy, or transparent products so they do not look pasted on.
Straighten and crop consistently
Align vertical packaging edges, center the product, and use the same crop logic for front, angle, back, detail, and variation images.
Correct exposure and white balance
Make whites neutral instead of blue or yellow, lift shadows gently, and preserve highlight detail on labels, metallic parts, plastic wrap, and glossy boxes.
Zoom in before exporting
Inspect at 200% for jagged cutout edges, haloing, dust, warped text, missing straps, clipped corners, and unreadable ingredient or size information.
Which Tools Are Best for Editing Amazon Product Photos?
| Tool | Best for | Strengths | Watchouts |
|---|---|---|---|
| Pict AI | Fast mobile cleanup and listing-ready product edits | Background removal, cutouts, quick polishing, and repeatable crops on iOS or Android | Still requires manual review for reflective packaging, thin edges, and exact color accuracy |
| Canva | Templates, storefront graphics, and image resizing | Useful for A+ content blocks, comparison charts, brand layouts, and consistent visual systems | Main listing images should avoid decorative graphics unless marketplace rules allow them |
| Remove.bg | Simple background removal | Very fast cutouts when you only need to isolate a product from a messy background | Less complete for full listing workflows such as color correction, batch crops, and detail cleanup |
| Lightroom Mobile | Color, exposure, and batch tone matching | Strong for white balance, sharpening, noise reduction, and consistent edits across a shoot | Does not specialize in automatic marketplace background replacement |
| Photoshop Express | Manual retouching and object cleanup | Good for spot healing, small dust fixes, cropping, and selective corrections | Can take longer when you need to process many SKUs quickly |
The best tool depends on the bottleneck: use a background-focused editor for cutouts, a color editor for accuracy, and a layout tool for A+ content or brand graphics.
What Settings Keep Product Photos Sharp and Color-Accurate?
Use conservative edits for Amazon product photography: small exposure lifts, neutral white balance, moderate contrast, and light sharpening. Avoid aggressive clarity, saturation, skin-smoothing, HDR, or beautification filters because they can change texture, finish, and perceived material quality.
For color-sensitive products, compare the edited image against the physical item under neutral light. Turn off night shift, blue-light filters, and vivid display modes before judging color. If possible, photograph a gray card or neutral white reference during the shoot so your edits have a reliable baseline.
What Reusable Edit Recipe Works for Every SKU?
- Background prompt: "Place this product on a clean pure-white studio background. Preserve the exact product shape, label text, color, material texture, and natural contact shadow."
- Cleanup prompt: "Remove dust, backdrop wrinkles, and stray reflections only. Do not alter packaging text, logos, ingredients, proportions, or included accessories."
- Consistency prompt: "Match this image to the reference photo for crop, brightness, white balance, product scale, and shadow softness across the full listing gallery."
- Detail prompt: "Sharpen label edges and product details subtly while avoiding artificial outlines, oversaturated color, or smoothed texture."
- Variation prompt: "Create the same framing and background for each color or size variation while preserving the true color and visible differences between SKUs."
How Do AI Cutouts and White Backgrounds Work?
AI product photo editors usually use image segmentation to separate the product from the background. The model predicts a mask around the object, then matting refines semi-transparent or detailed edges such as fur, cables, lace, glass, bottle caps, and packaging corners.
After the mask is created, the editor replaces or normalizes the background while trying to preserve edge pixels and shadows. The result depends heavily on the source photo: motion blur, blown highlights, crushed black areas, and strong reflections reduce the amount of real detail the AI can preserve.
When Can AI Edits Hurt an Amazon Listing?
- Reflective packaging can confuse edge detection, especially on chrome, clear plastic, shrink wrap, glass bottles, and glossy black boxes.
- White products on pure white backgrounds can lose shape unless you preserve a soft contact shadow or subtle edge contrast.
- Heavy background removal can erase thin product parts such as straps, wires, handles, fringe, lashes, transparent lids, or mesh.
- Over-brightening can make labels unreadable, flatten texture, and hide dents, seams, stitching, or material grain.
How Should You Edit Images for Variations, Bundles, and A+ Content?
For variations, the most important edit is consistency. Keep the same camera angle, product scale, crop, background, and shadow style across colors, sizes, flavors, or pack counts so shoppers can compare quickly without visual noise.
For bundles and A+ content, you can be more explanatory, but still stay accurate. Use clean secondary images to show what is included, close-up details, dimensions, texture, use cases, and comparison charts. Keep claims, icons, and overlays aligned with marketplace rules and the product’s actual packaging.
Keep optimizing your product images
Frequently Asked Questions
The fastest workflow is to shoot a sharp photo, remove or clean the background, apply a consistent crop, correct white balance, and export at high resolution. Always zoom in before uploading to catch edge halos and unreadable labels.
Yes. A phone workflow can work well if the original photo is sharp, evenly lit, and edited with tools for background cleanup, cropping, exposure, and color correction.
Main listing images commonly require a clean white background in many categories, while secondary images can often show lifestyle use, details, dimensions, and packaging. Always check the current rules for your product category.
Use high-resolution images with at least 1000 px on the longest side for zoom eligibility, and many sellers export around 2000 px or larger for better detail. Avoid excessive compression that makes labels or edges look fuzzy.
Use a plain shooting setup, soft light, background removal, consistent cropping, and careful white balance correction. Professional-looking product images usually come from consistency and accuracy, not heavy retouching.
AI background removal is useful for speed, especially on simple shapes and clean edges. Review the cutout manually for missing straps, jagged reflections, transparent areas, and unnatural shadows.
Shoot under one light source, avoid auto filters, and match every edit to a reference image or gray card. Check the final image on a neutral display before publishing.
A subtle natural shadow can help a product look grounded, especially if it is white, clear, or reflective. Avoid dramatic artificial shadows that distract from the product or make the image look unrealistic.
Avoid changing product color, shape, label text, size, included accessories, packaging claims, or material texture. Edits should clarify the product, not misrepresent it.